


This is my first resin kit to work with so I don’t have much expertise in this area. Thankfully youtube videos were helpful! Started with cutting parts for the frame and at the same time my other resin kit arrived. As I was curious how parts look like from different resin companies I started to go through Yuiao Land boxes. After checking parts with a booklet I noticed in my Yuiao Land Nu Gundam resin kit that I’m missing two parts so I panicked a little bit and I went through parts for Zaku. Thank God in the resin kit for Zaku I had all needed parts, to be sure I checked them twice. Working with resin parts you have to take a few extra steps of safety.
For my safety I used a proper 3M mask for dust, and for the safety of my family I had extraction on all the time to blow dangerous particles out of the window vents. Dressing resin parts was quite easy. Worst part was to make them fit with the base model. I had to dip resin parts in hot water and shape them all to fit. It was quite a long process as I wanted to get the best possible results.
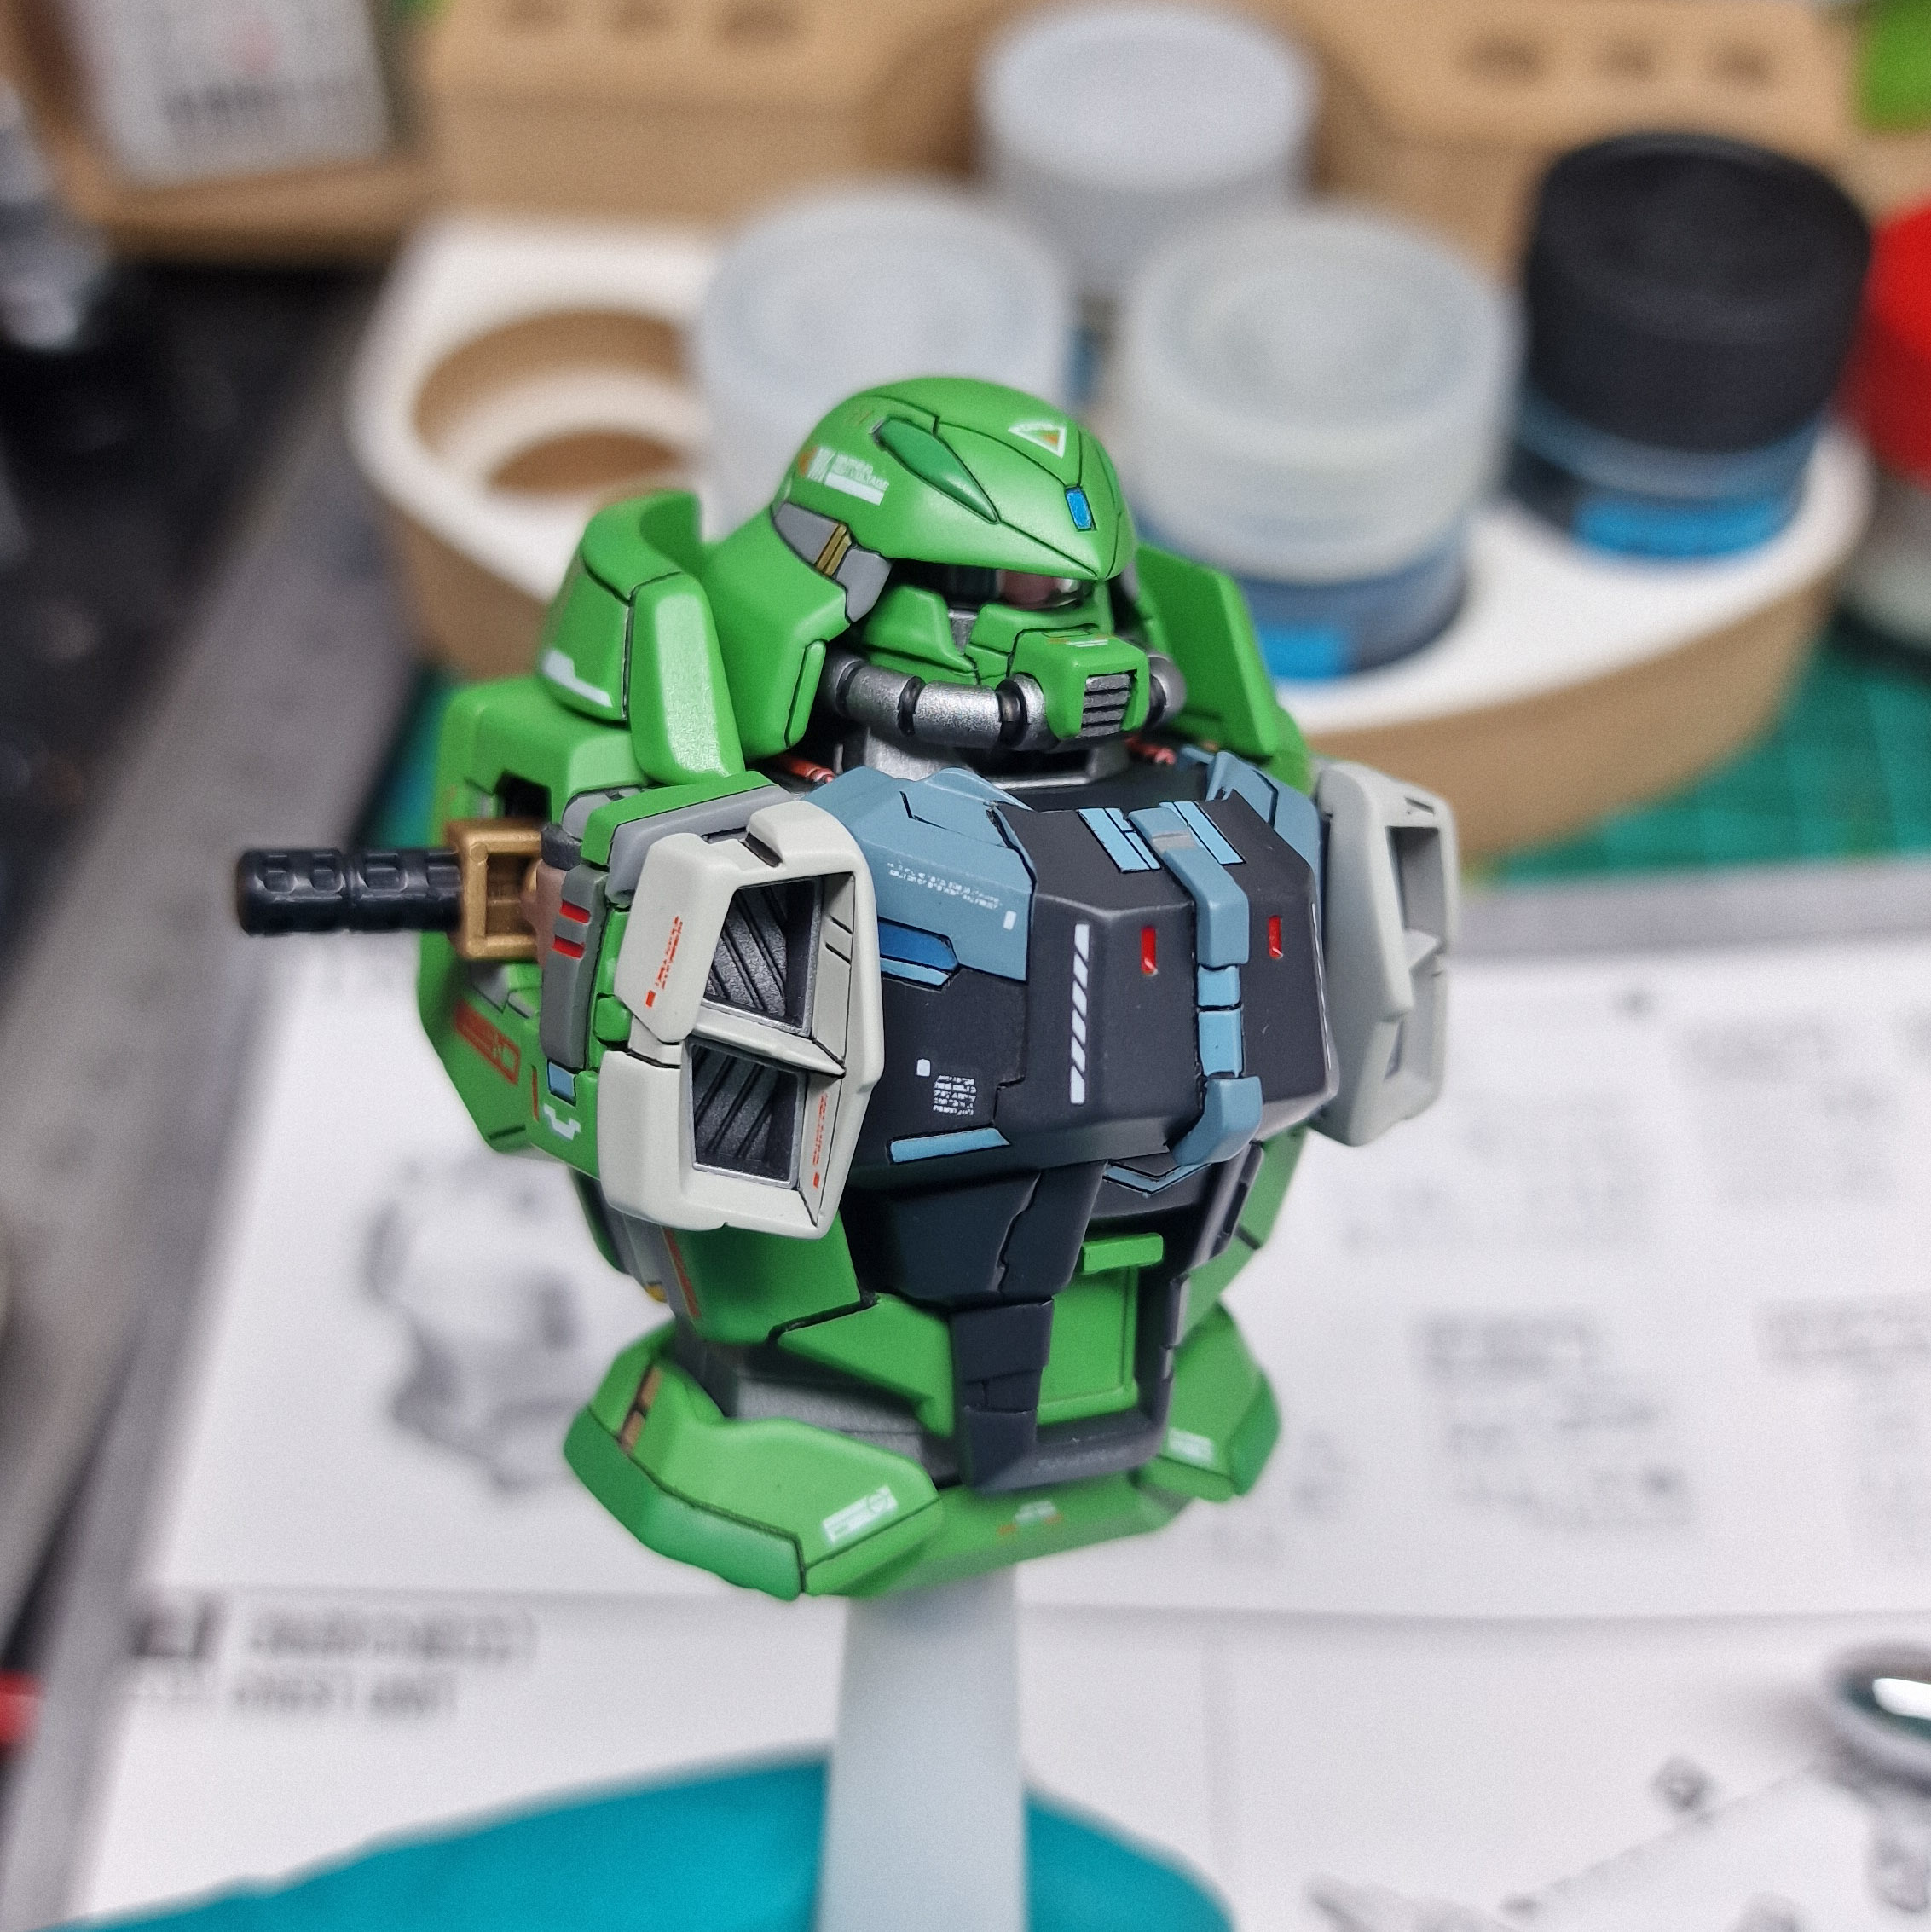
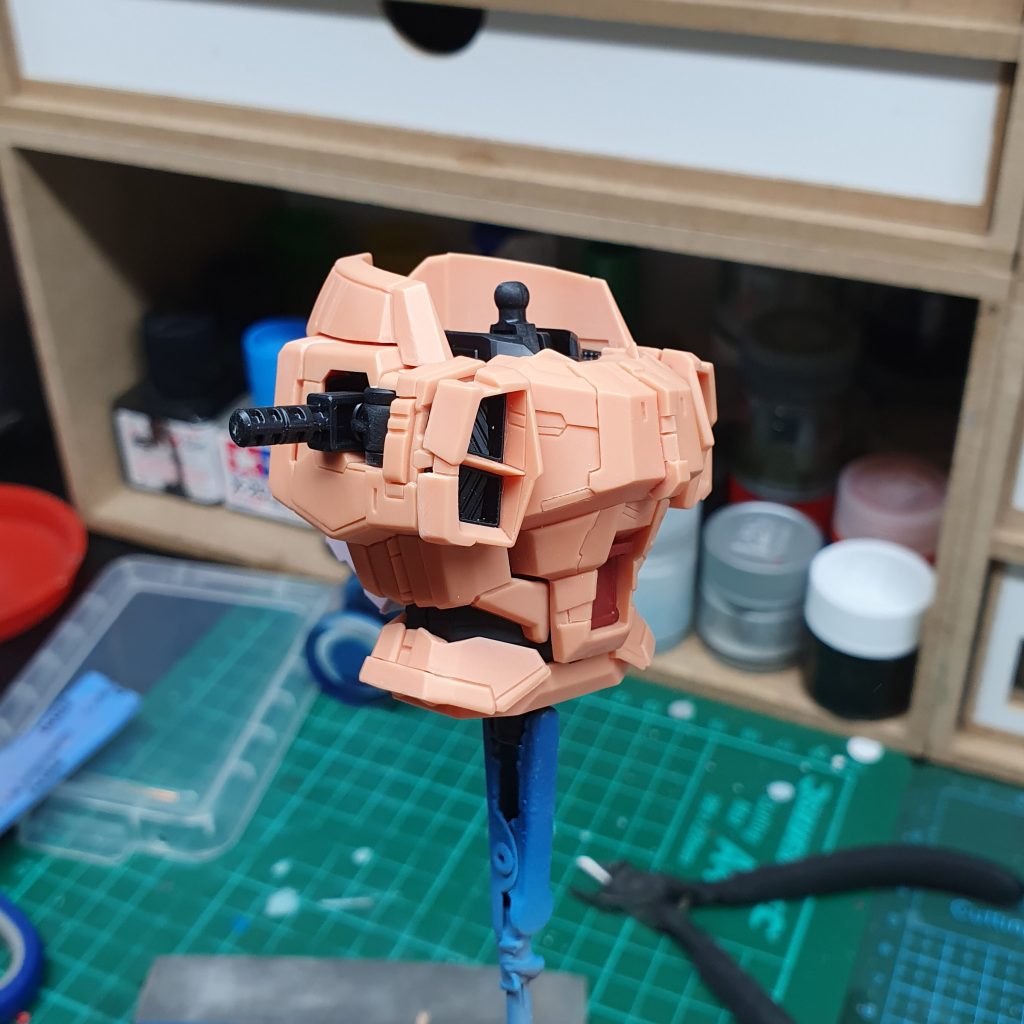
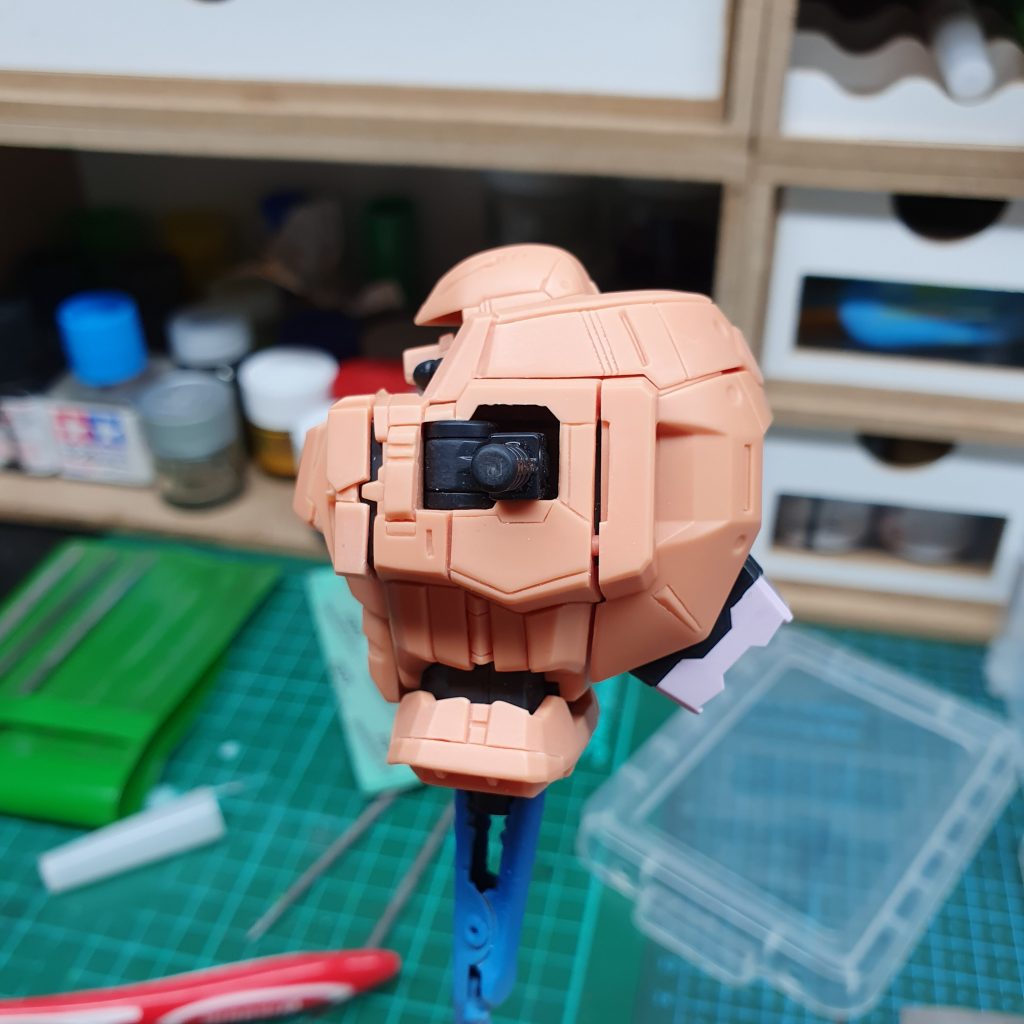
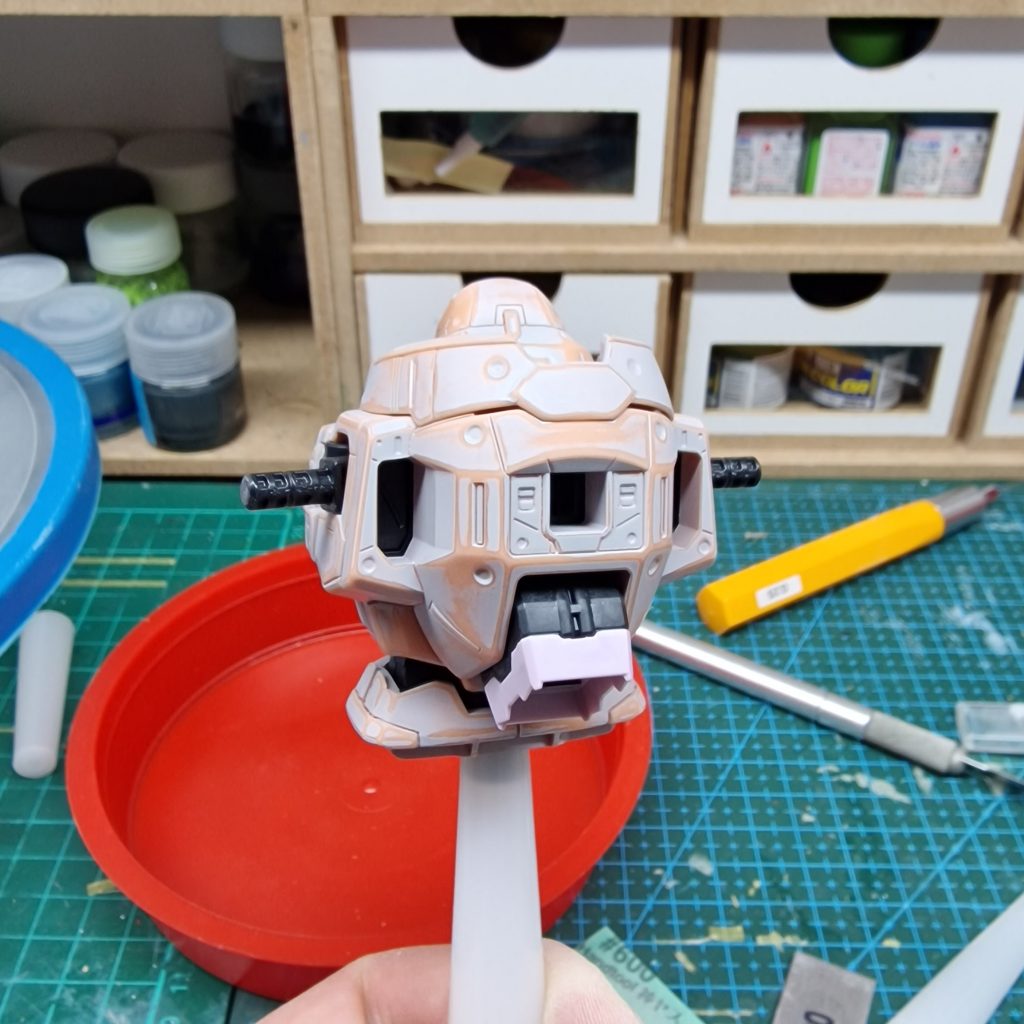
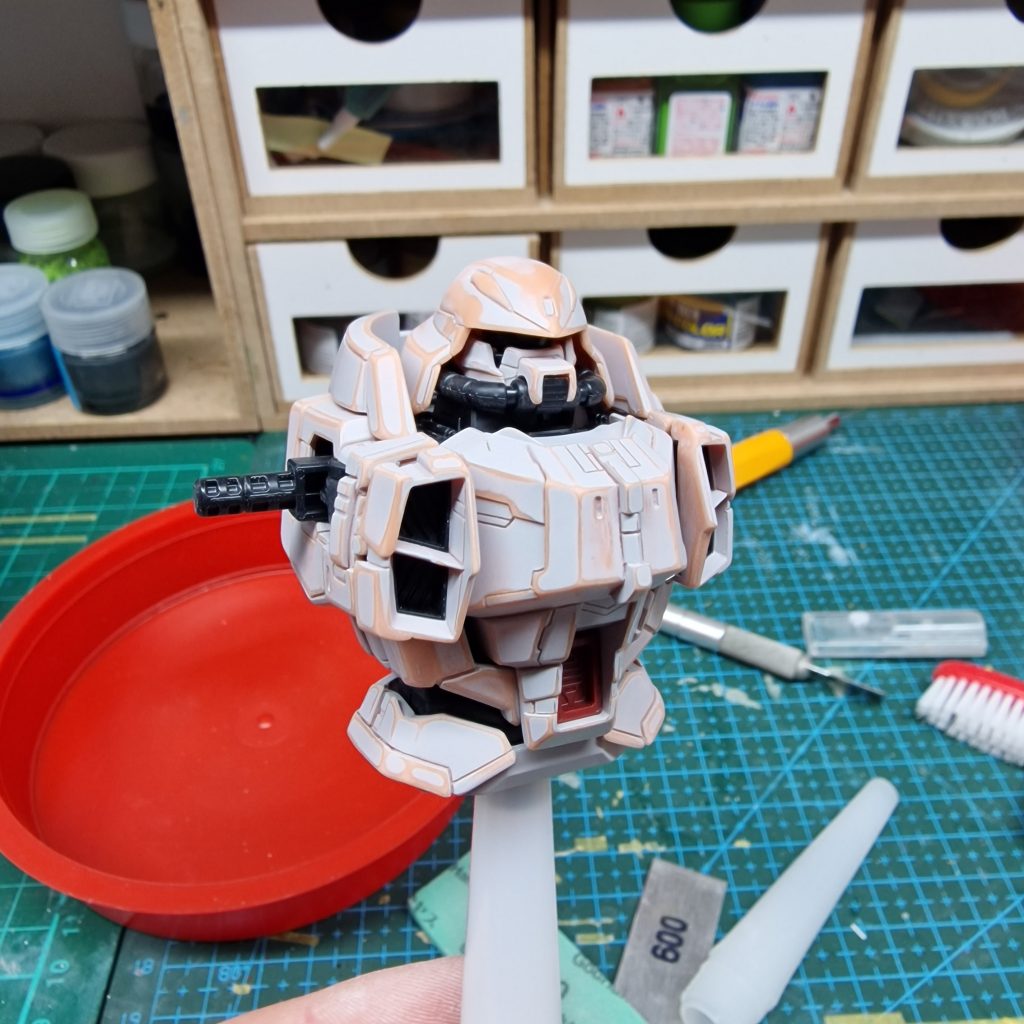
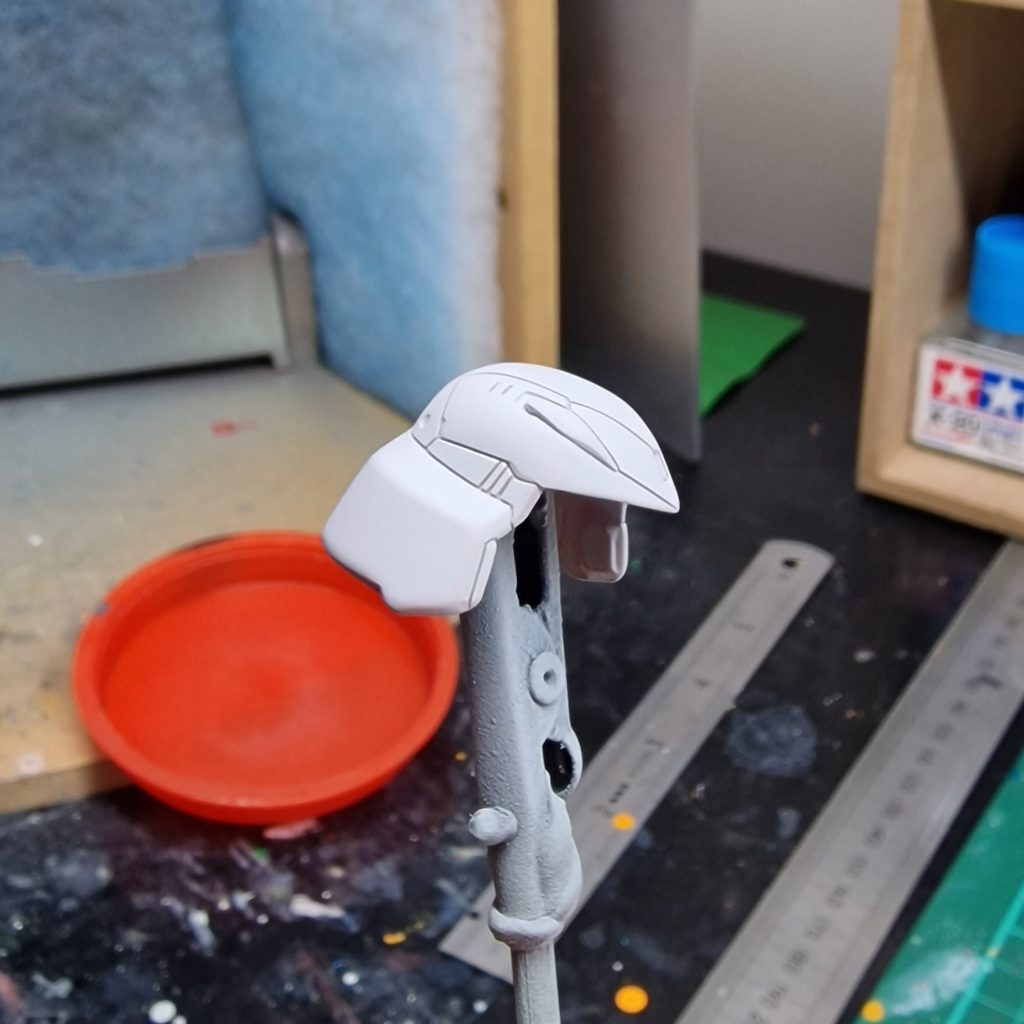
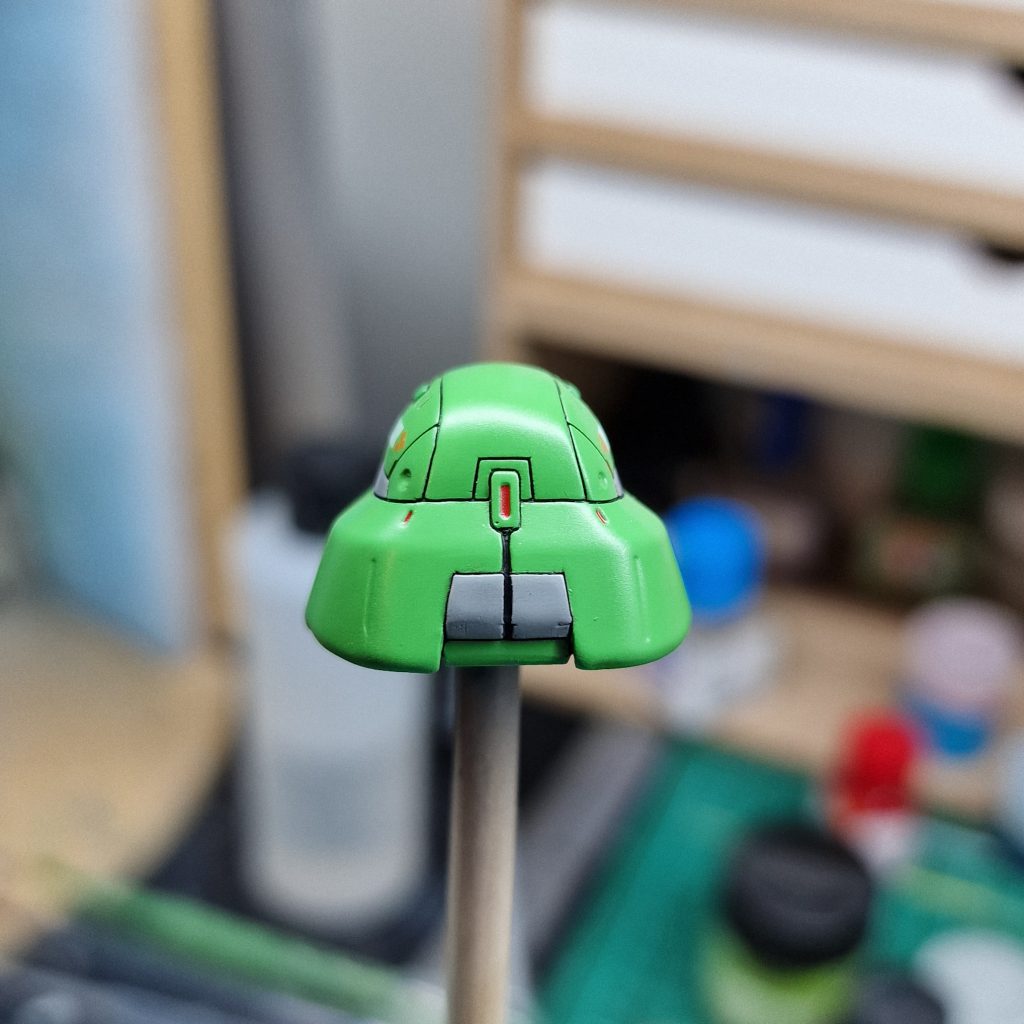
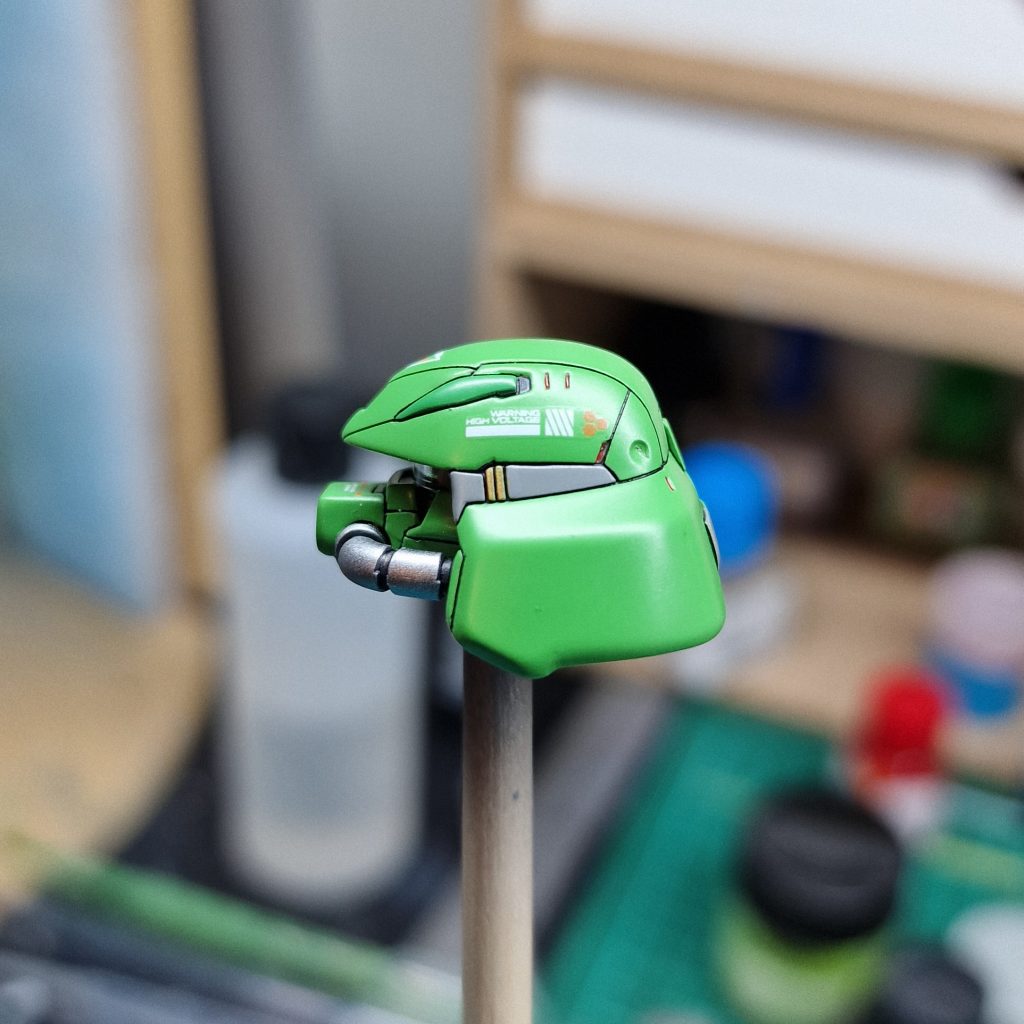
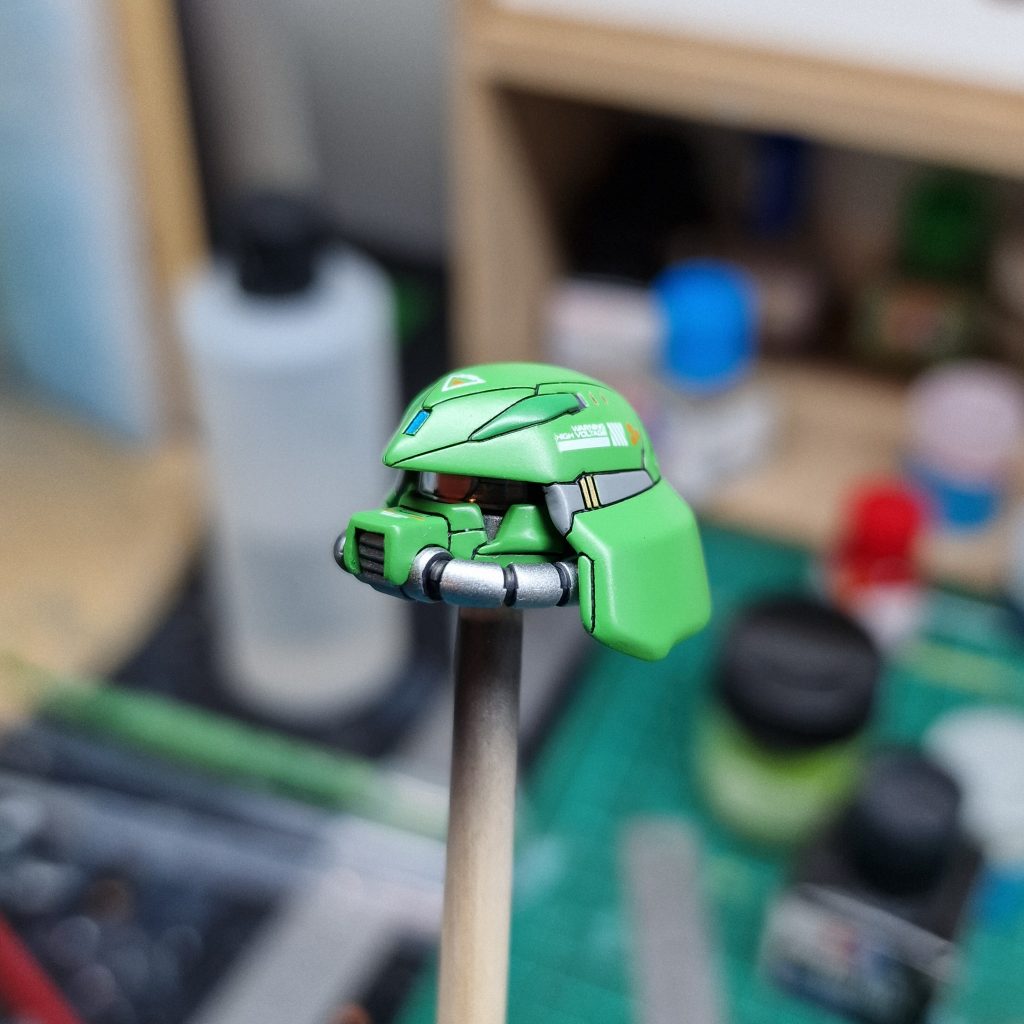
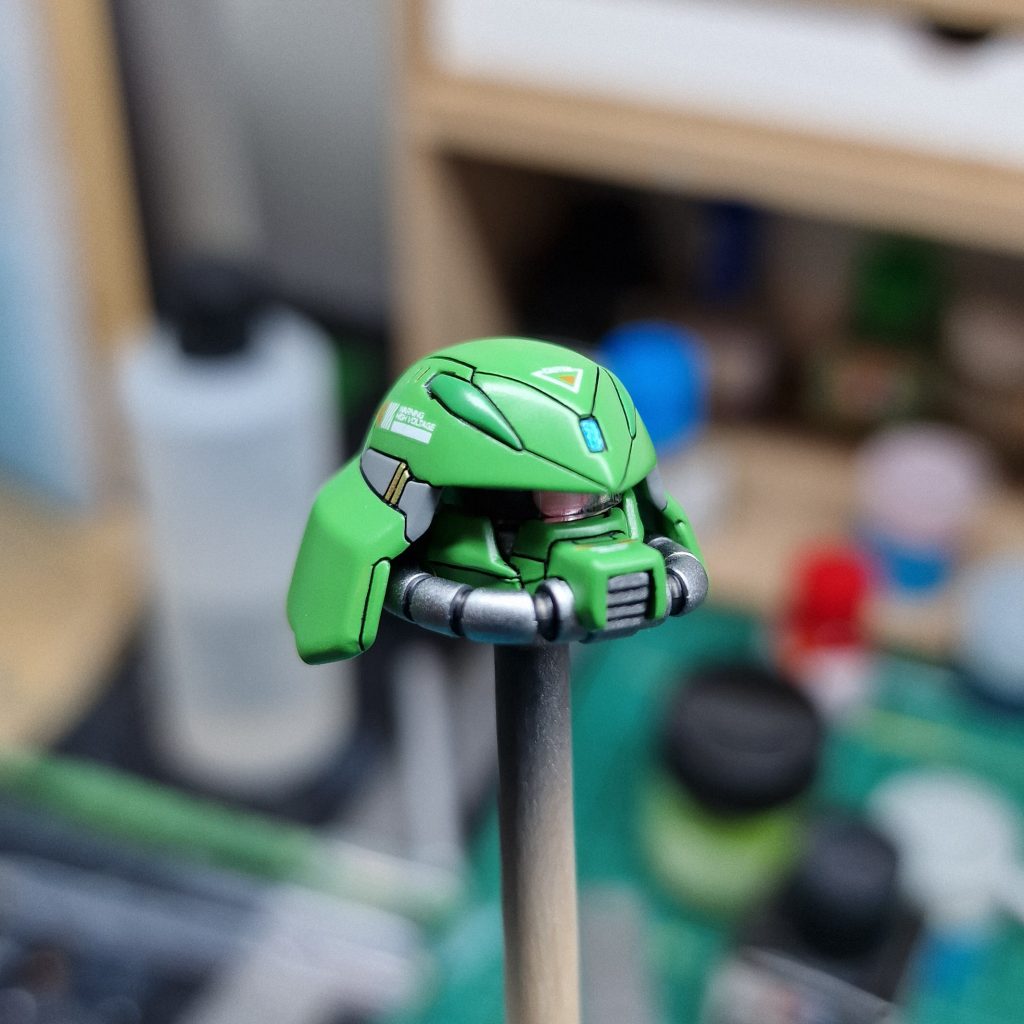
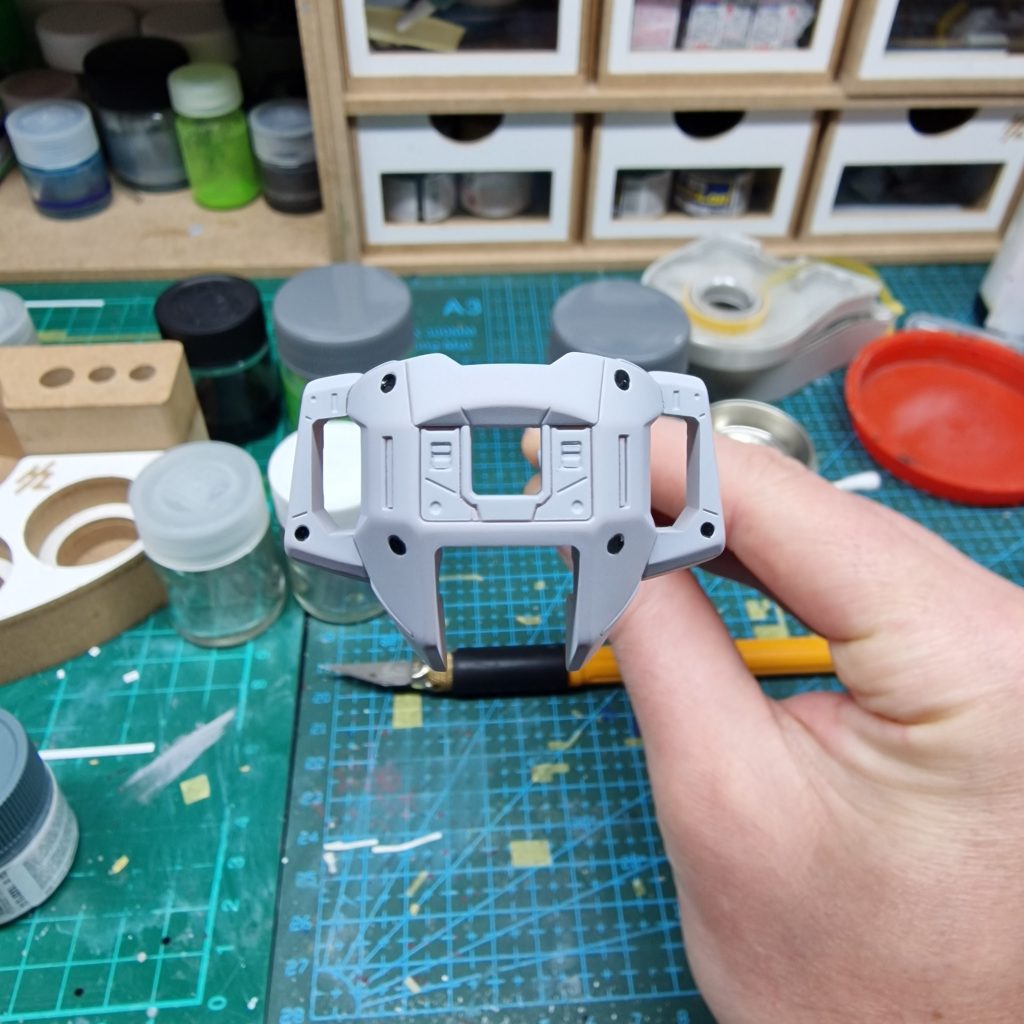
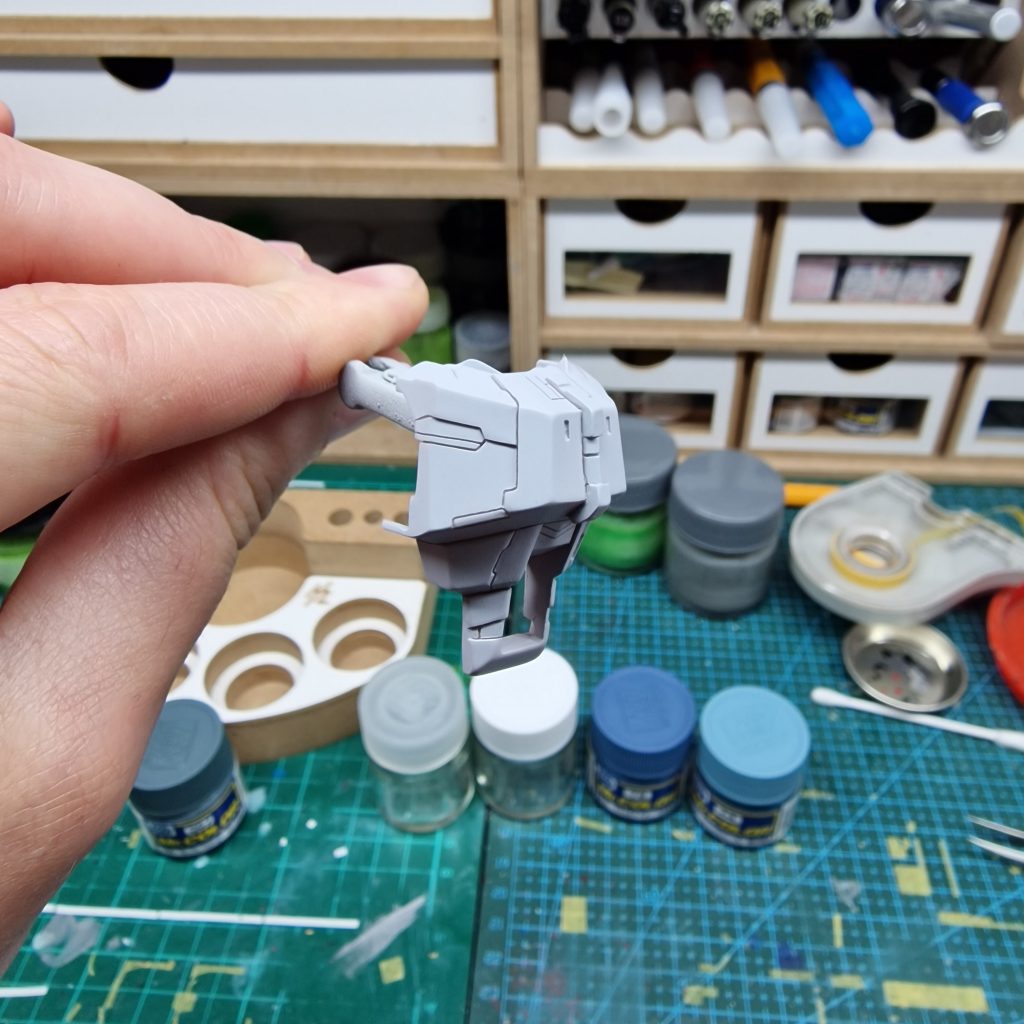
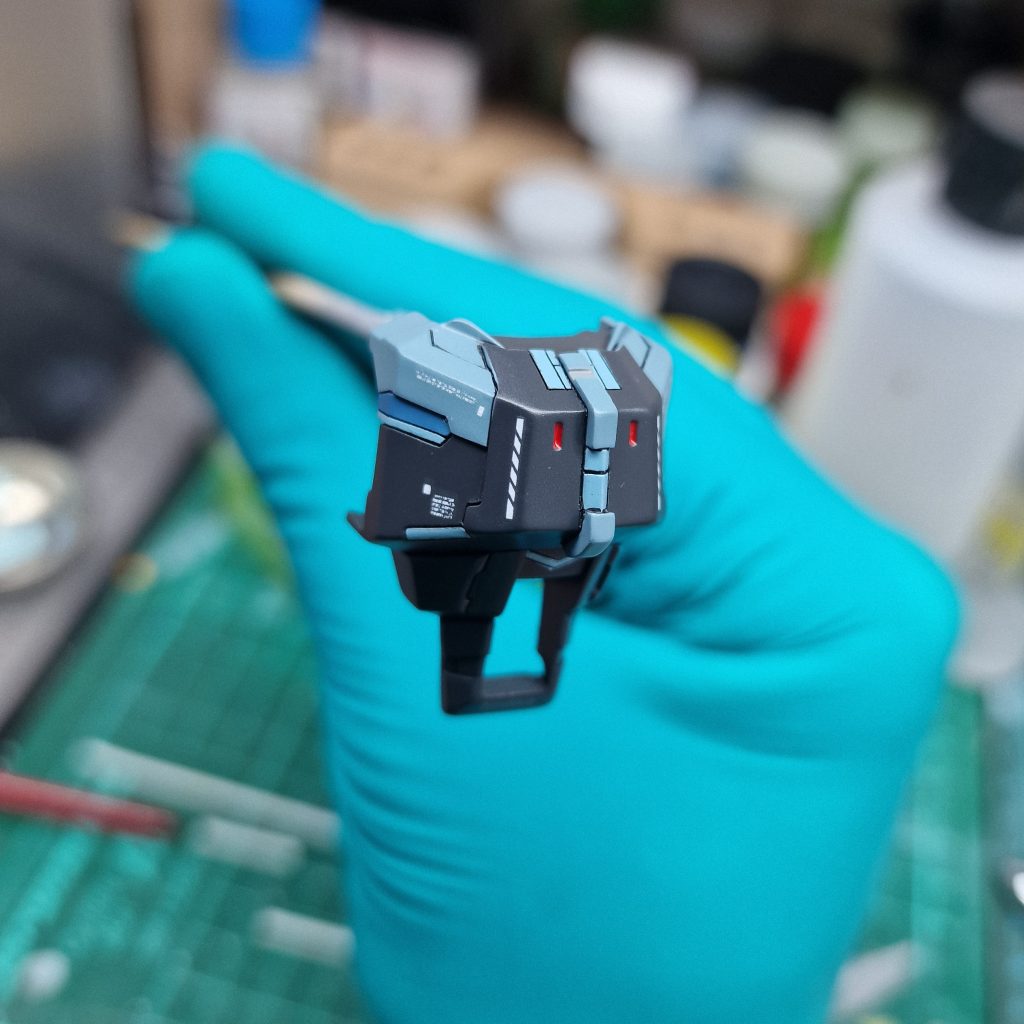
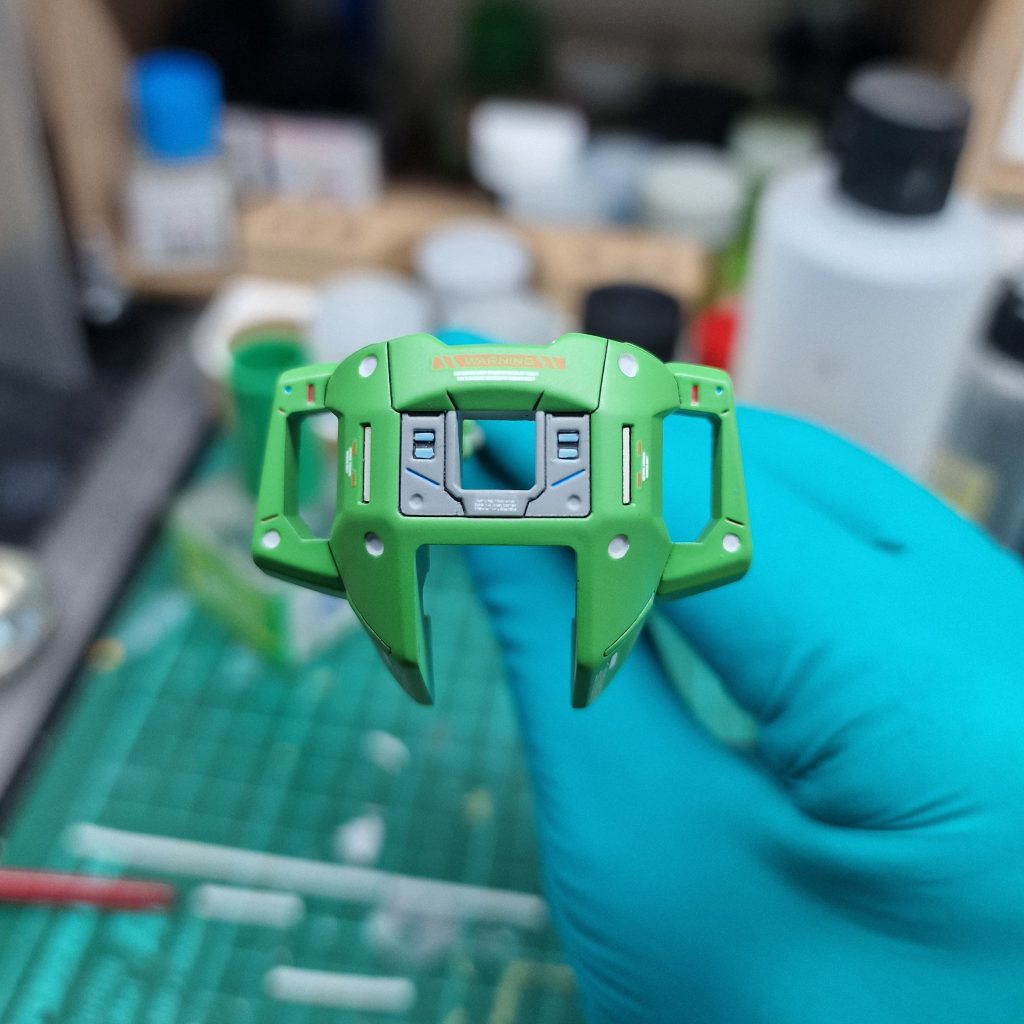
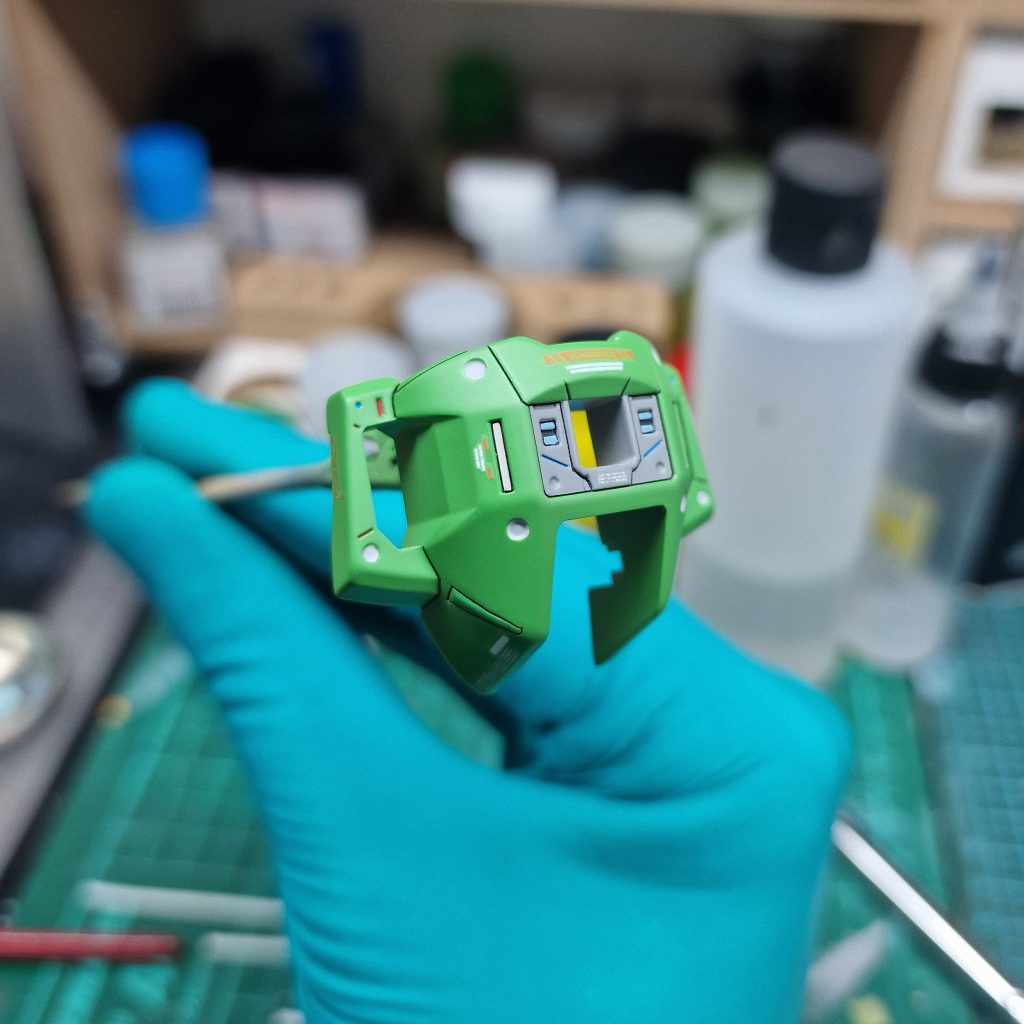
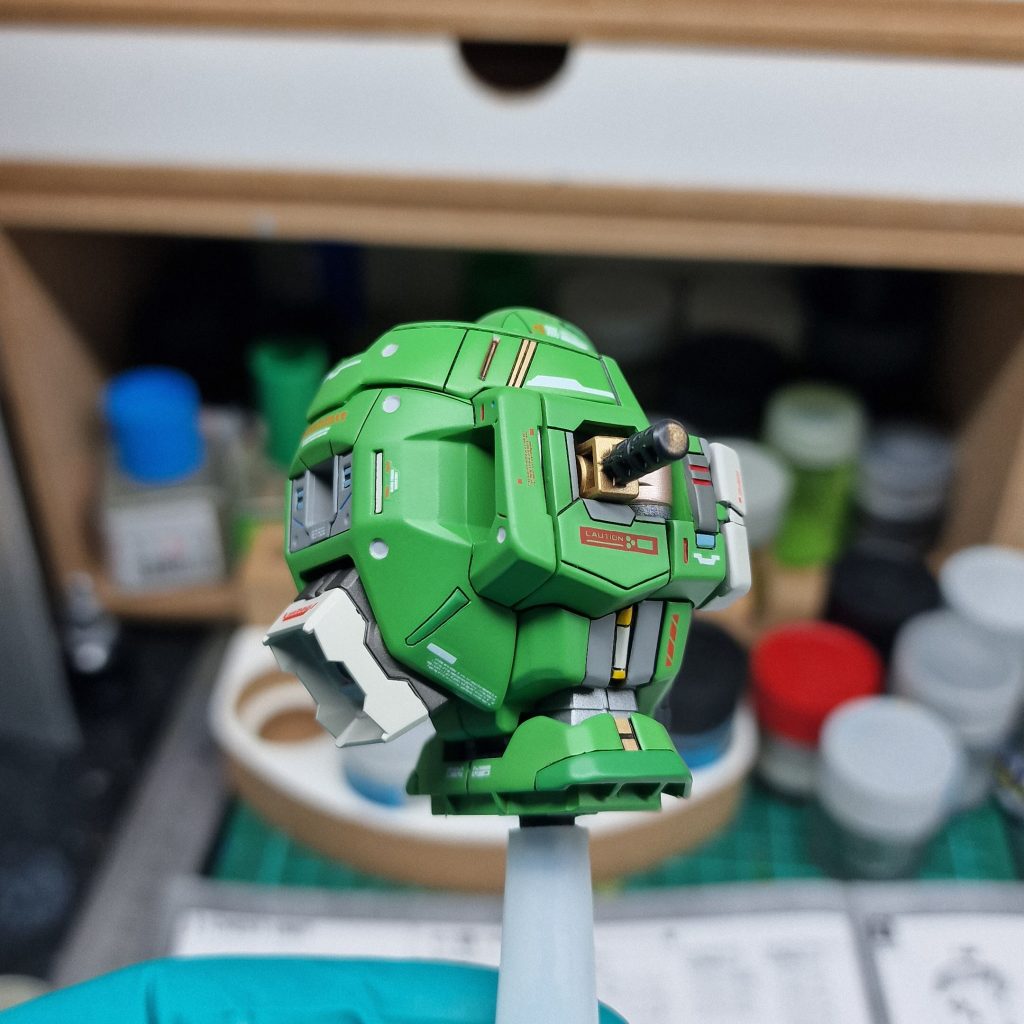
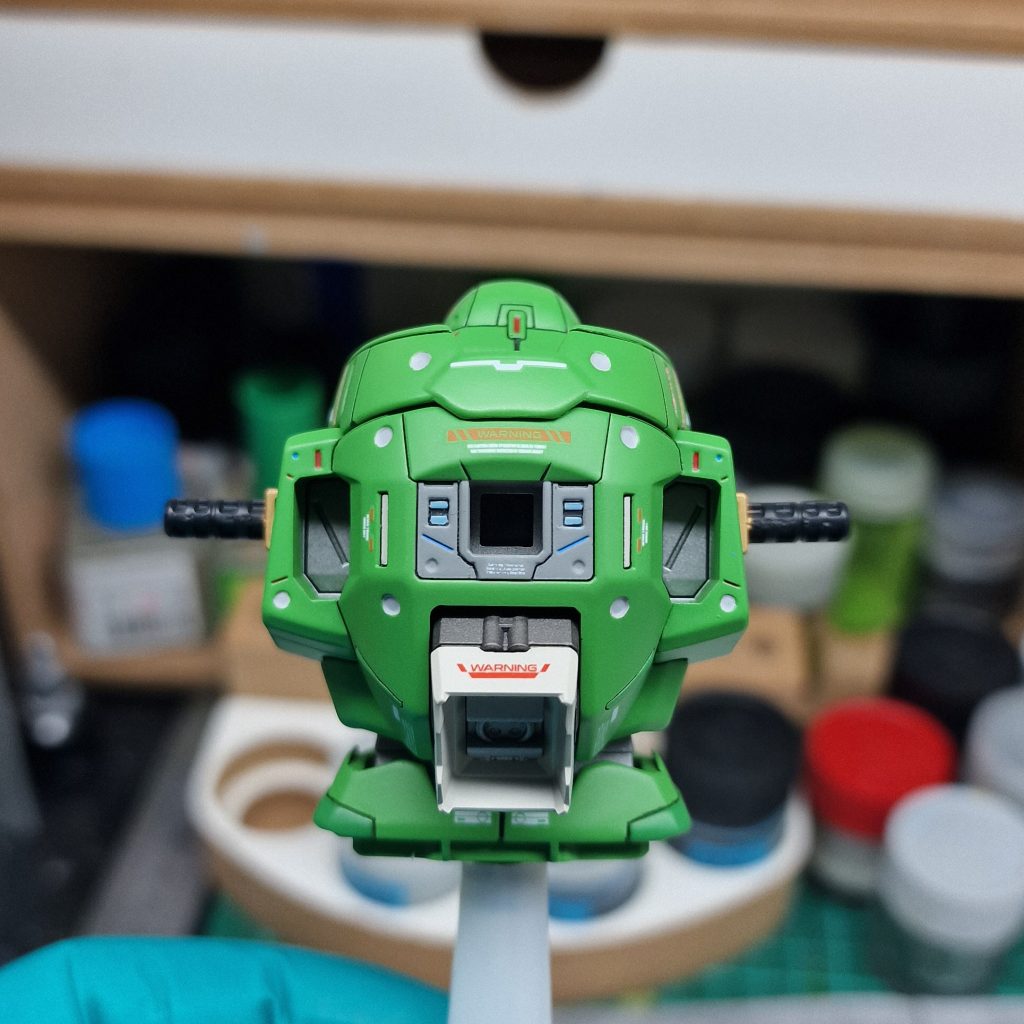
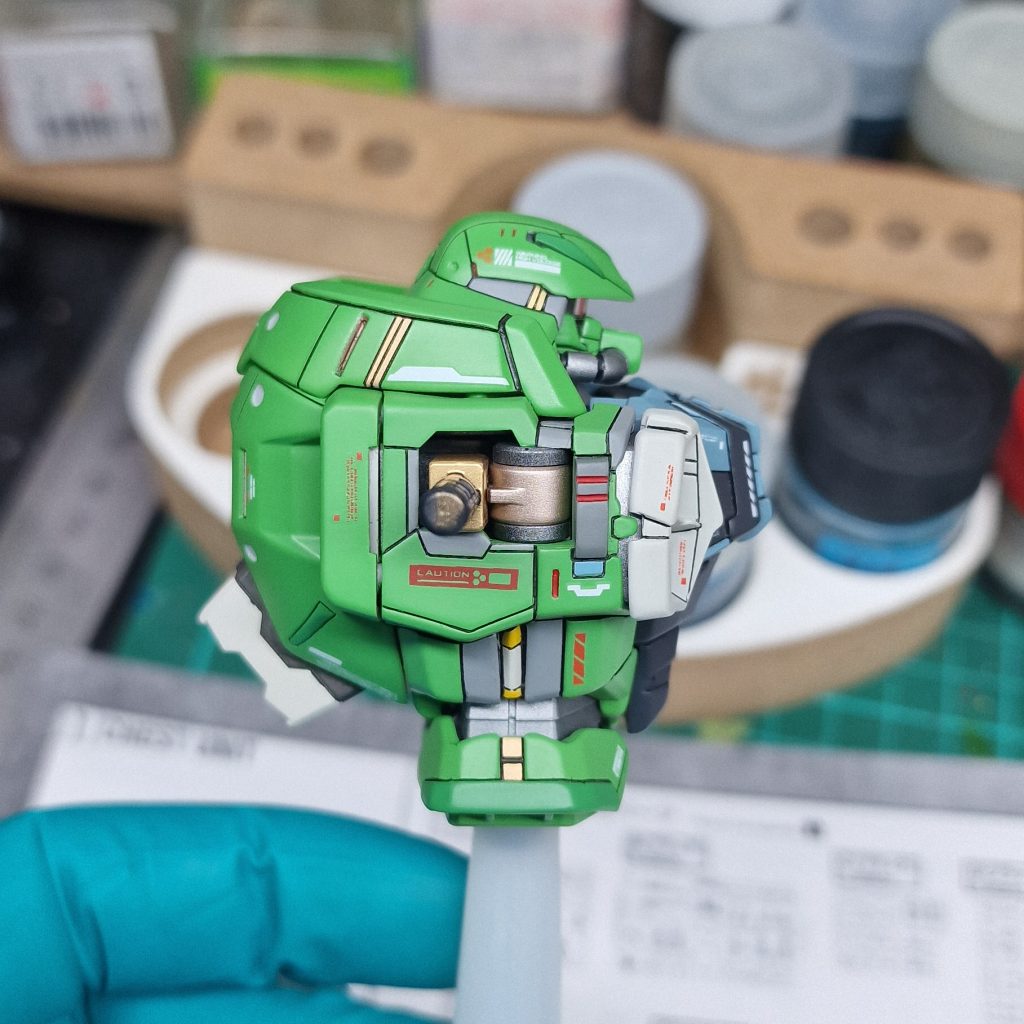
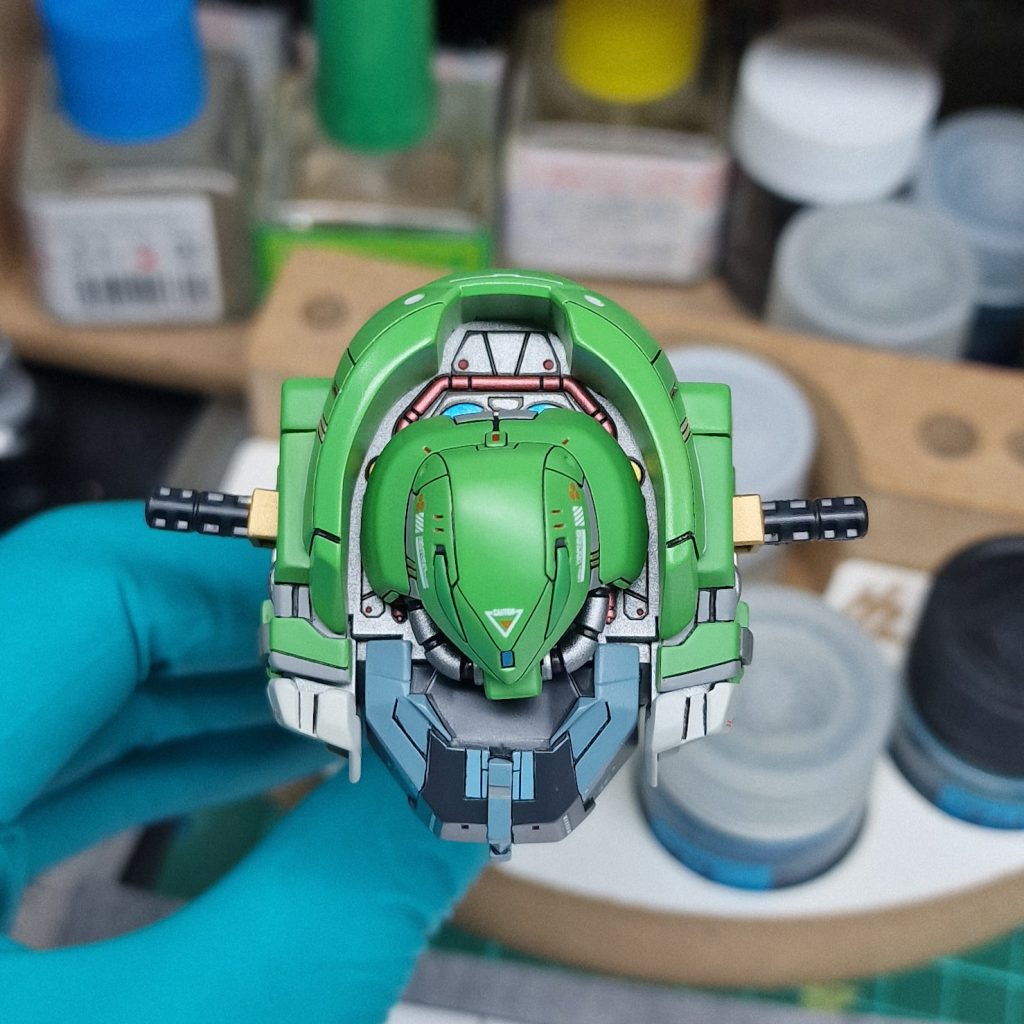
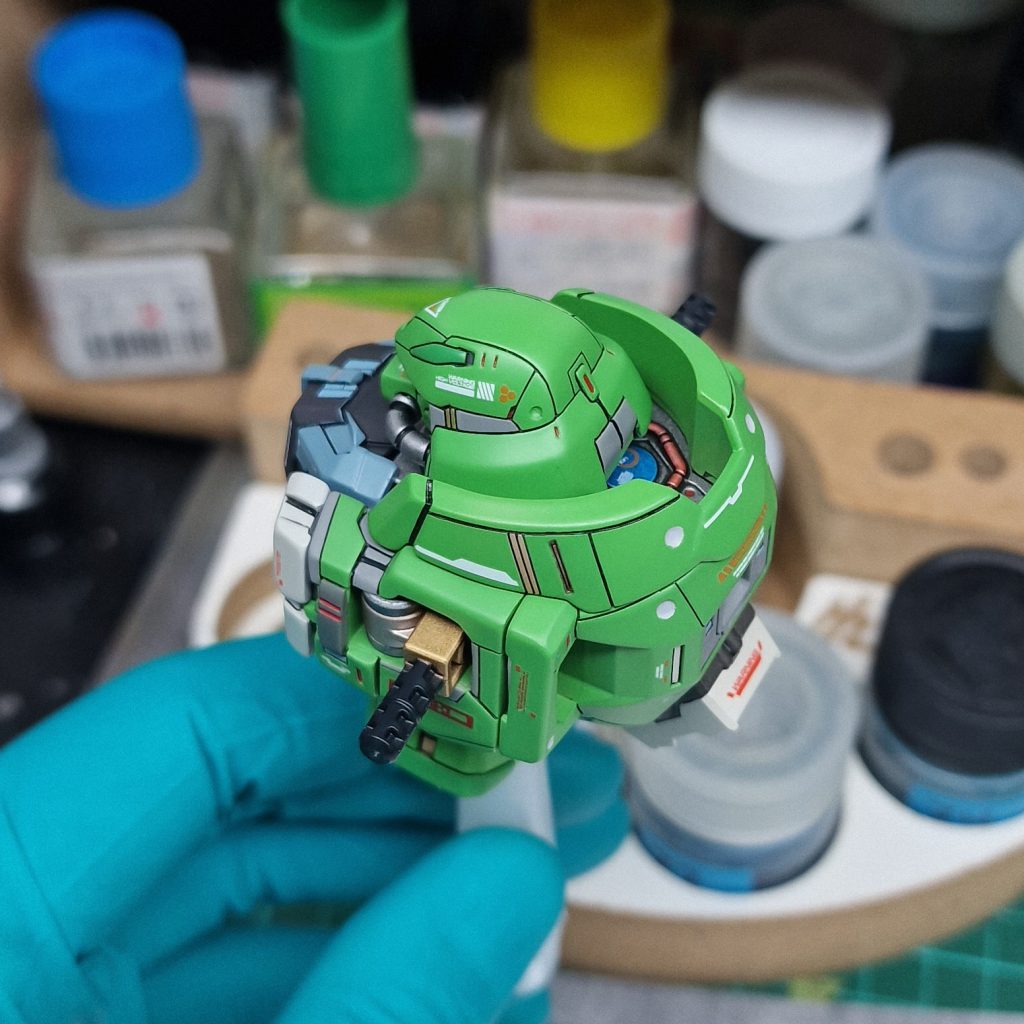
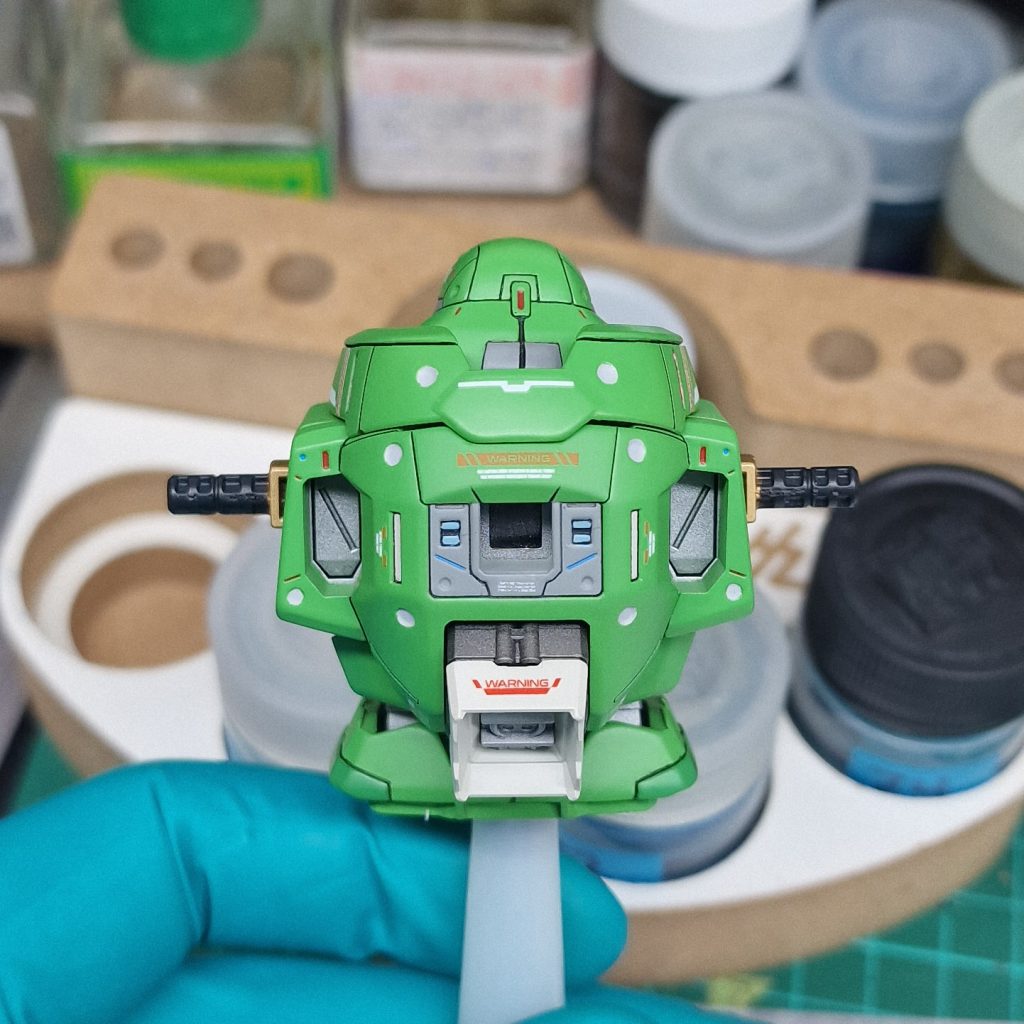
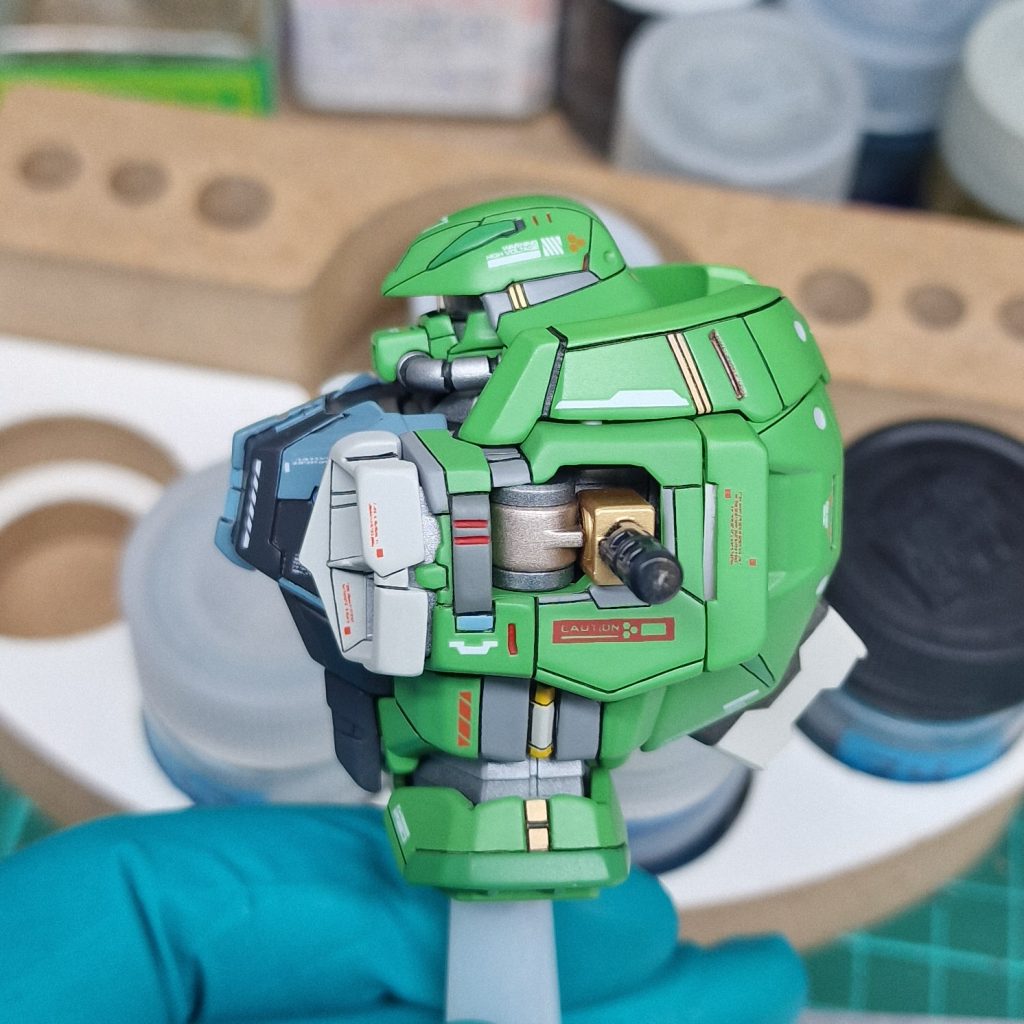
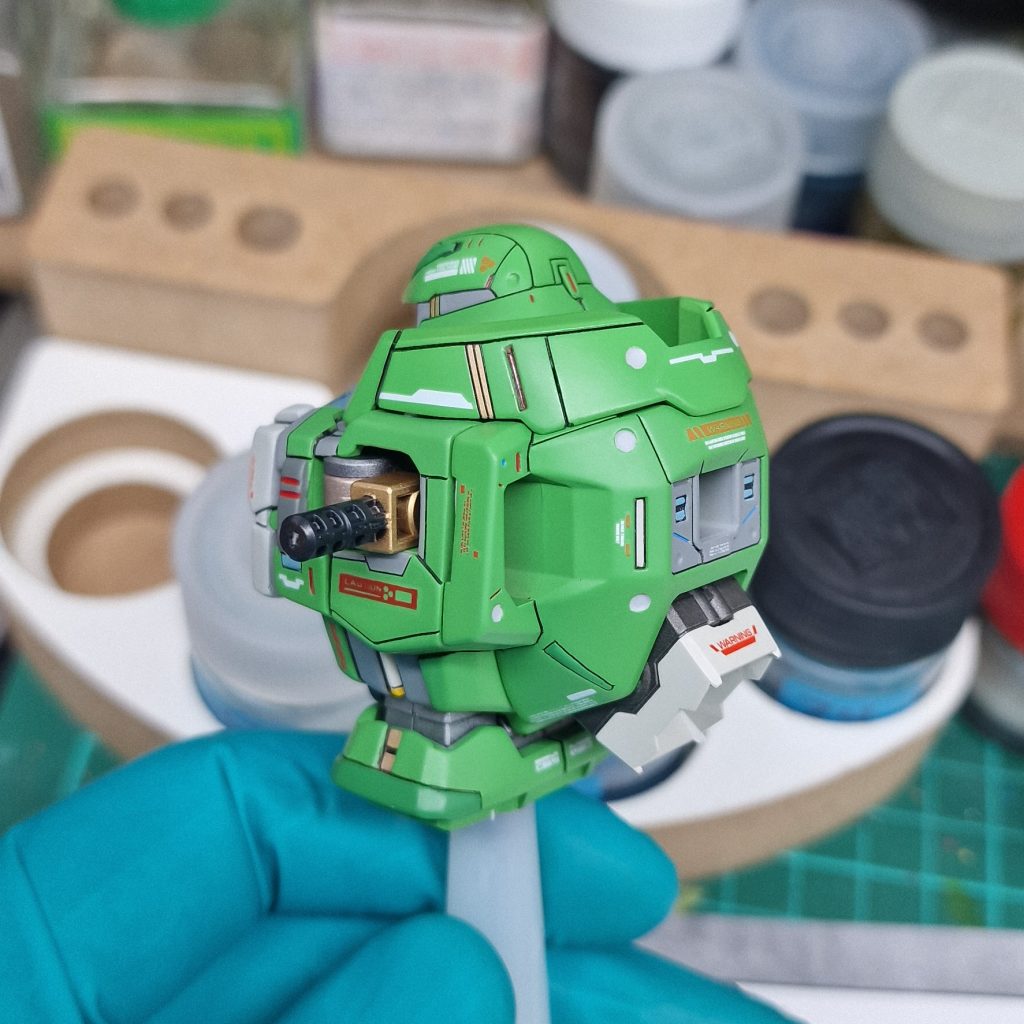
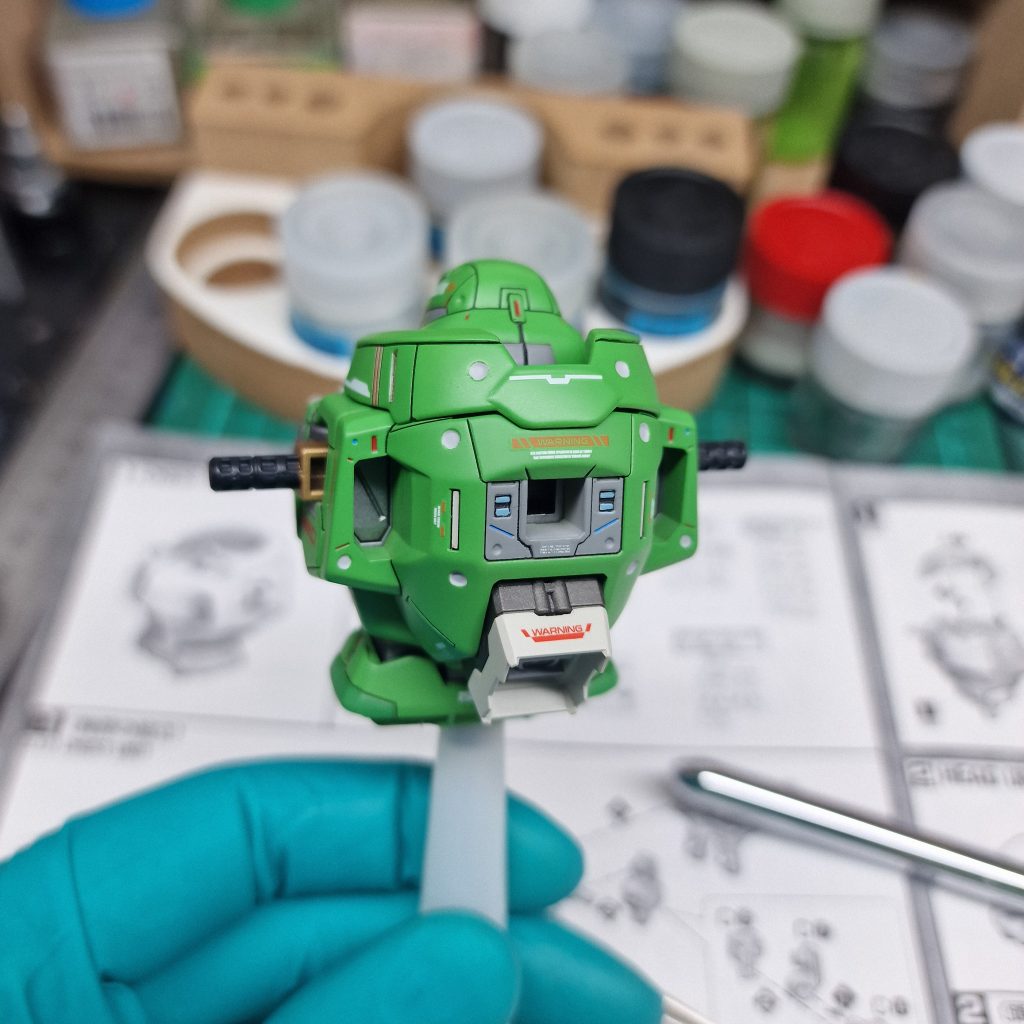
When I was happy with how it looked I washed resin parts in ultrasonic cleaner to get rid of dust from panel lines. I knew that after first priming I might have to re-scribe the panel line. When parts fully dried I primed everything with Mr Surfacer 1000. Thanks to Mr Surfacer I was able to see where I have to file/polish parts to smooth out the surface for next priming. For smoothing out surface I used God Hand’s sponge grit 800/1000. I decided to start with head/chest and when I was ready it was time to decide colors for Zaku. As I have seen many photos for this resin kit in red colors I have chosen green color! When I painted Zaku’s head I got confidence that it might not be that difficult! It came out great so the obvious next step was to paint the chest. Check it out!