Master Grade Extreme 1/100 Bandai Strike Freedom Gundam work in progress
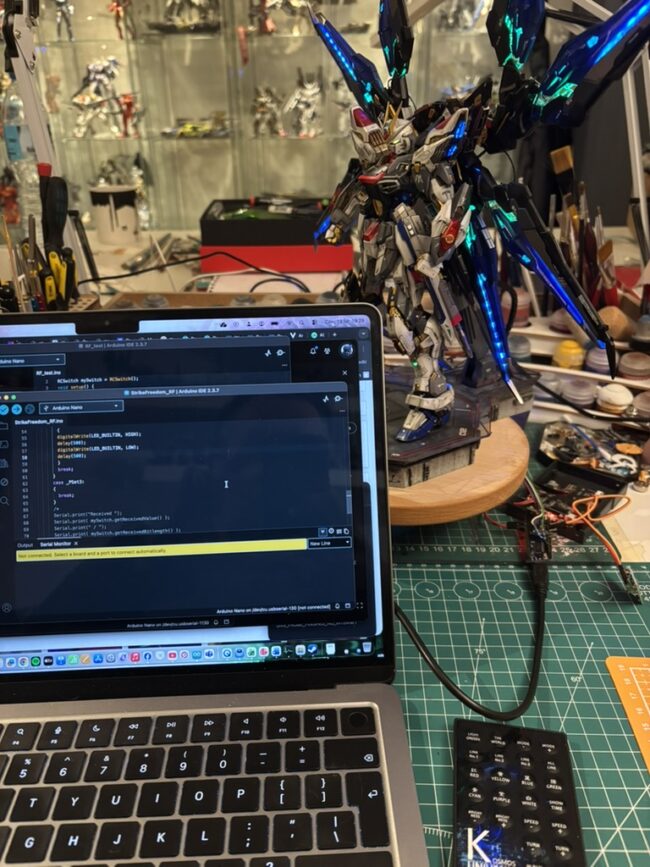
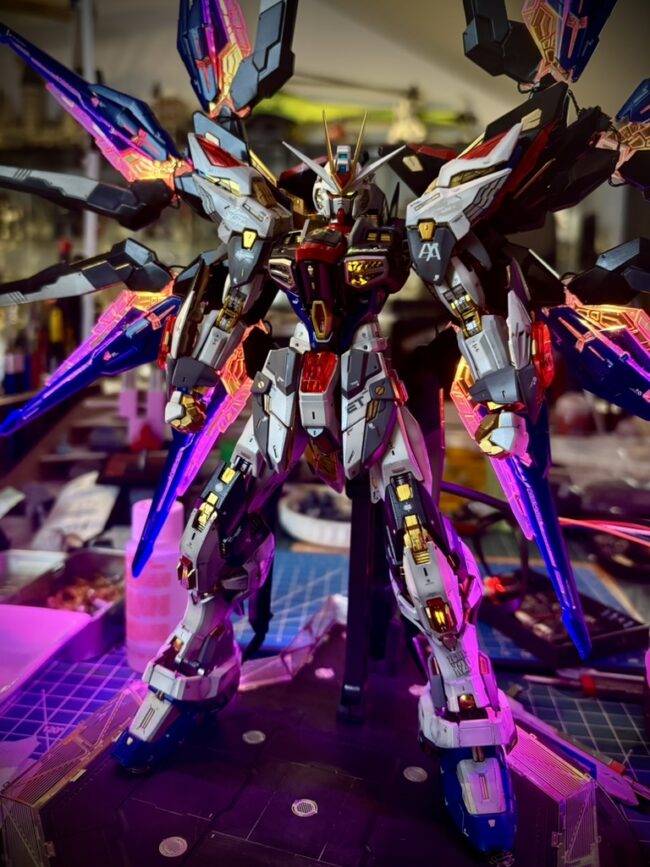
As the Kosmos LEDs set is really impressive, I think that the Gundam figure itself misses some lights.As within a build I added LEDs in the Gundam – now it is time to connect it and make it alive! I added one Arduino Nano to control the lights with simple Radio Receiver to get the…
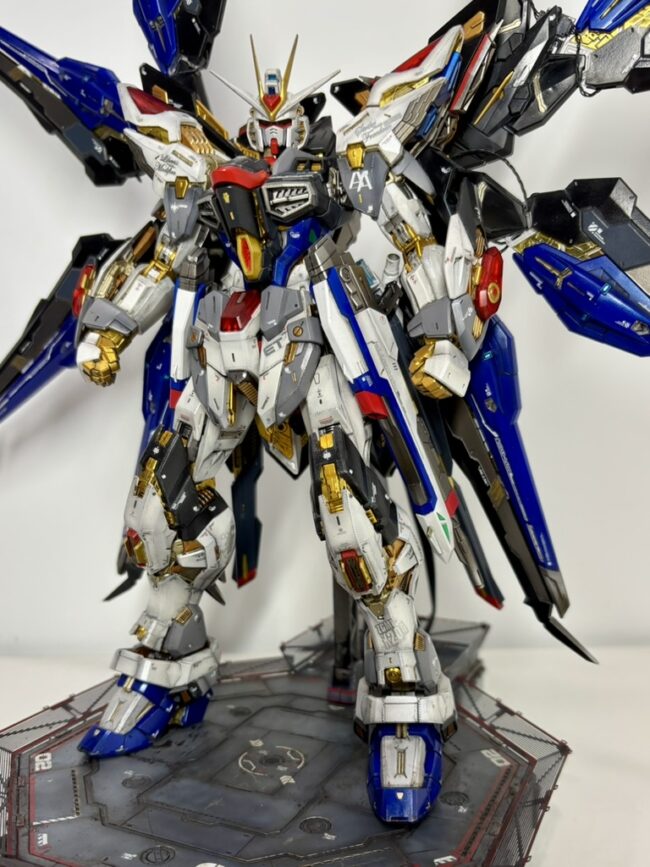
It was really fantastic build – in my private ranking MGEX Strike Freedom Gundam is on the top! Great oob kit, amazing with KOSMOS LED kit (imho – it is a must have).My part was to make a model out of the plastic toy – I like it with all the work I put in…
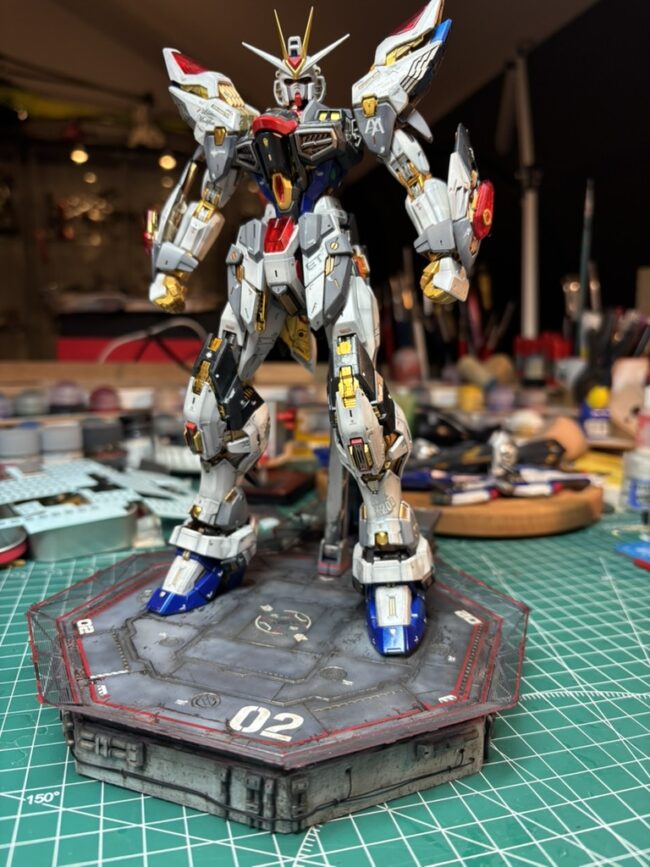
As my vision was set for concrete walls of the platform. The structure was created by pushimng low grit sanding sponge towards the extracted styrene. After painting it looks like “real concrete” 🙂 Then I was up to add some details and pipes to the sidewalls. Some printed details were used. After a while I…
I’m not planning to recreate ruined down mobile… A bit of washes did the job right. Now the time has come to paint the base! 2. Red outlines were masked. 3. Chipping medium was applied and some initial pre-shading. 4. Main color applied – Gaahleri acrylics from Mecha Range. 5. Highlights here and there… 6.…
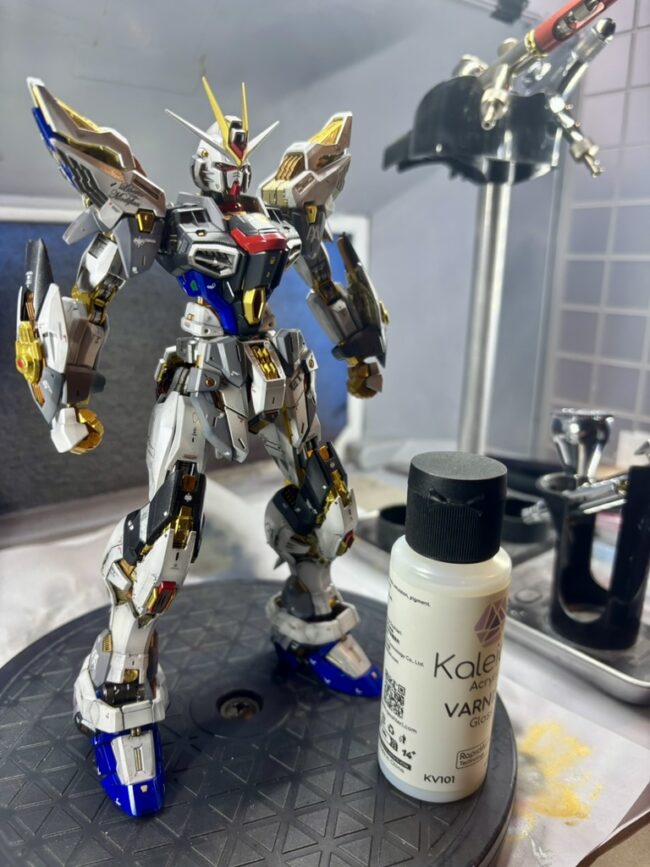
Acrylic gloss warnish went in – I like Gaahleri acrylics more and more…I found red color on the backpack exhaust a bit boring – need to adjust it.Additionally I painted funnel barrels. Yup – now it looks! Definitively better! Leg exhaust ports received photoetched nets to cover LEDs – the details is what I like!
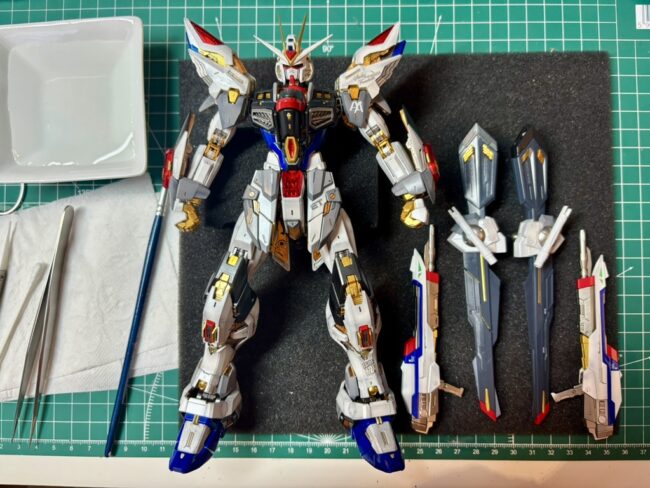
Something like fifteen hundreds thousands decals after… for some time I need to rest from the water slides…Backpack and all armament received proper amount of “cautions/warnings/don’t steps” – it looks good! I decided to hide KOSMOS control box inside the base. To achieve that I need to rise the base by 7mm. Spontaneously I took…
All body decals are in place… to break the decal-fever, the time has come to fix the stand.I don’t like the stance and position of standing/flying Gundam supported with oob base arm.Quick decission – and 2cm of the arm were removed… Let it cure – we’ll see was that a good idea…. Now Strike stands…
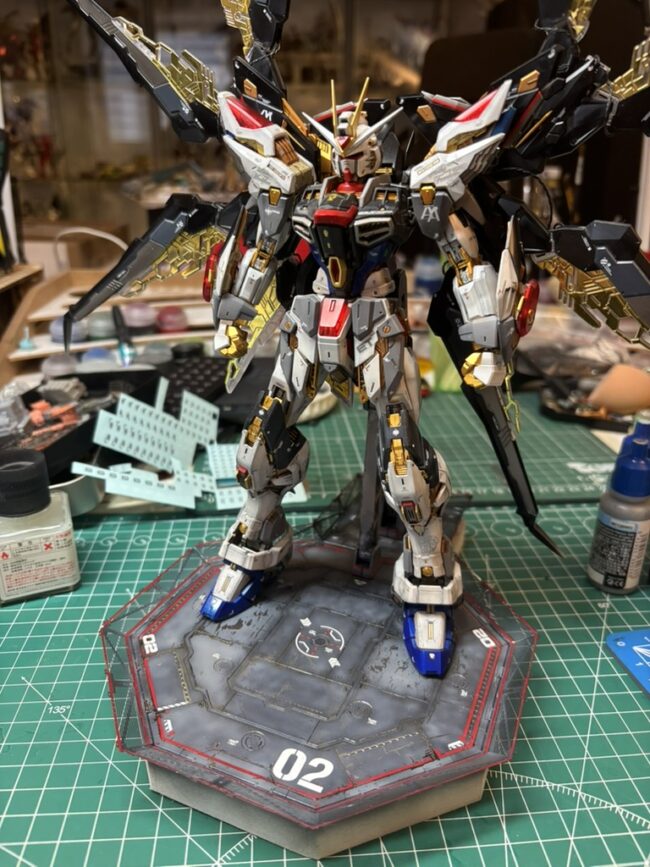
First waterslides applied – I’m using box decal set plus some from my spares. … and of course, I went decal heavy… I like it this way 🙂 That,s real Bad Boy!!!
Some painting here, some photoetching there…I need to admit that behind all positive aspects of this kit, photoetched parts are week link… maybe it’s something me, in fact all photoetched details I need to wash in deboner, and remove ugly glue residues that sticks to metal parts…. Anyhow – there is still somethign to impove…
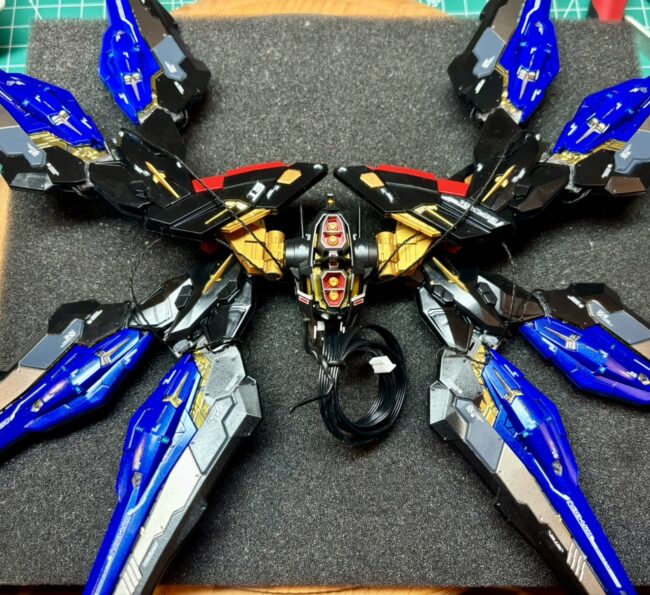
All wings parts prepared. I was trying to hide as much as I can of Kosmos parts and connections. It finalized with cables outside and connectors partly hidden.I found this way way better than just gluing the pcbs to the backpack and wing armor. Quickly towards assembly!!!The thing has a presence! Let’s turn it on!!!Initial…