

Landing gear & details

I started by adding some missing details to the tailwheel assembly. Next, I added a few photo-etched parts from an Eduard detail set and replaced the main wheels with resin ones from True Details’ Corsair/Hellcat set.I also used solder wire to recreate the brake lines, using reference photos of the actual aircraft as a guide.…

DECALS — bringing the Corsair to life!

I really enjoy applying decals! It’s one of those moments when a model starts to come alive, with all the markings adding character and making the aircraft look much more realistic. I’m not using any decal setting solution this time — just Micro Sol to soften the decals after application and help them conform to…

Work on Corsair continues

I masked off the fabric-covered sections on the upper surfaces and applied a slightly lightened version of the camouflage color, mixed with a touch of white, to simulate sun-faded paint. I wanted to create some subtle tonal variation and make those surfaces look a little more weathered. Yup, that did the trick! Next, I masked…

Camo done, lets chip that paint!

The final camouflage color is on! After letting the paint dry for a while, I removed the masking fluid and started chipping the paint, revealing the worn layers underneath. I think I went a bit overboard in a few spots, but overall, I really like how it looks at this stage. The worn and chipped…

Intermidiate blue camouflage applied

With the Insignia White areas completely masked off, it was time for the next color. I applied Intermediate Blue, the middle tone of the US Navy three-color camouflage scheme, creating a transition between the white undersides and the darker upper surfaces. Now it’s time to let everything dry before moving on to the final camouflage…

Let’s chip&scratch this thing!

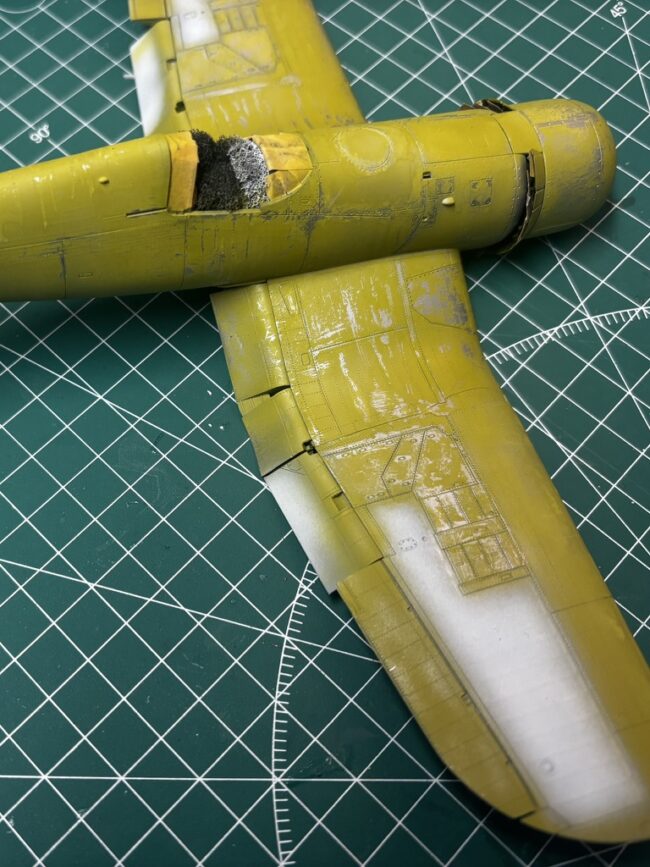
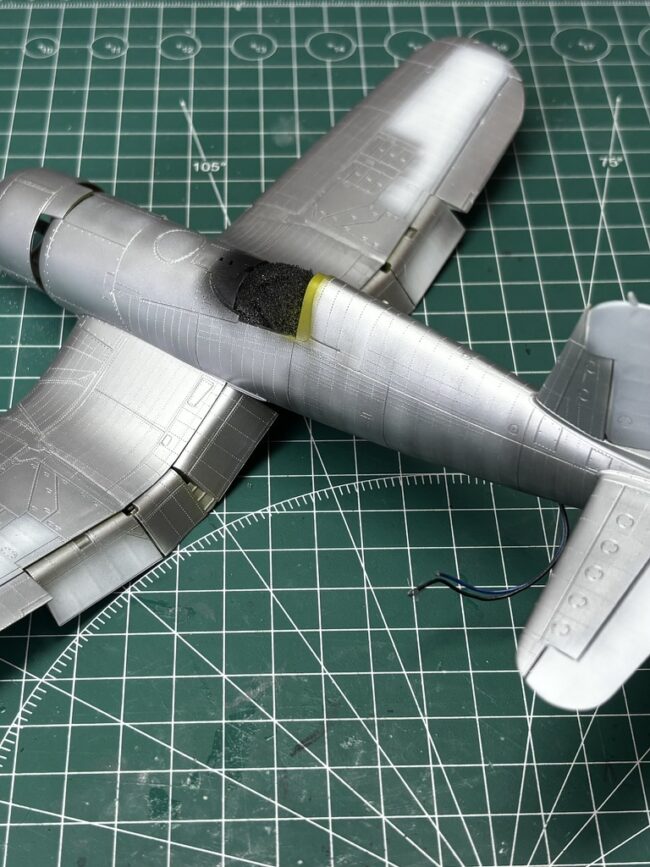
The weathering process has begun!First, I applied a slightly diluted layer of Vallejo Chipping Medium over the upper surfaces of the aircraft, where I expect to see the most wear and tear. Next came Tamiya XF-4 Zinc Chromate Yellow, applied to the metal surfaces to represent the anti-corrosion primer used on the real aircraft 🙂…

Corsair is back on the workbench

Last weekend, I made some good progress on the Corsair. The main airframe components are finally assembled, and what a silhouette! There’s no mistaking this bird — those distinctive inverted gull wings make the Corsair instantly recognizable. After doing some research, I started looking for reference photos of the specific aircraft I wanted to recreate.…