

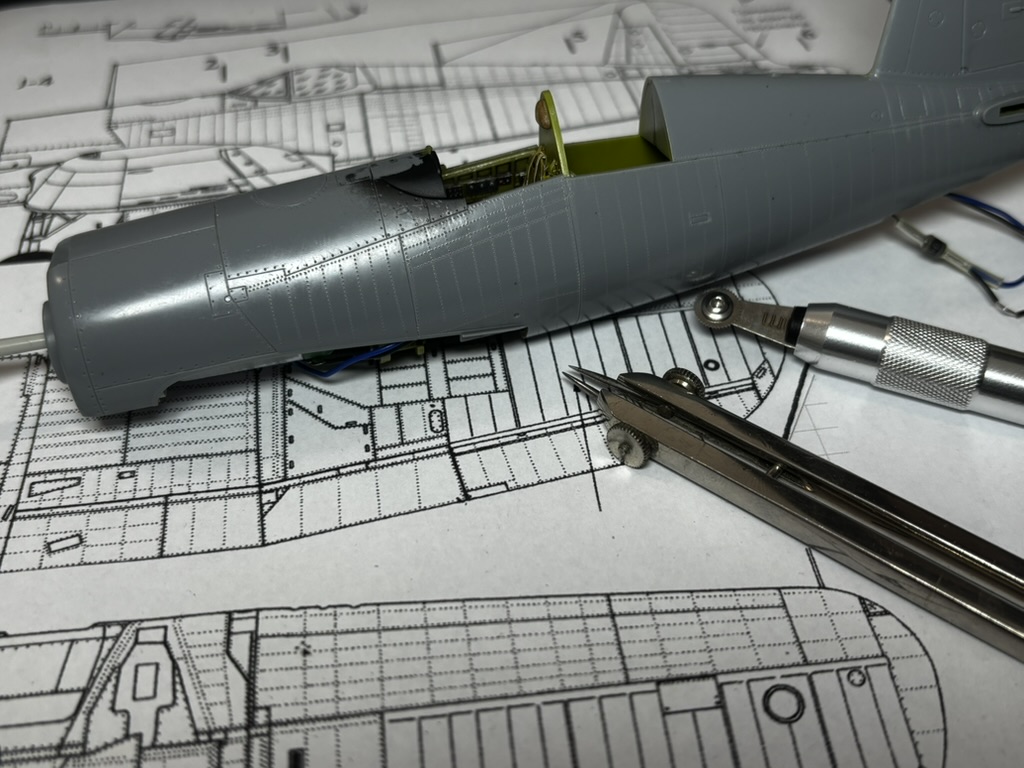
As I mentioned earlier, the plan is to recreate the rivet detail across the entire Corsair. It may sound like a tedious job, but with the right tools and a bit of patience, it’s actually quite relaxing
Check the references, mark the lines, add the rivets… and repeat. 🙂
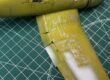
First, I mark the rivet lines on the panels, using the aircraft drawings as a reference.
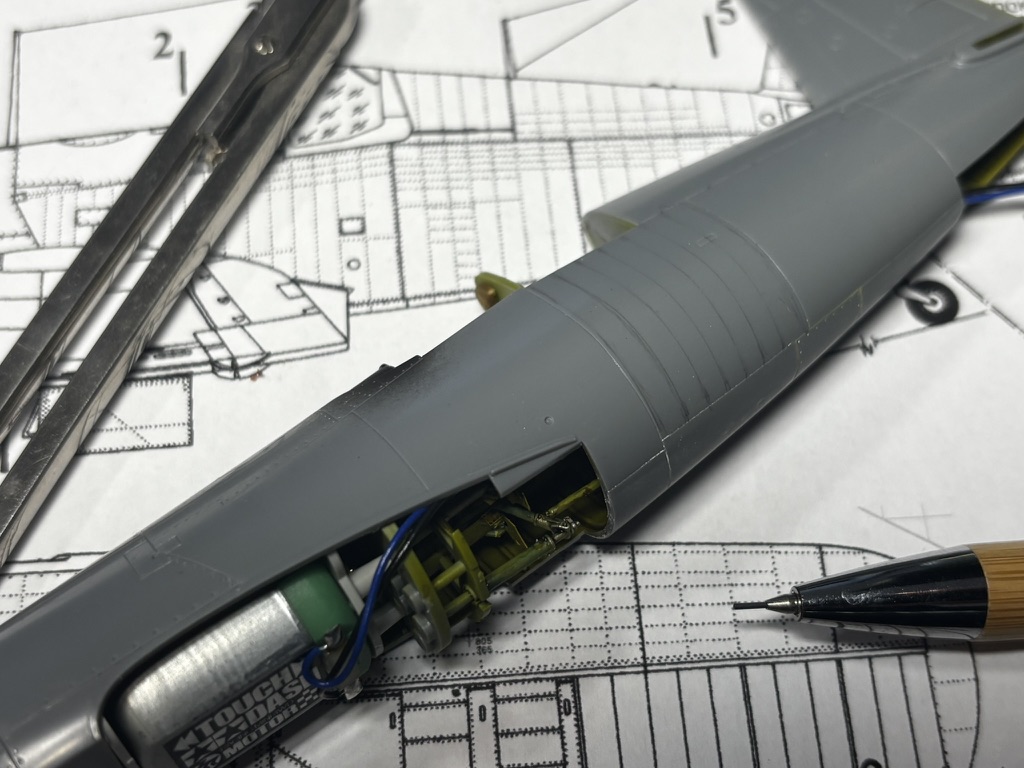
II’m using a Trumpeter riveting tool designed for 1/48 scale aircraft models. After a few attempts, I’m getting the hang of it, and the lines are finally coming out almost as straight as I’d like. 😉
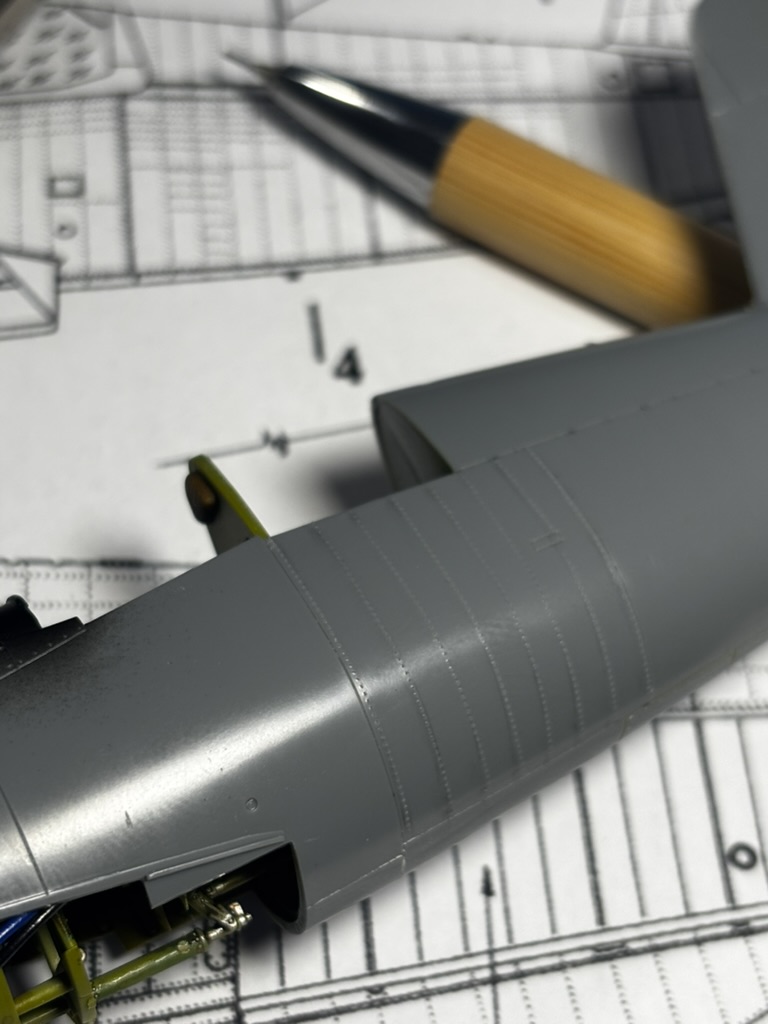
Of course, things don’t always go according to plan. Uneven spacing, misaligned rivets, or lines that aren’t quite straight — it happens. Whenever something goes wrong, I fill the affected area with Mr. Hobby Mr. Dissolved Putty, let it cure, sand it smooth, and start all over again.
And again… and again… 🙂
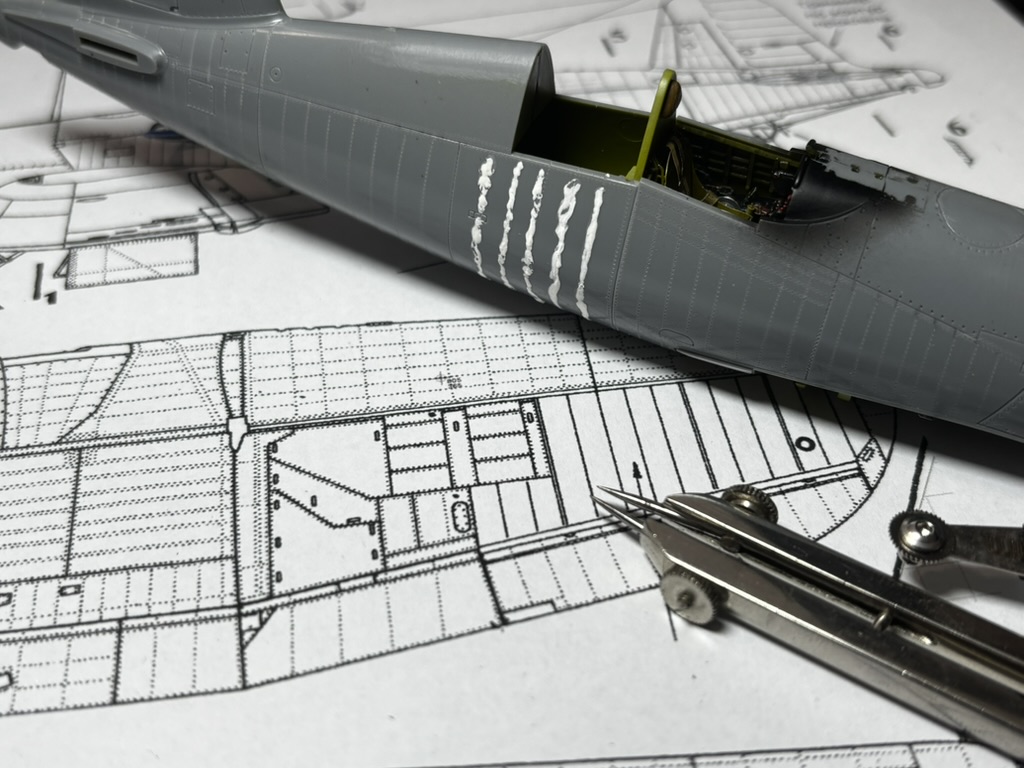
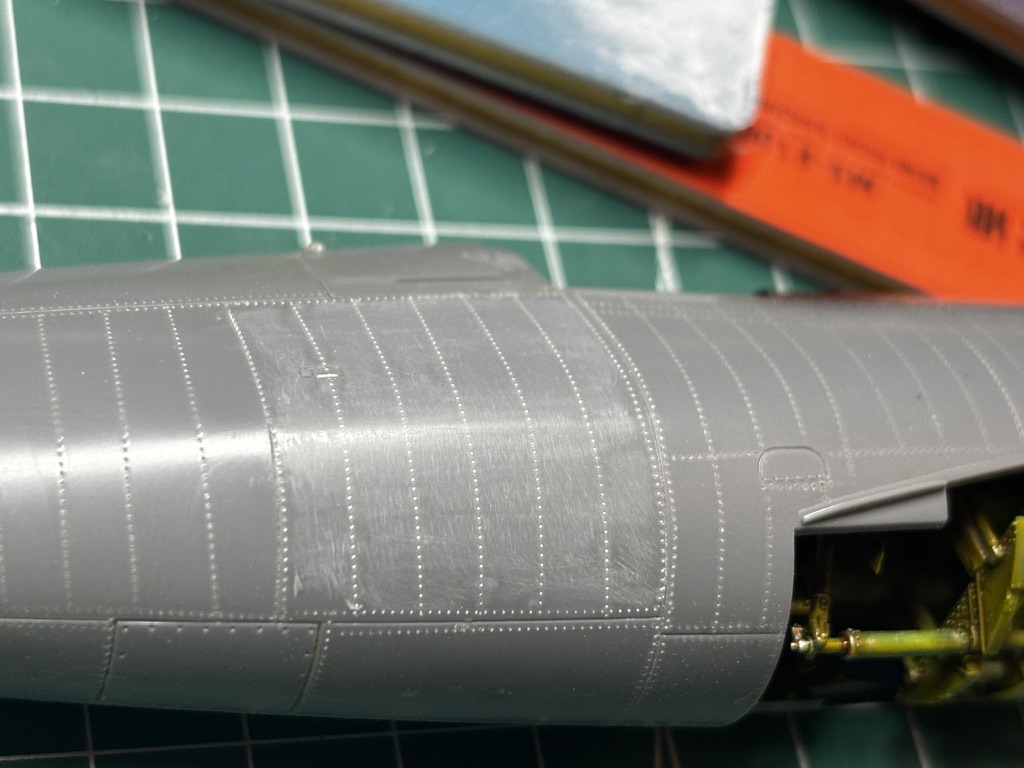
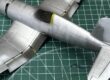
I managed to complete the rivet detail on the fuselage in a single session.
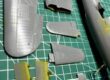
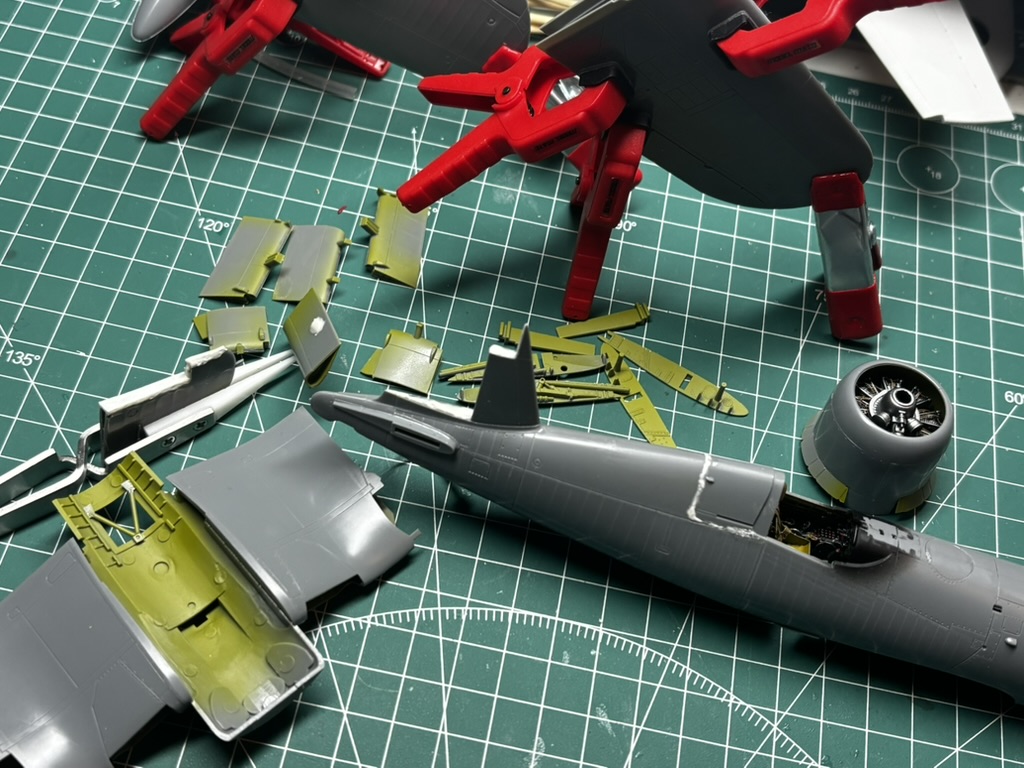
I also separated the control surfaces, as I’d like to position them at slightly different angles to give the finished model a more dynamic and natural appearance.
With that done, I glued the wing sections together and prepared them for the next riveting session.
More rivets ahead!