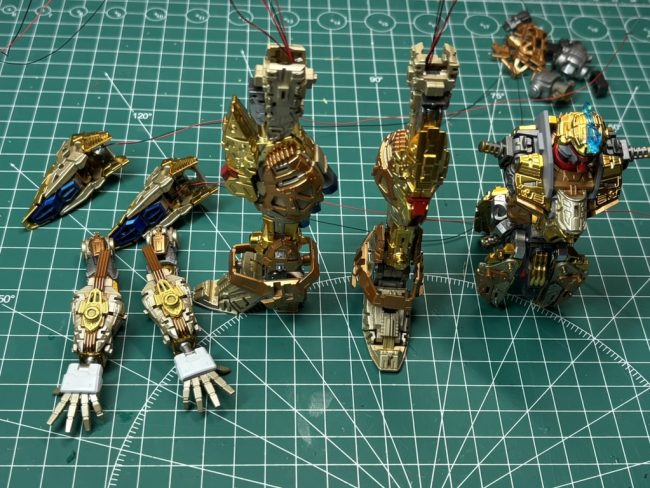
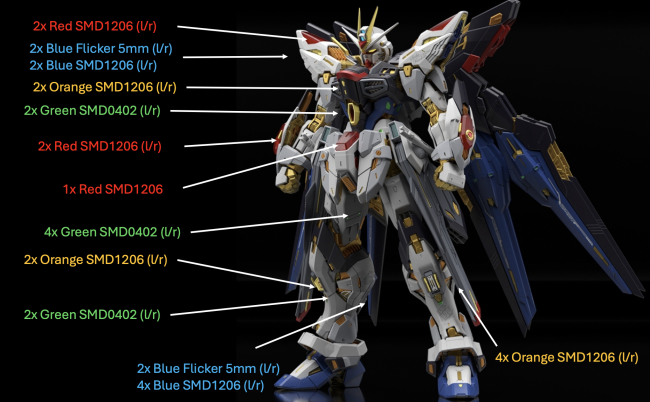
Master Grade Extreme 1/100 Bandai Strike Freedom Gundam work in progress
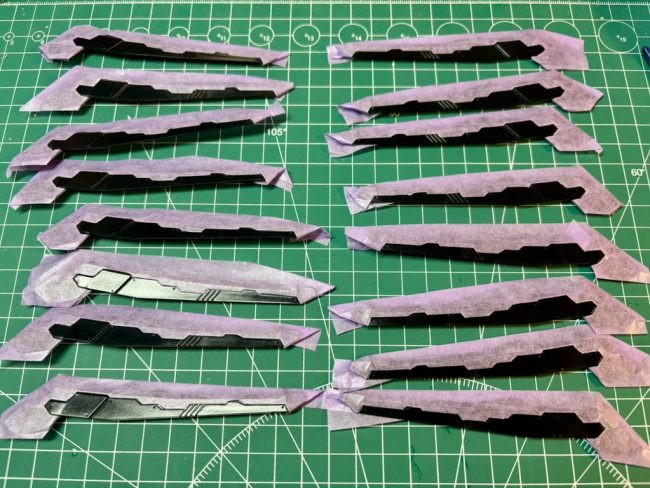
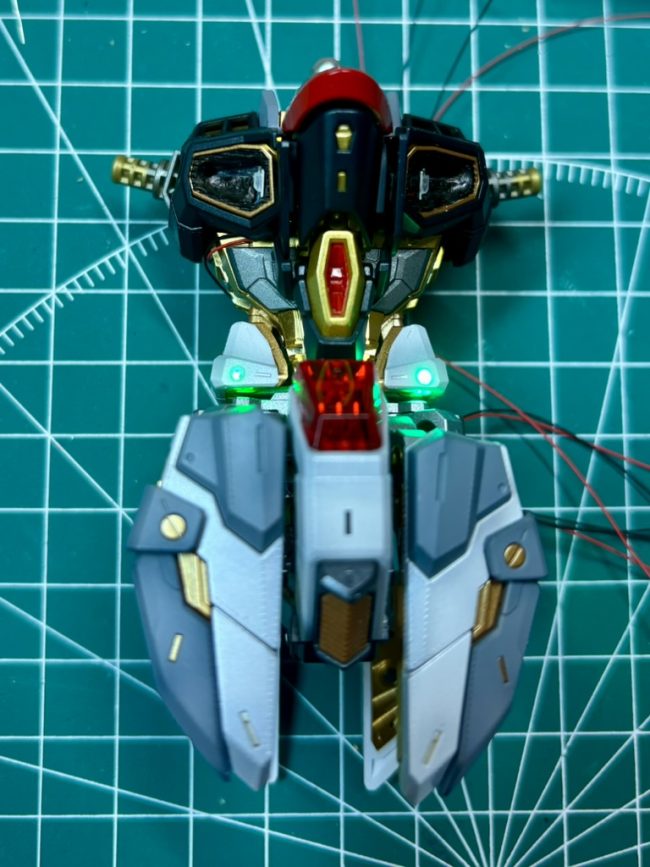
I’m not fan, or even I hate repeatitive tasks! “Wings” parts painting went pretty well. First time I used Kaleido paints from Ghaaleri – will put quick review soon. I didn’t liked the idea to attach KOSMOS connector boards on top of the backpack.Some cutting and I successfully hided main connector withim backpack “wings-hub”. Now…
New Years Eve 2025, a bit of time for building or I shall say soldering 🙂 Ok lets do it! Some hours later 😉 It looks like I made it! Now to fix “magsafe” connector to the butt 🙂 I used resign glue to put it in right place. Time for testing. LIGHTS – ON!…
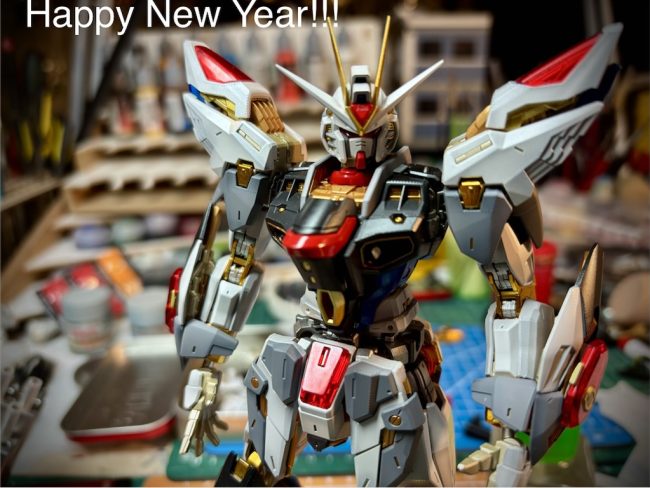
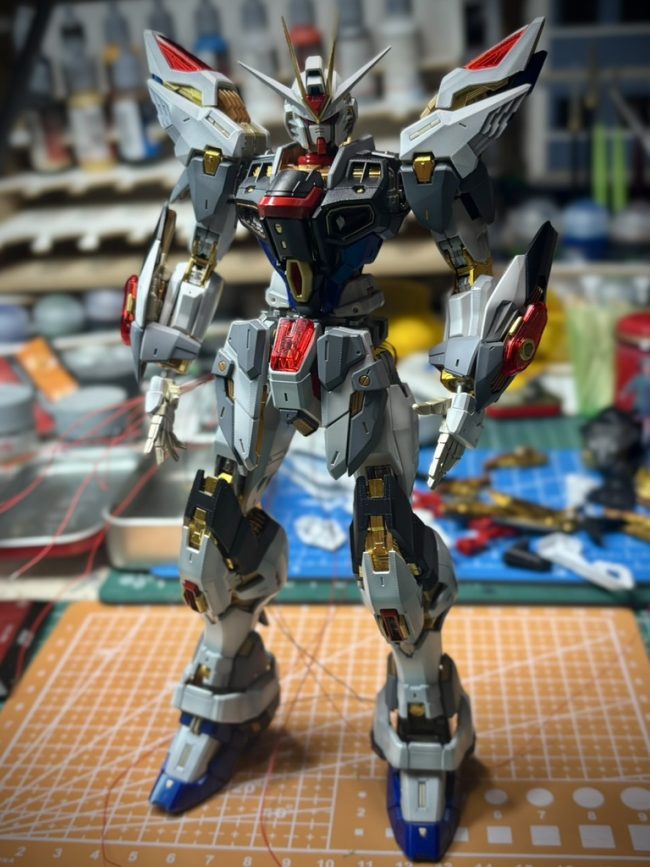
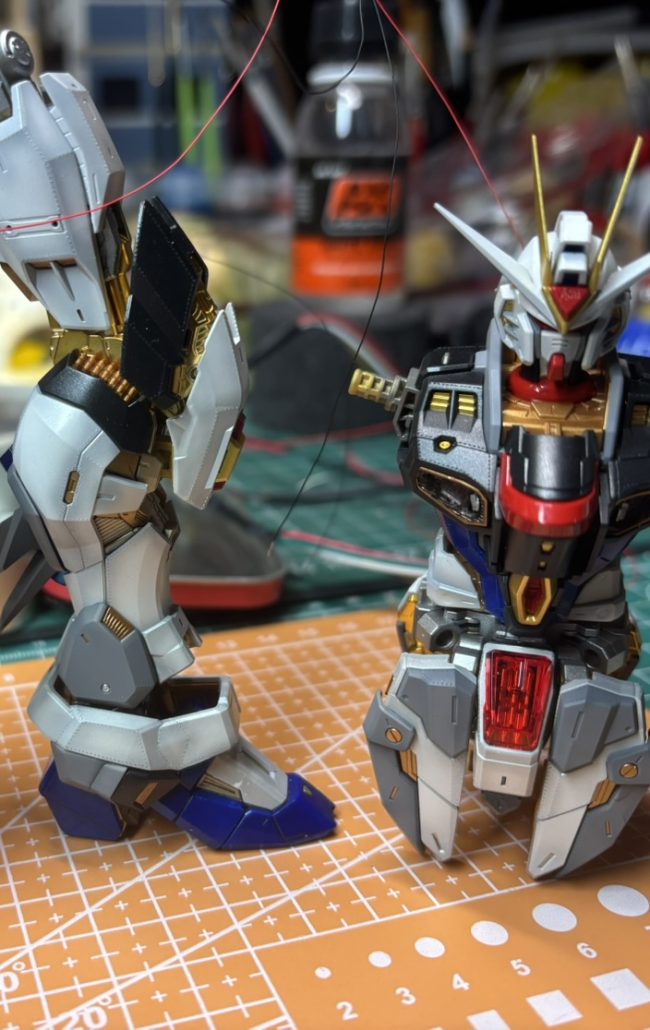
Yes! Finally I can look at Gundam design standing on his own legs! I think I overshoot number of cables….. Next step…. Connections…. Fingers crossed
Last two LEDs were installed in Gundam’s body. All torso cables were connected together and mounted at back. I decided to use magnetic connector for Gundam LEDs. Instalation place was quite obvious 😉 I removed one of the grills from the back of the model and fit the connector in. It was exhausting… One arm…
Armor parts on the legs went fine. I added two green LEDs per leg and fit the cables in.It was a bit tricky to run all the cables through tights inner frame, some thinking and surgery and somehow I fit all wiring in.Green lights looks nice! Ok it looks like, the next step will be…
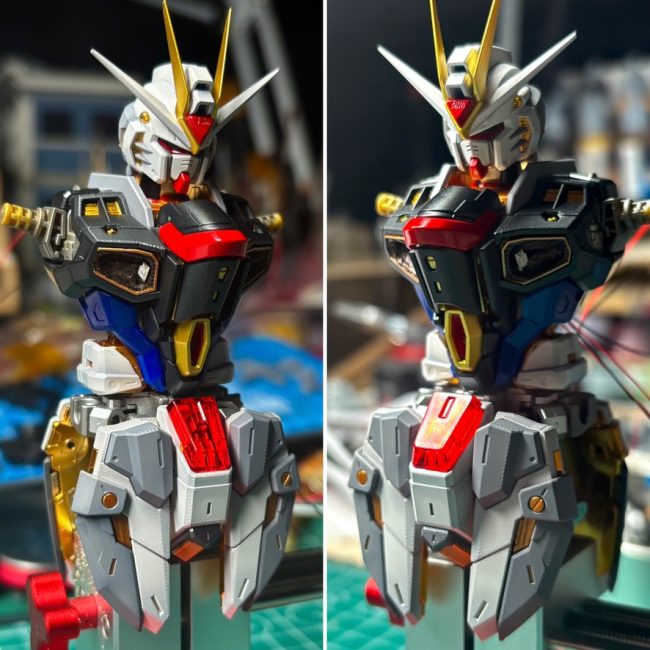
I aligned all the cables on the model body and put painted armor plates in.Looks good! Colors and subtle shading went fine. Next step – legs and arms armor. In meantime I found that “somehow” I lost one piece of forearms cover… it is my first time… I never ever lost any model part before.It…
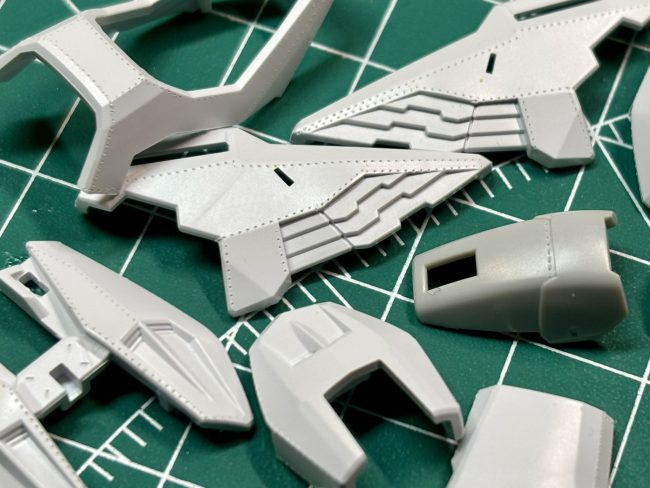
I decided to add a bit details to flat surfaces of the model and use riveting tool for 1/72 scale airplanes.I think it did the job well to improve general appearance of the model. Then time has come for painting of the armor parts. I used Tamiya LP paints, medium gray for initial shades. Then…
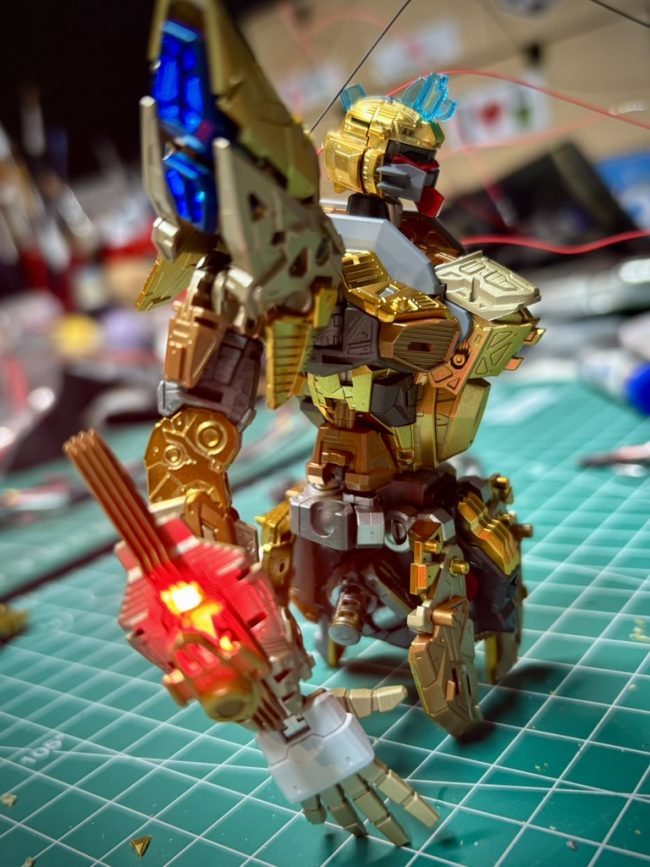
I started to work on adding lights to arms and body. There is one red LED on the forearms, cabling need to be hidden inside the joint. After some time I found a way to keep articulation on and to not destroy the wiring. The idea is to add a loop for the cabling that…
Second leg was completed, it went waaay better than the first one – call it experience 😉 I tested the frame fit as in featured picture and as a bit of relief from the soldering and cables I builded the backpack with wings – IT IS BIG! It’s pure fun to build Gunpla! Then I…
As on a picture – it looks like a bit of challenge and ambitious play with LEDs and cables here and there… Did I mentioned that I would like to keep model articulation and get most connection cables hidden… 🙂 It seems like a plan, let’s see how far I will go. Ok, lets disassemble…