Kshatriya remote control

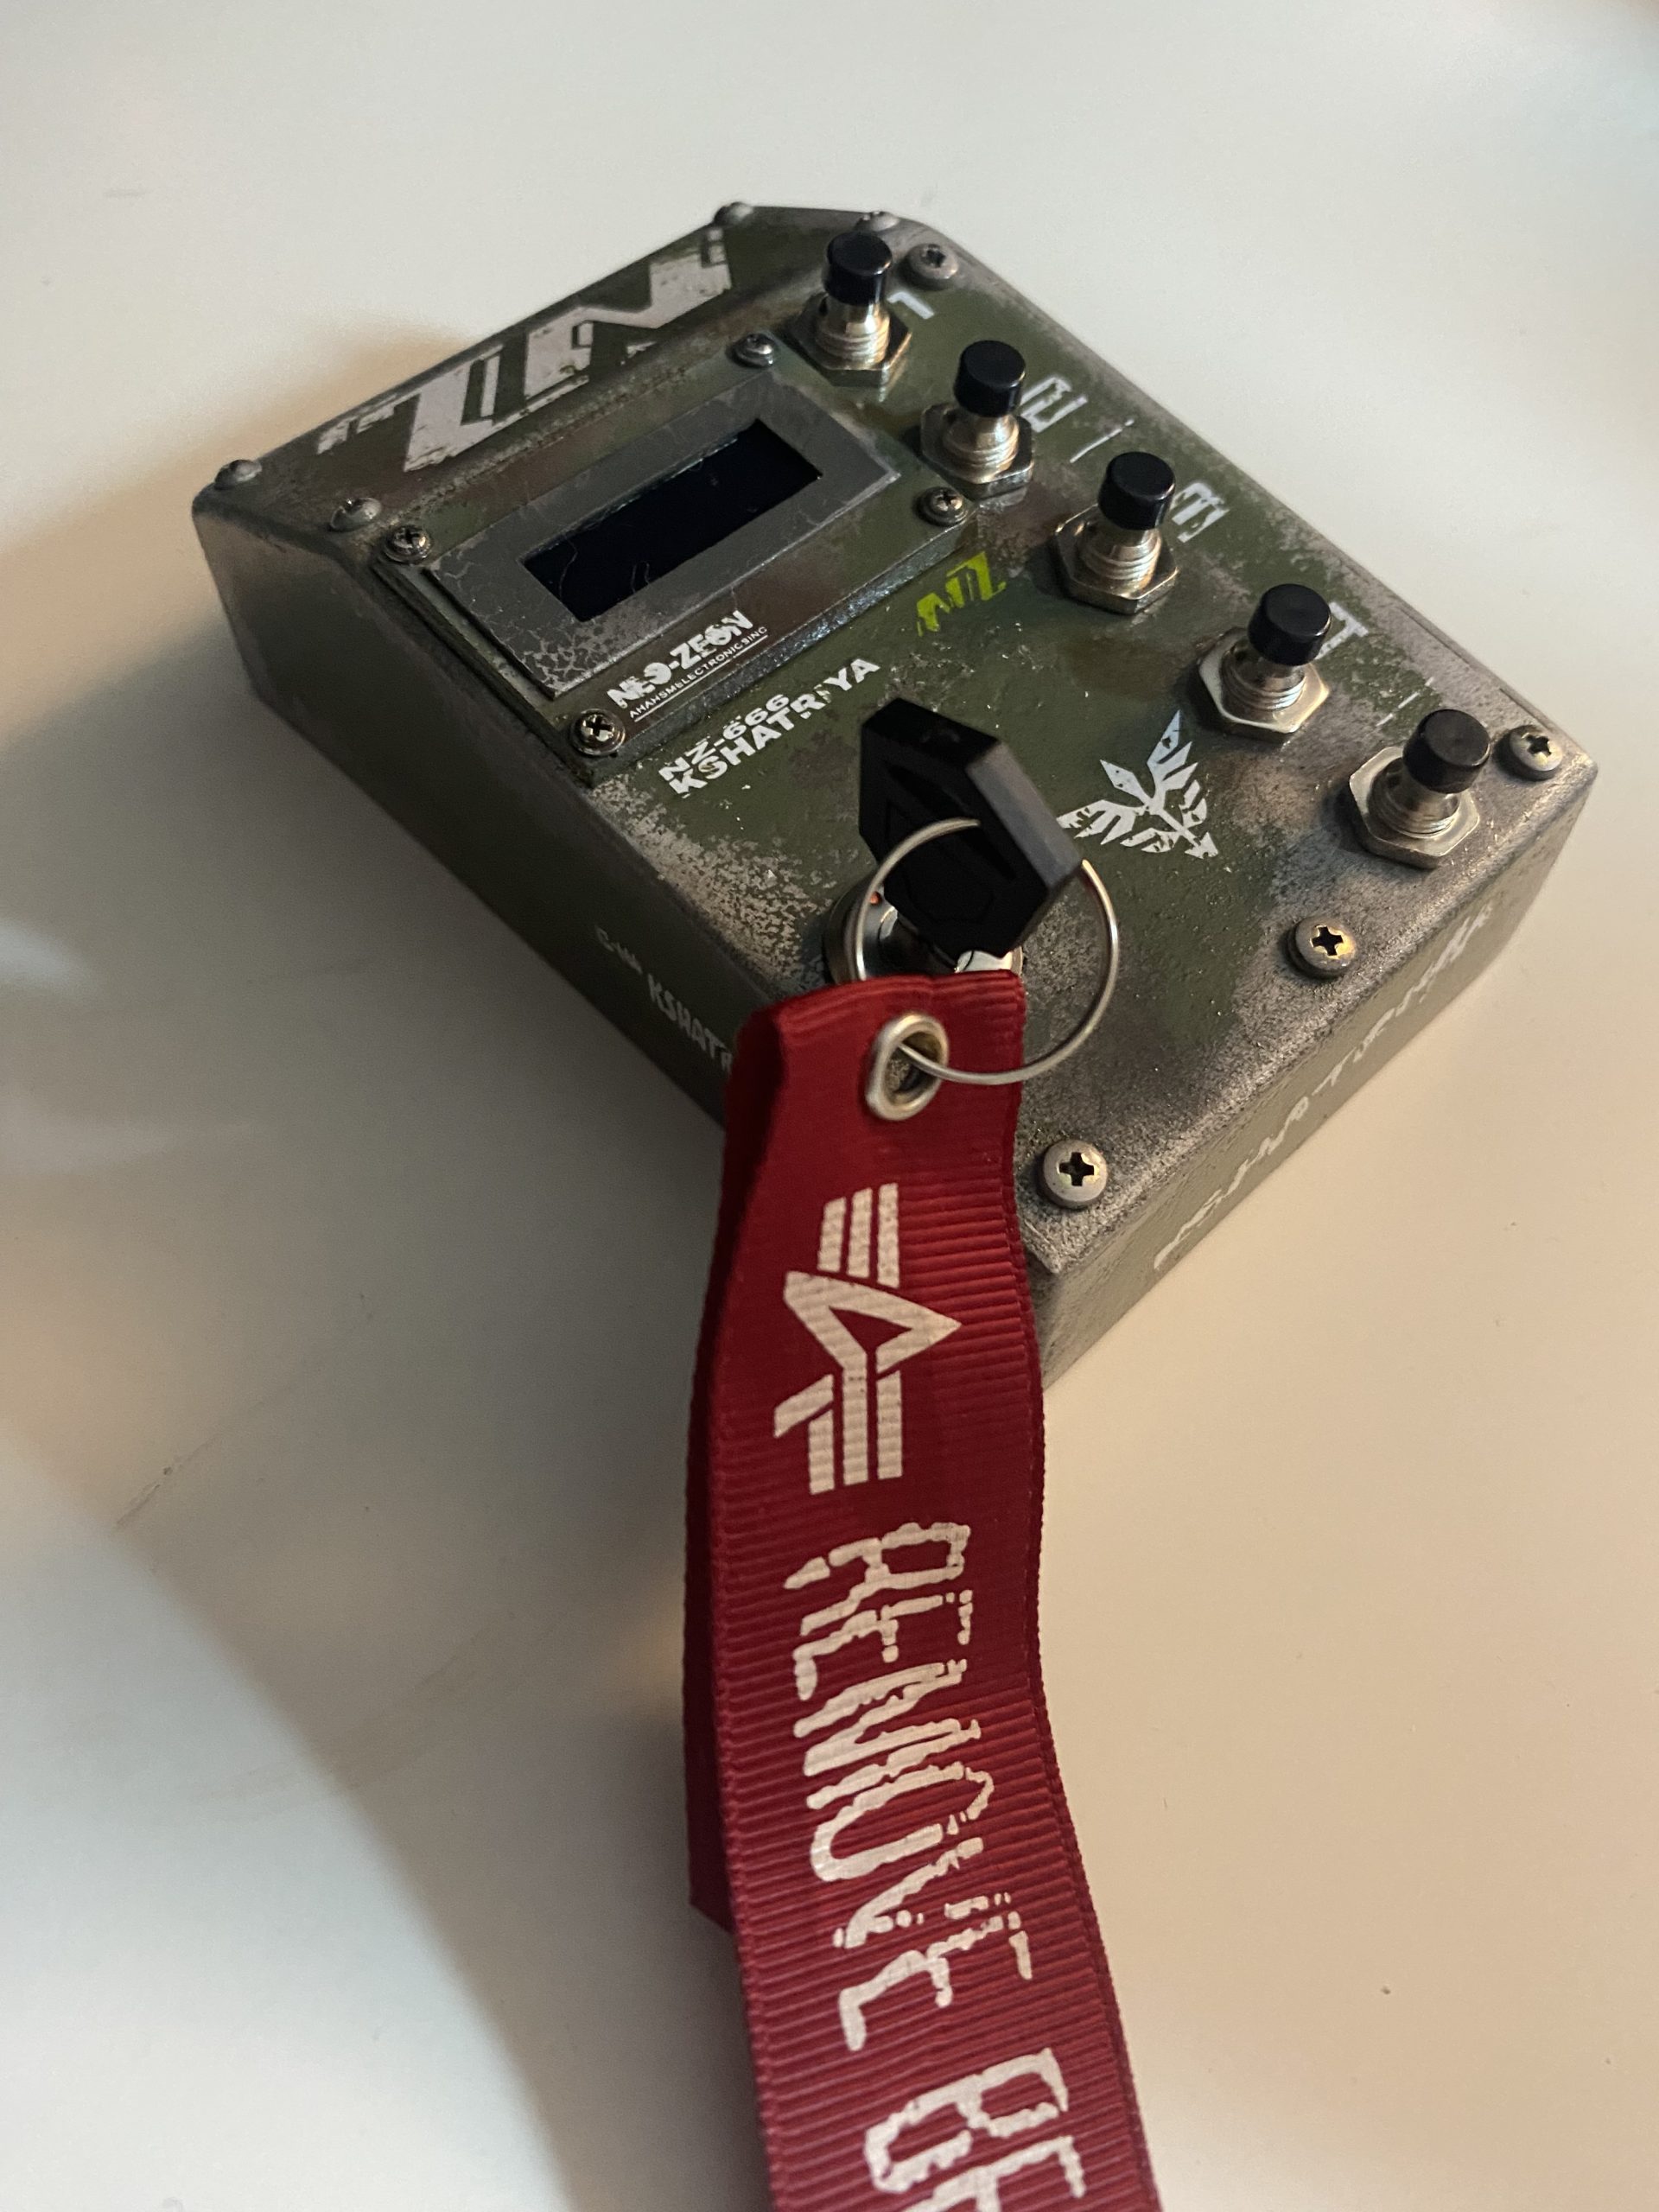
My Kshatriya LEDs are controlled by two Arduinos, during the project I added BLE (Bluetooth Low Energy) module, to have ability to control lightning by phone.That worked, I was able to turn on and off LEDs via console application on my iPhone. Some time ago, I took a challenge to program another Arduino board with…

Read more

Cables, soooo many cables…

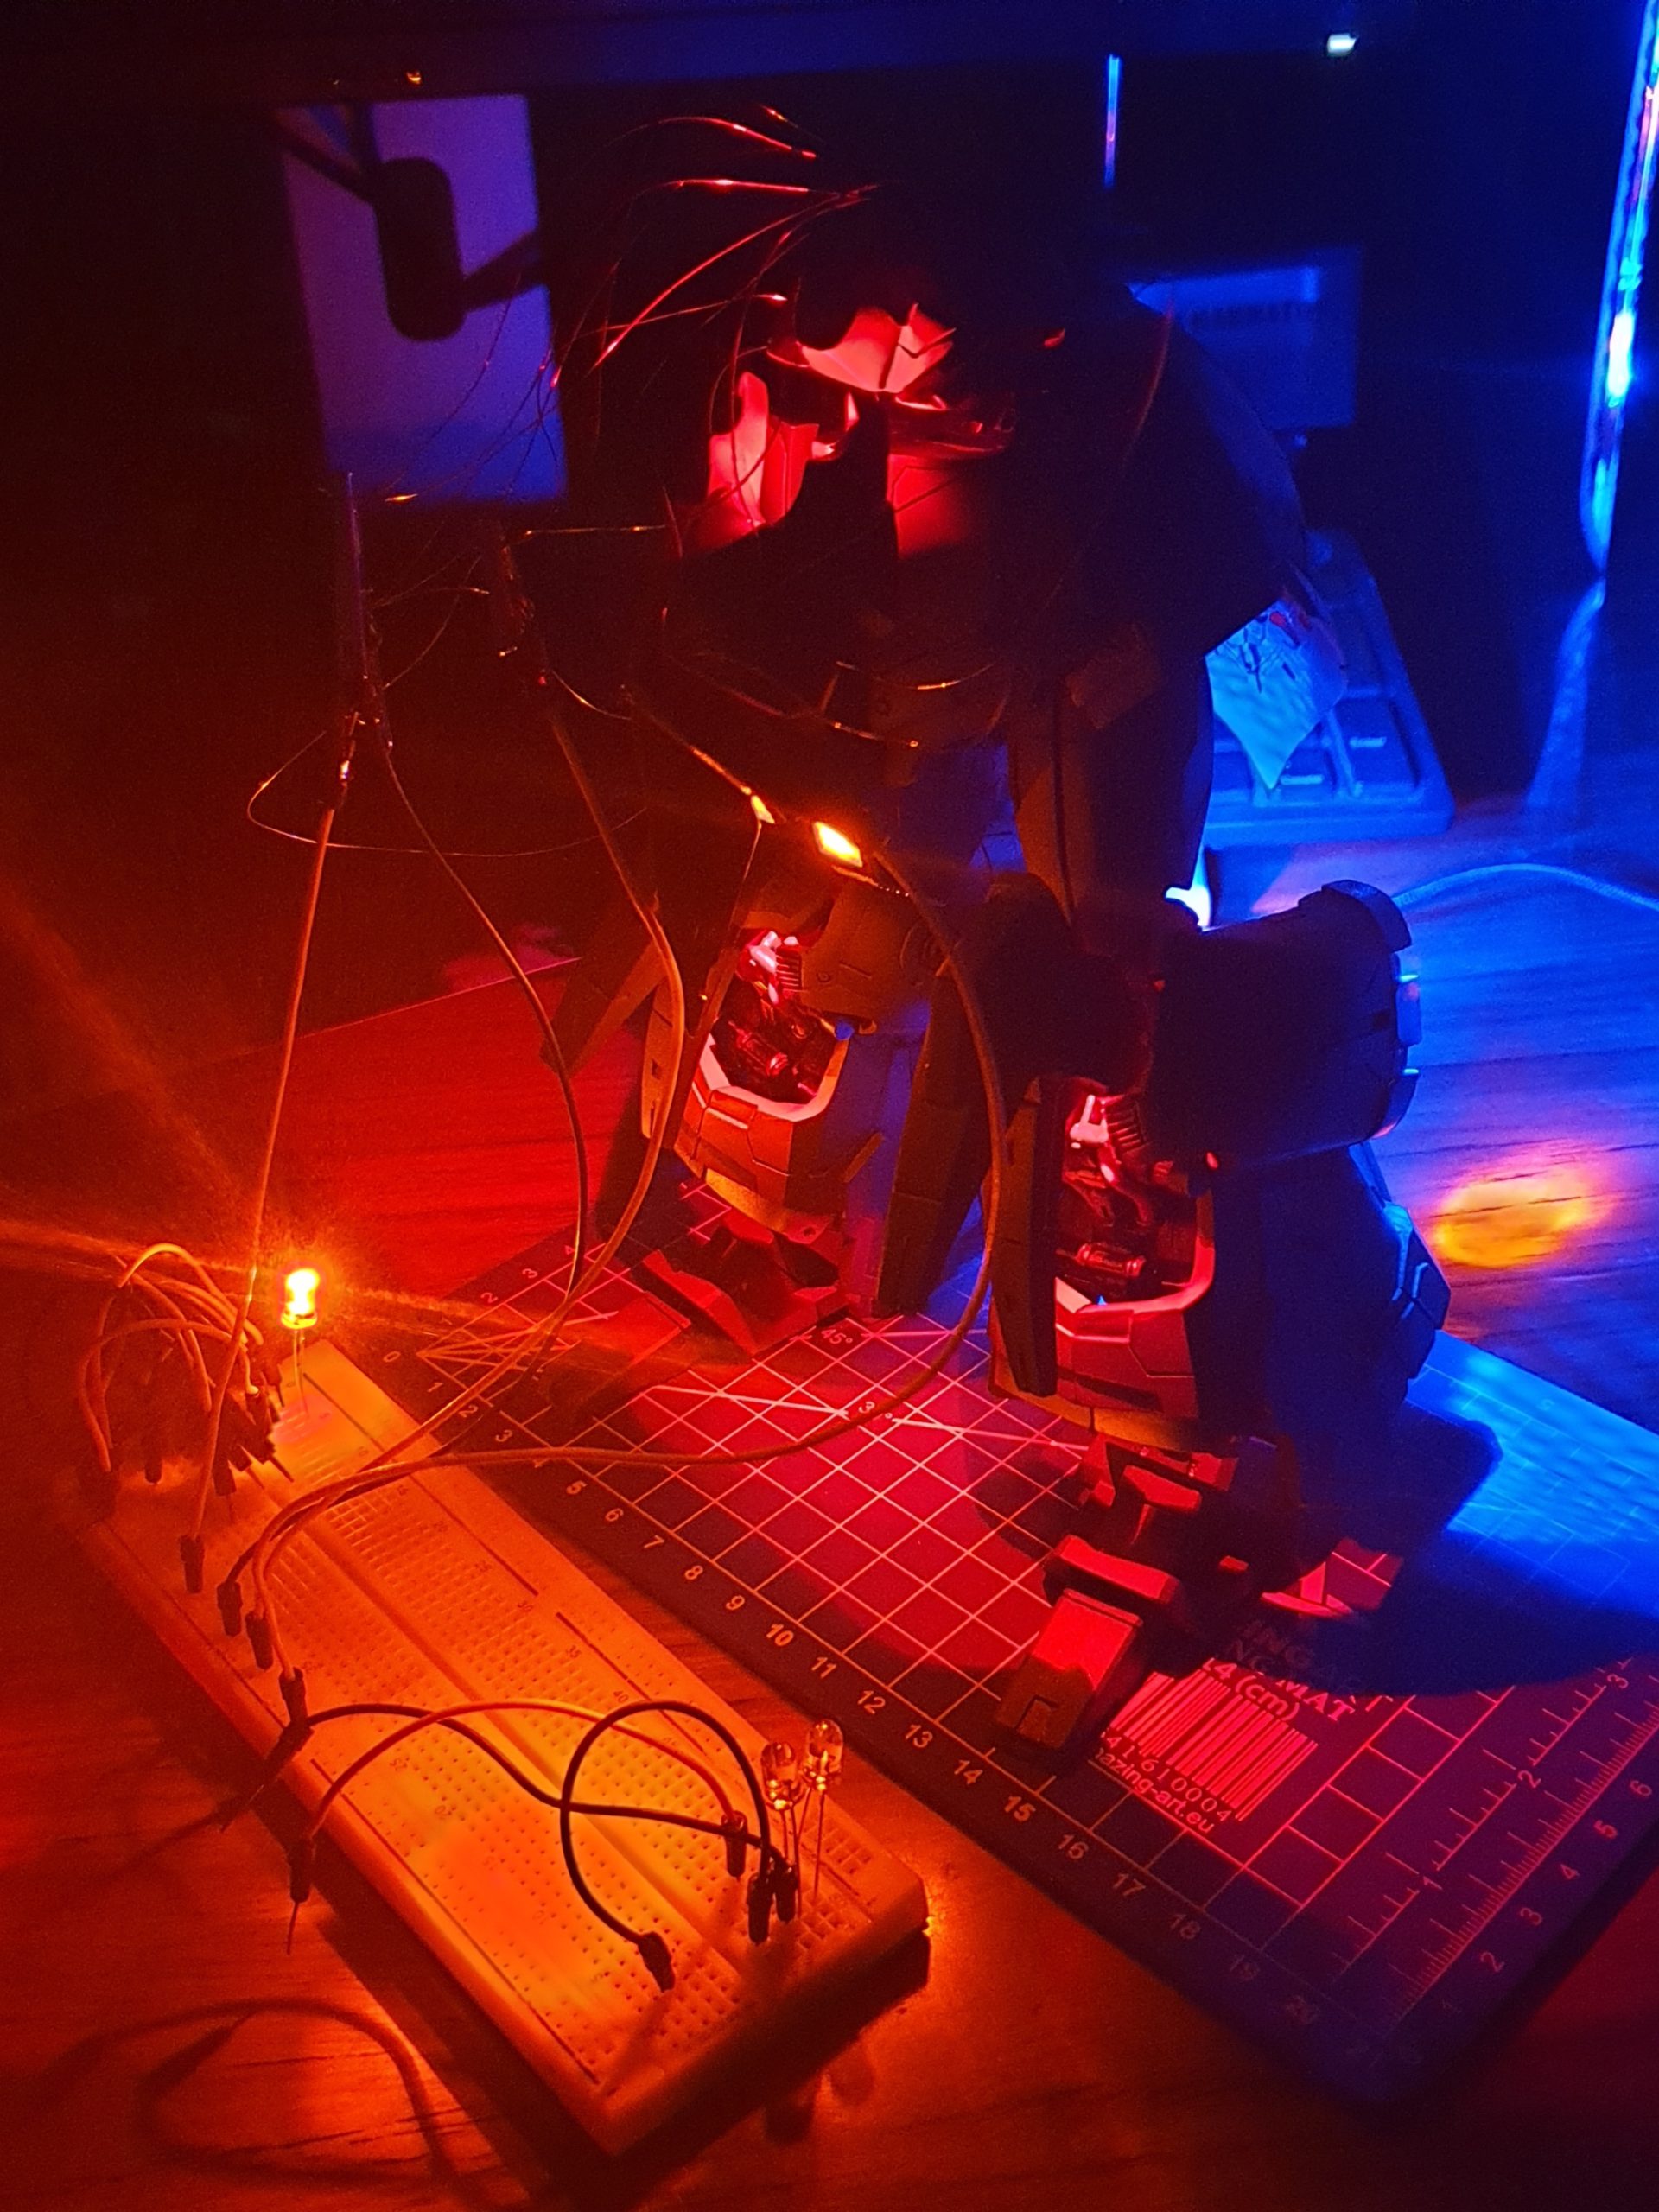
In fact there will be 12 LED electric circuits. The plan is to put Arduino as a controller and add a bit of life through LEDs lightwork 🙂 After two evenings with Arduino programming – I have initial idea for lights “animation” All electrical circuits need to be somehow combined together within a body of…

Read more

The EYE and leg’s thrusters details

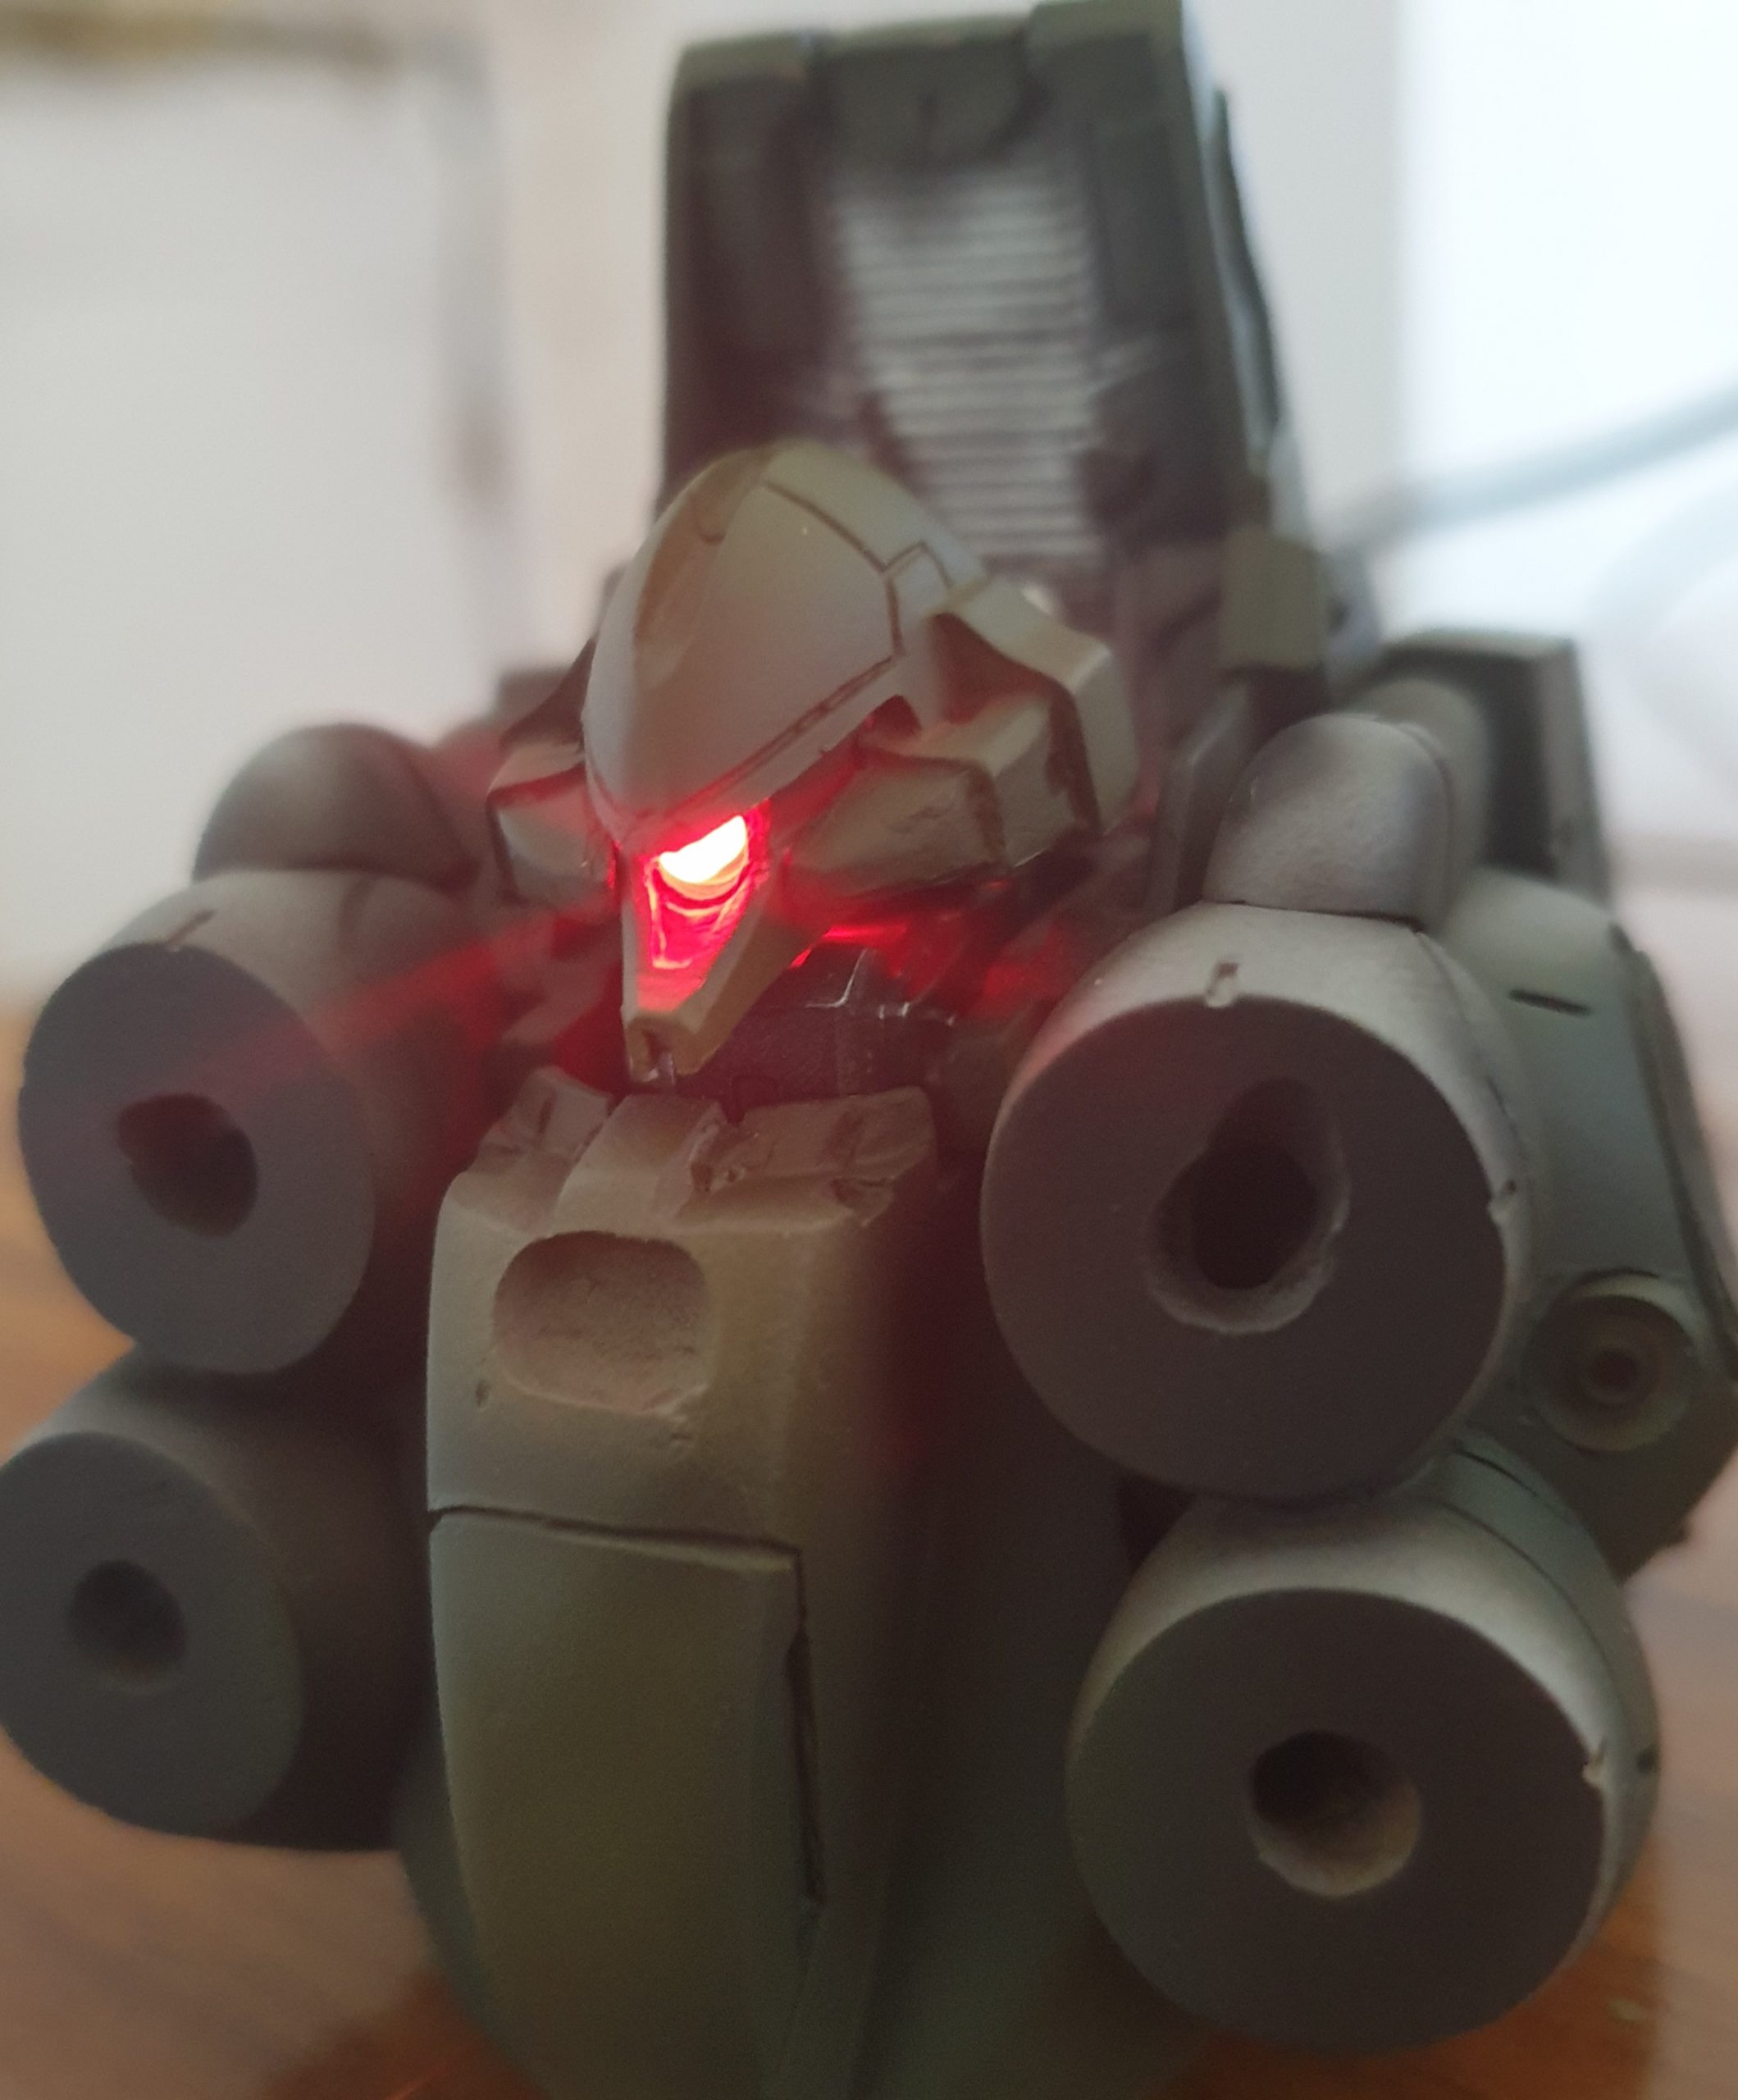
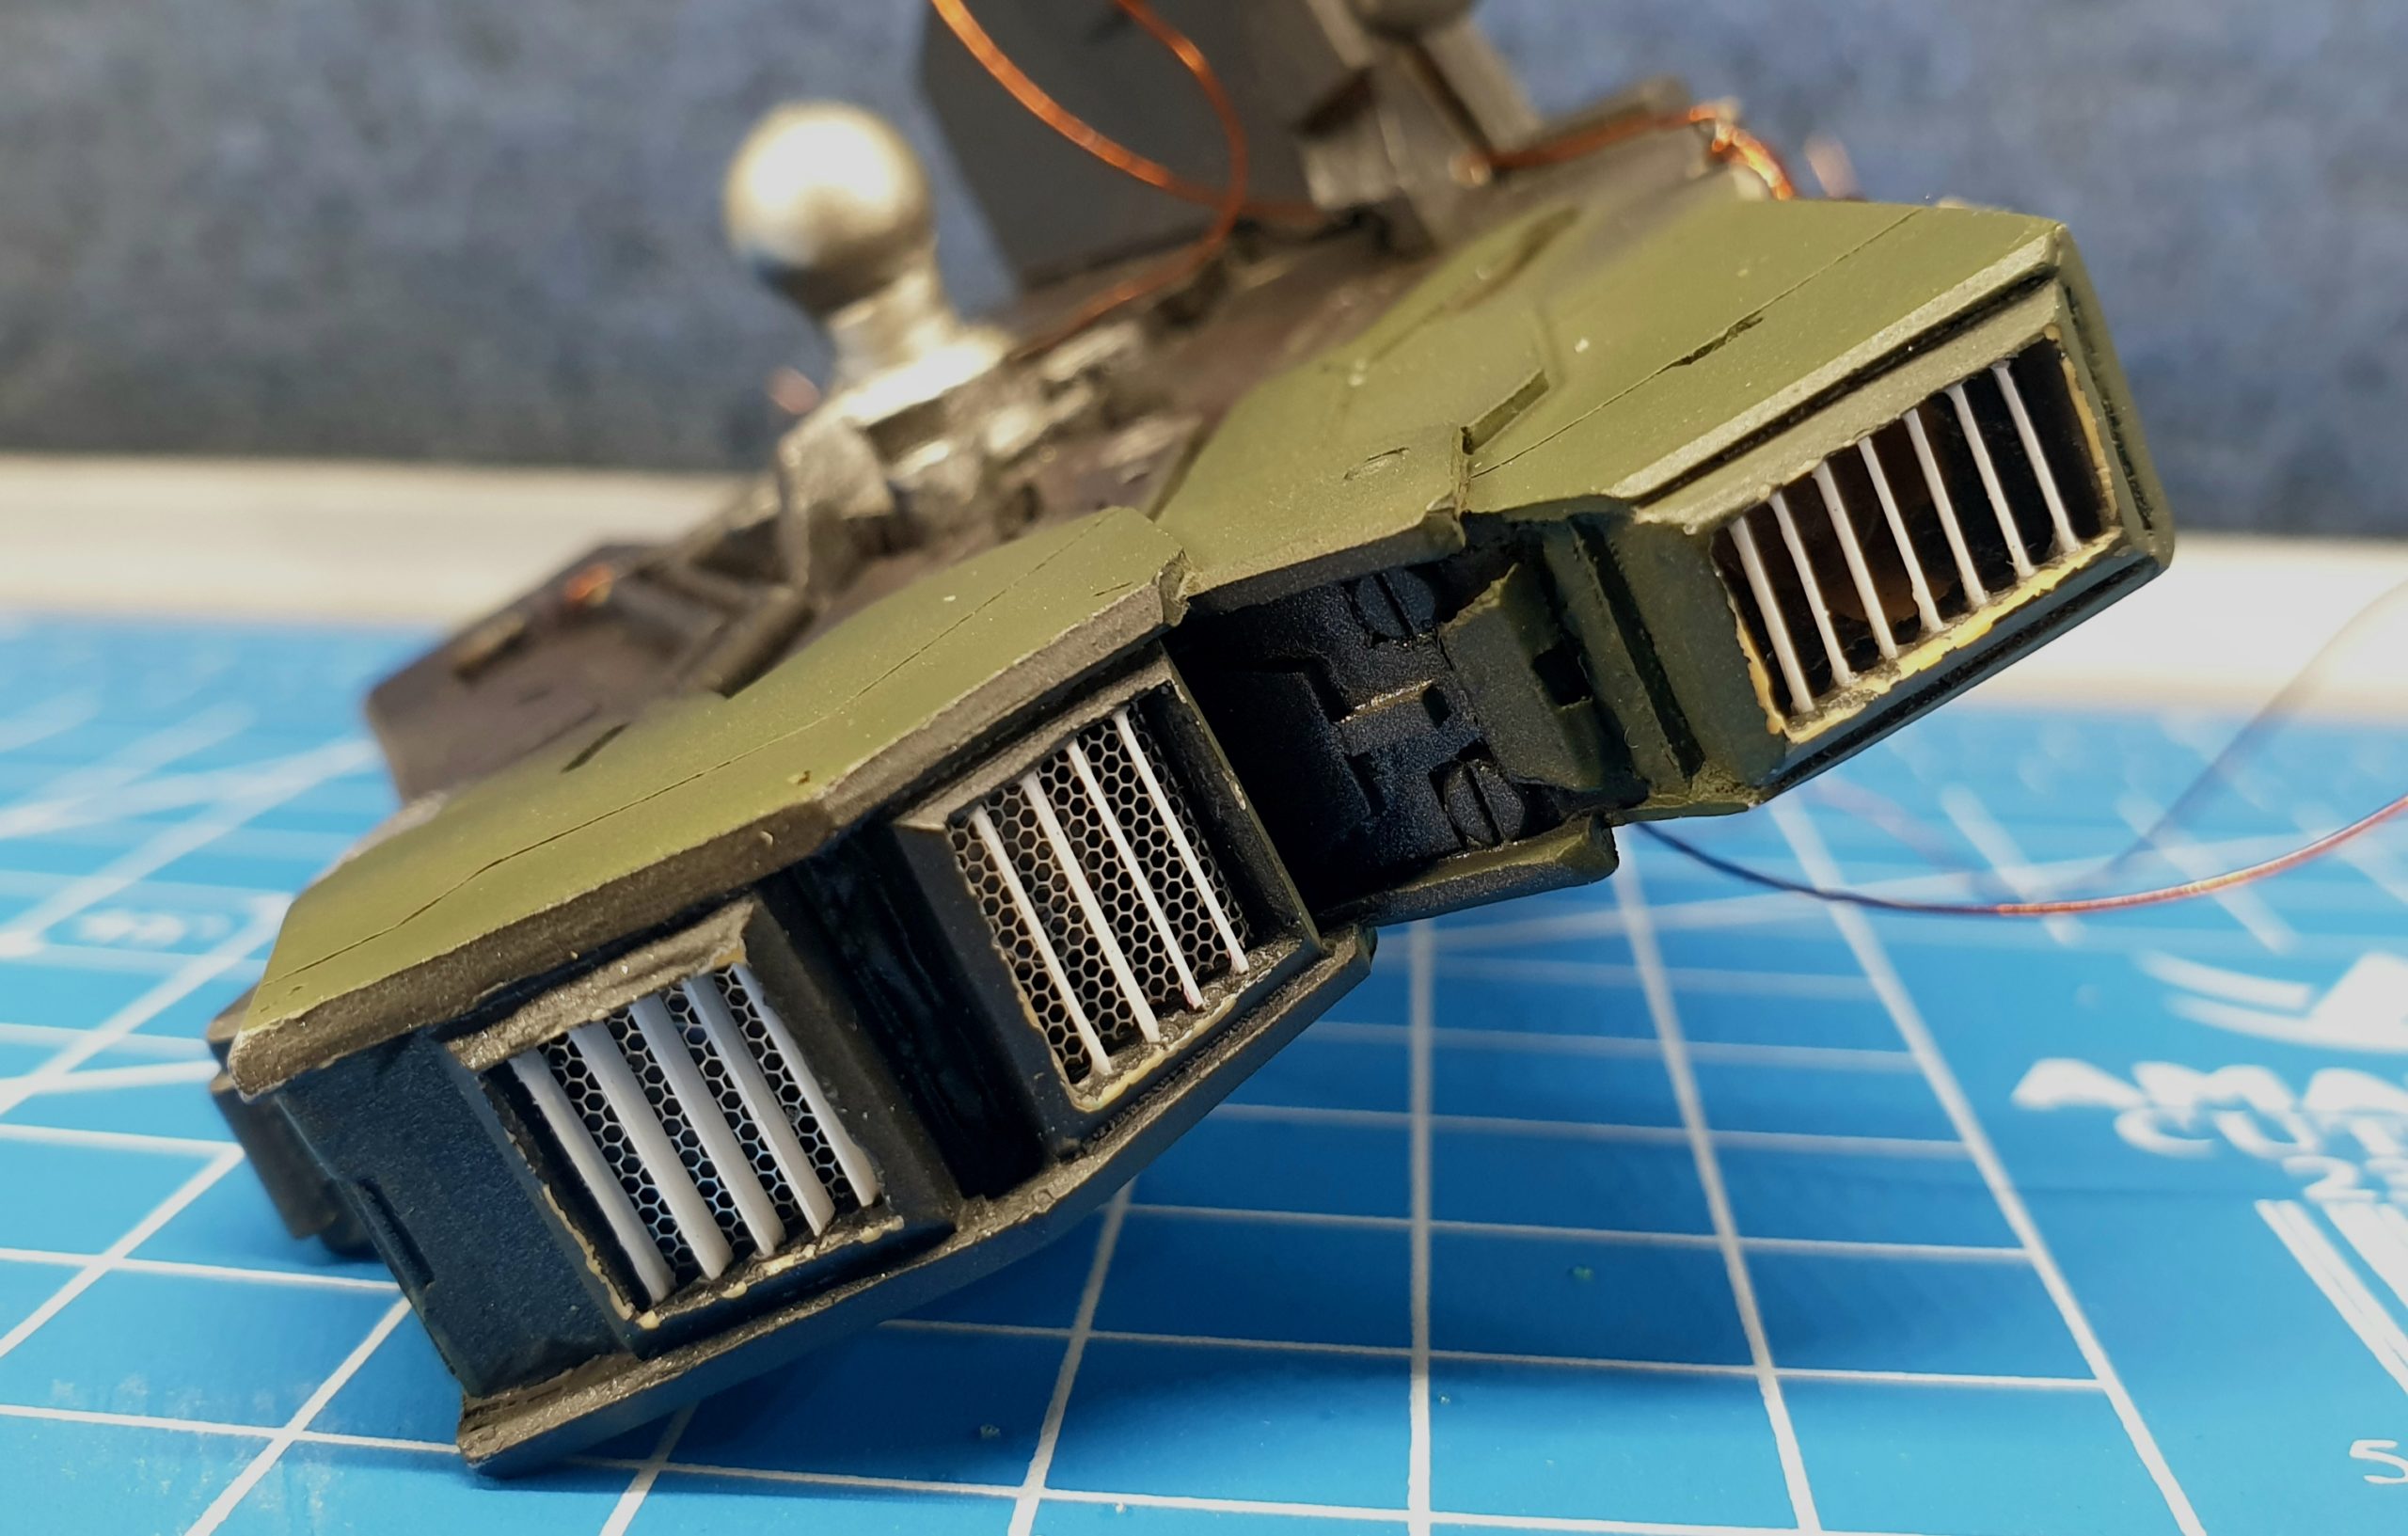
I know that there should be pink eye, but I went with red LED – looks better in my opinion.I added small photoetched parts on head and around monoeye of Kshatriya – LOVE details! LEDs!!! MOOOOREEEE LEEEDDDSSS!!!!The body is taking shape. Photoetched meshes instalation continues…Other, rectangual ones are easy to prepare and fit. Leg thrusters…

Read more

Cables and connectors…

Planning and thinking how to connect all circuits into body of Kshatriya took me a while, then some not so gentle drilling was required 🙂 The idea is to split electrical circuits in two lower and upper body and provide external connection via cables behind hip joints. Nasty drill holes will not be visible, they’re…

Read more

Legs assembly

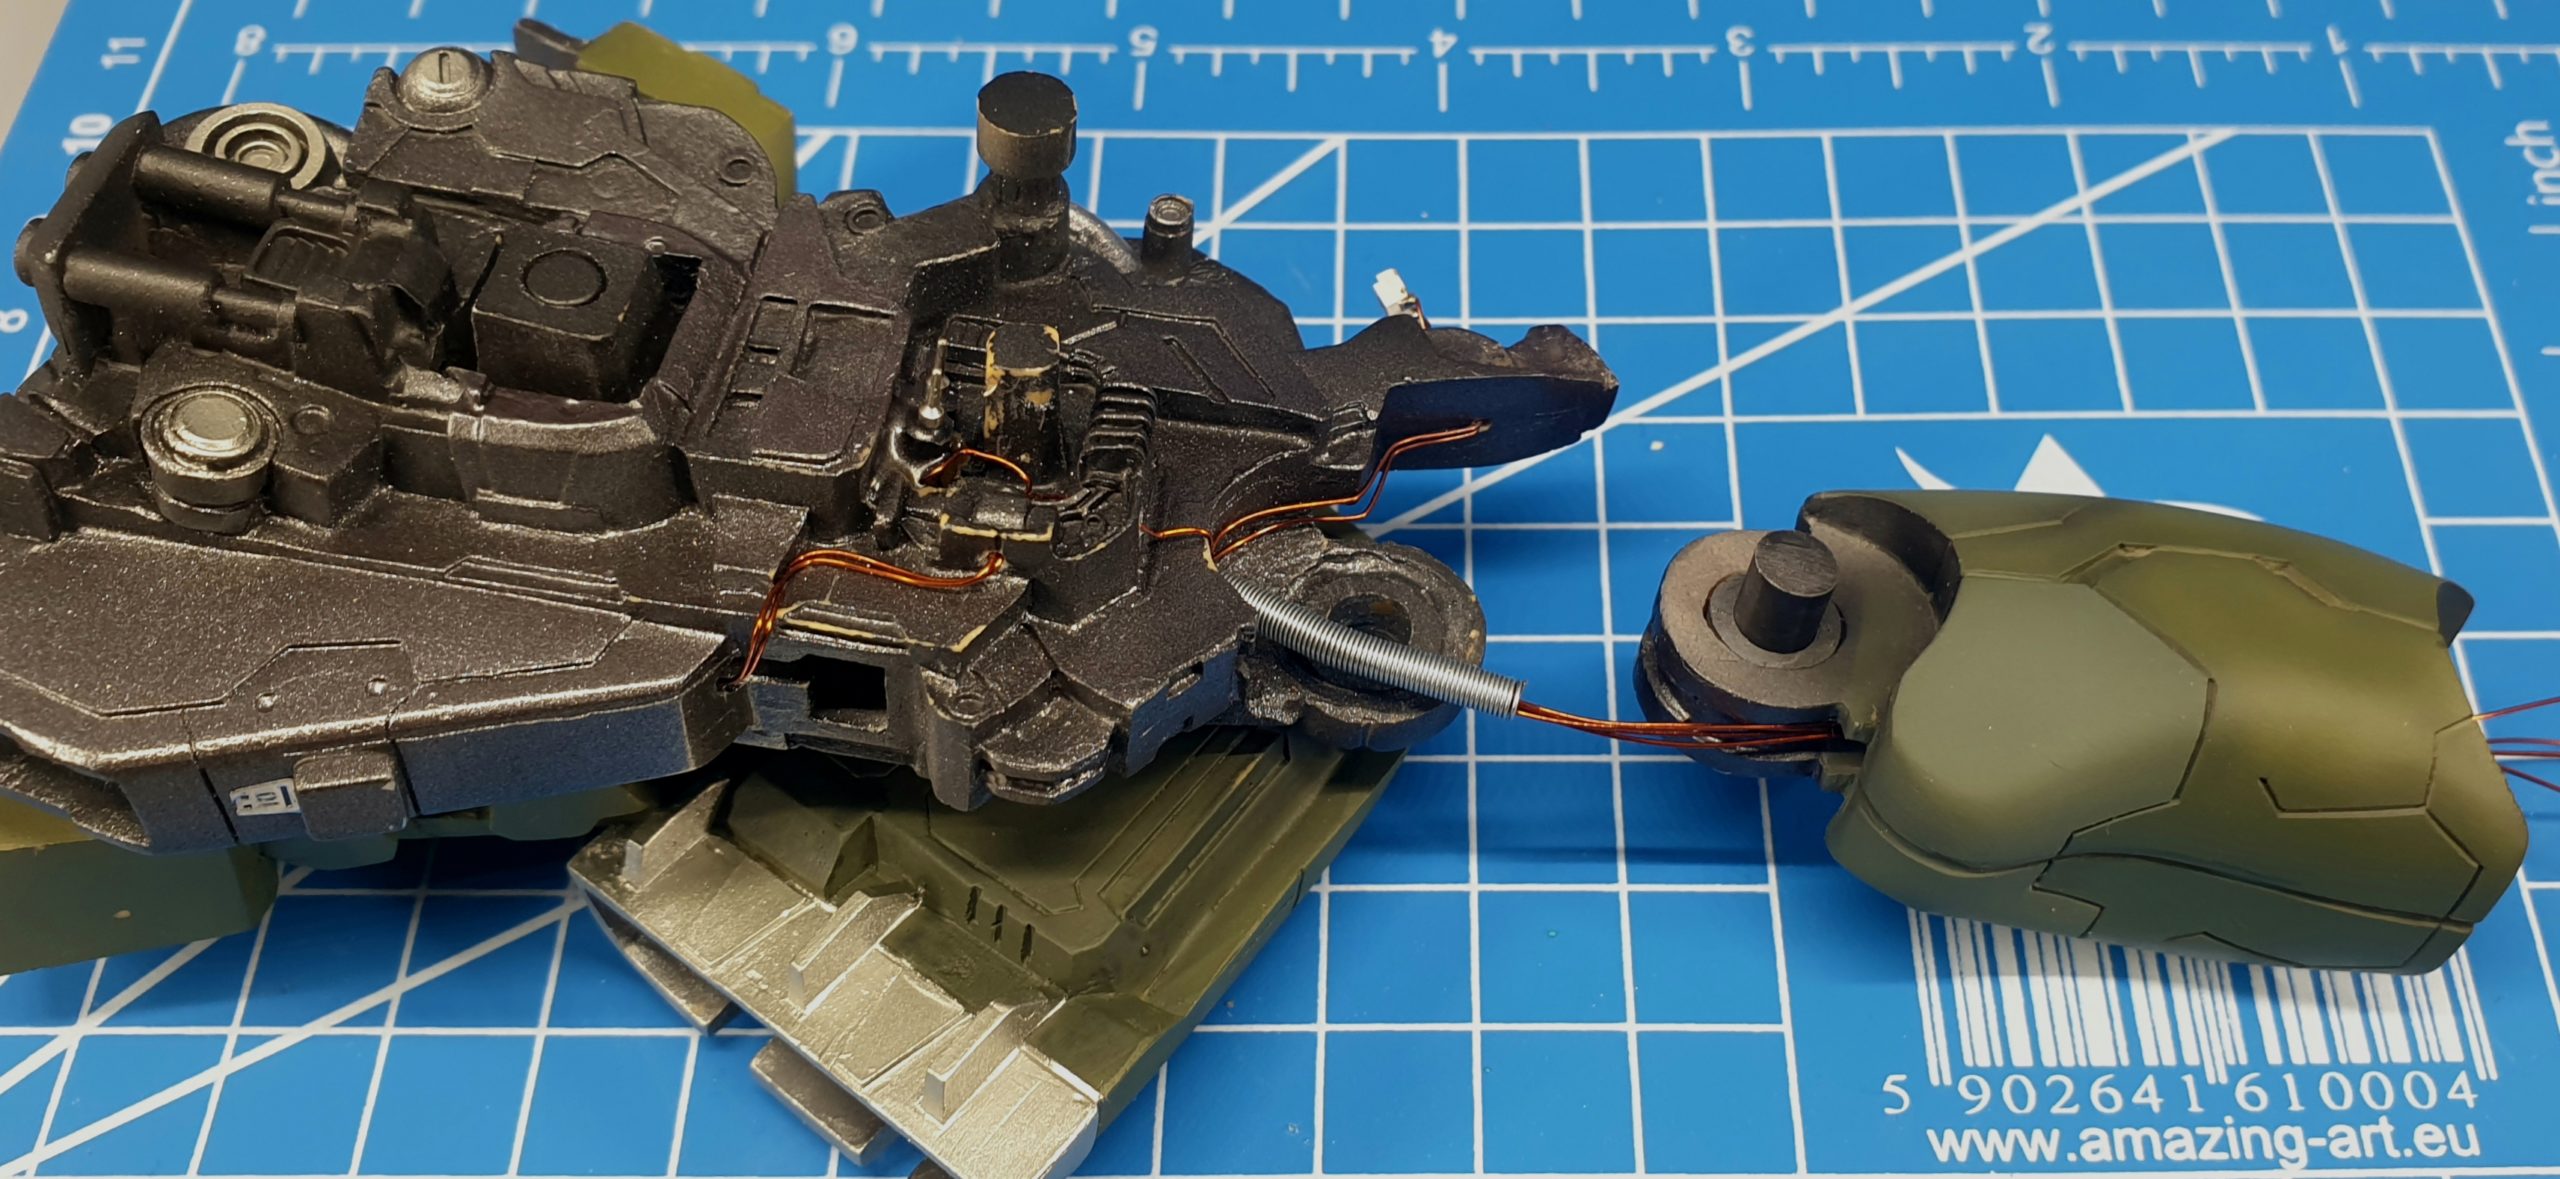
The goal is to drive all cables through the thighs. I used some spare springs from other Zaku model to secure cables at back of leg joints.Additional red CRLED was added for ambient light. I drilled 3mm wide whole throughout each thigh part, to put there 4 wires (red ambient, blue side thrusters, orange engine…

Read more

Time for leg’s LEDs

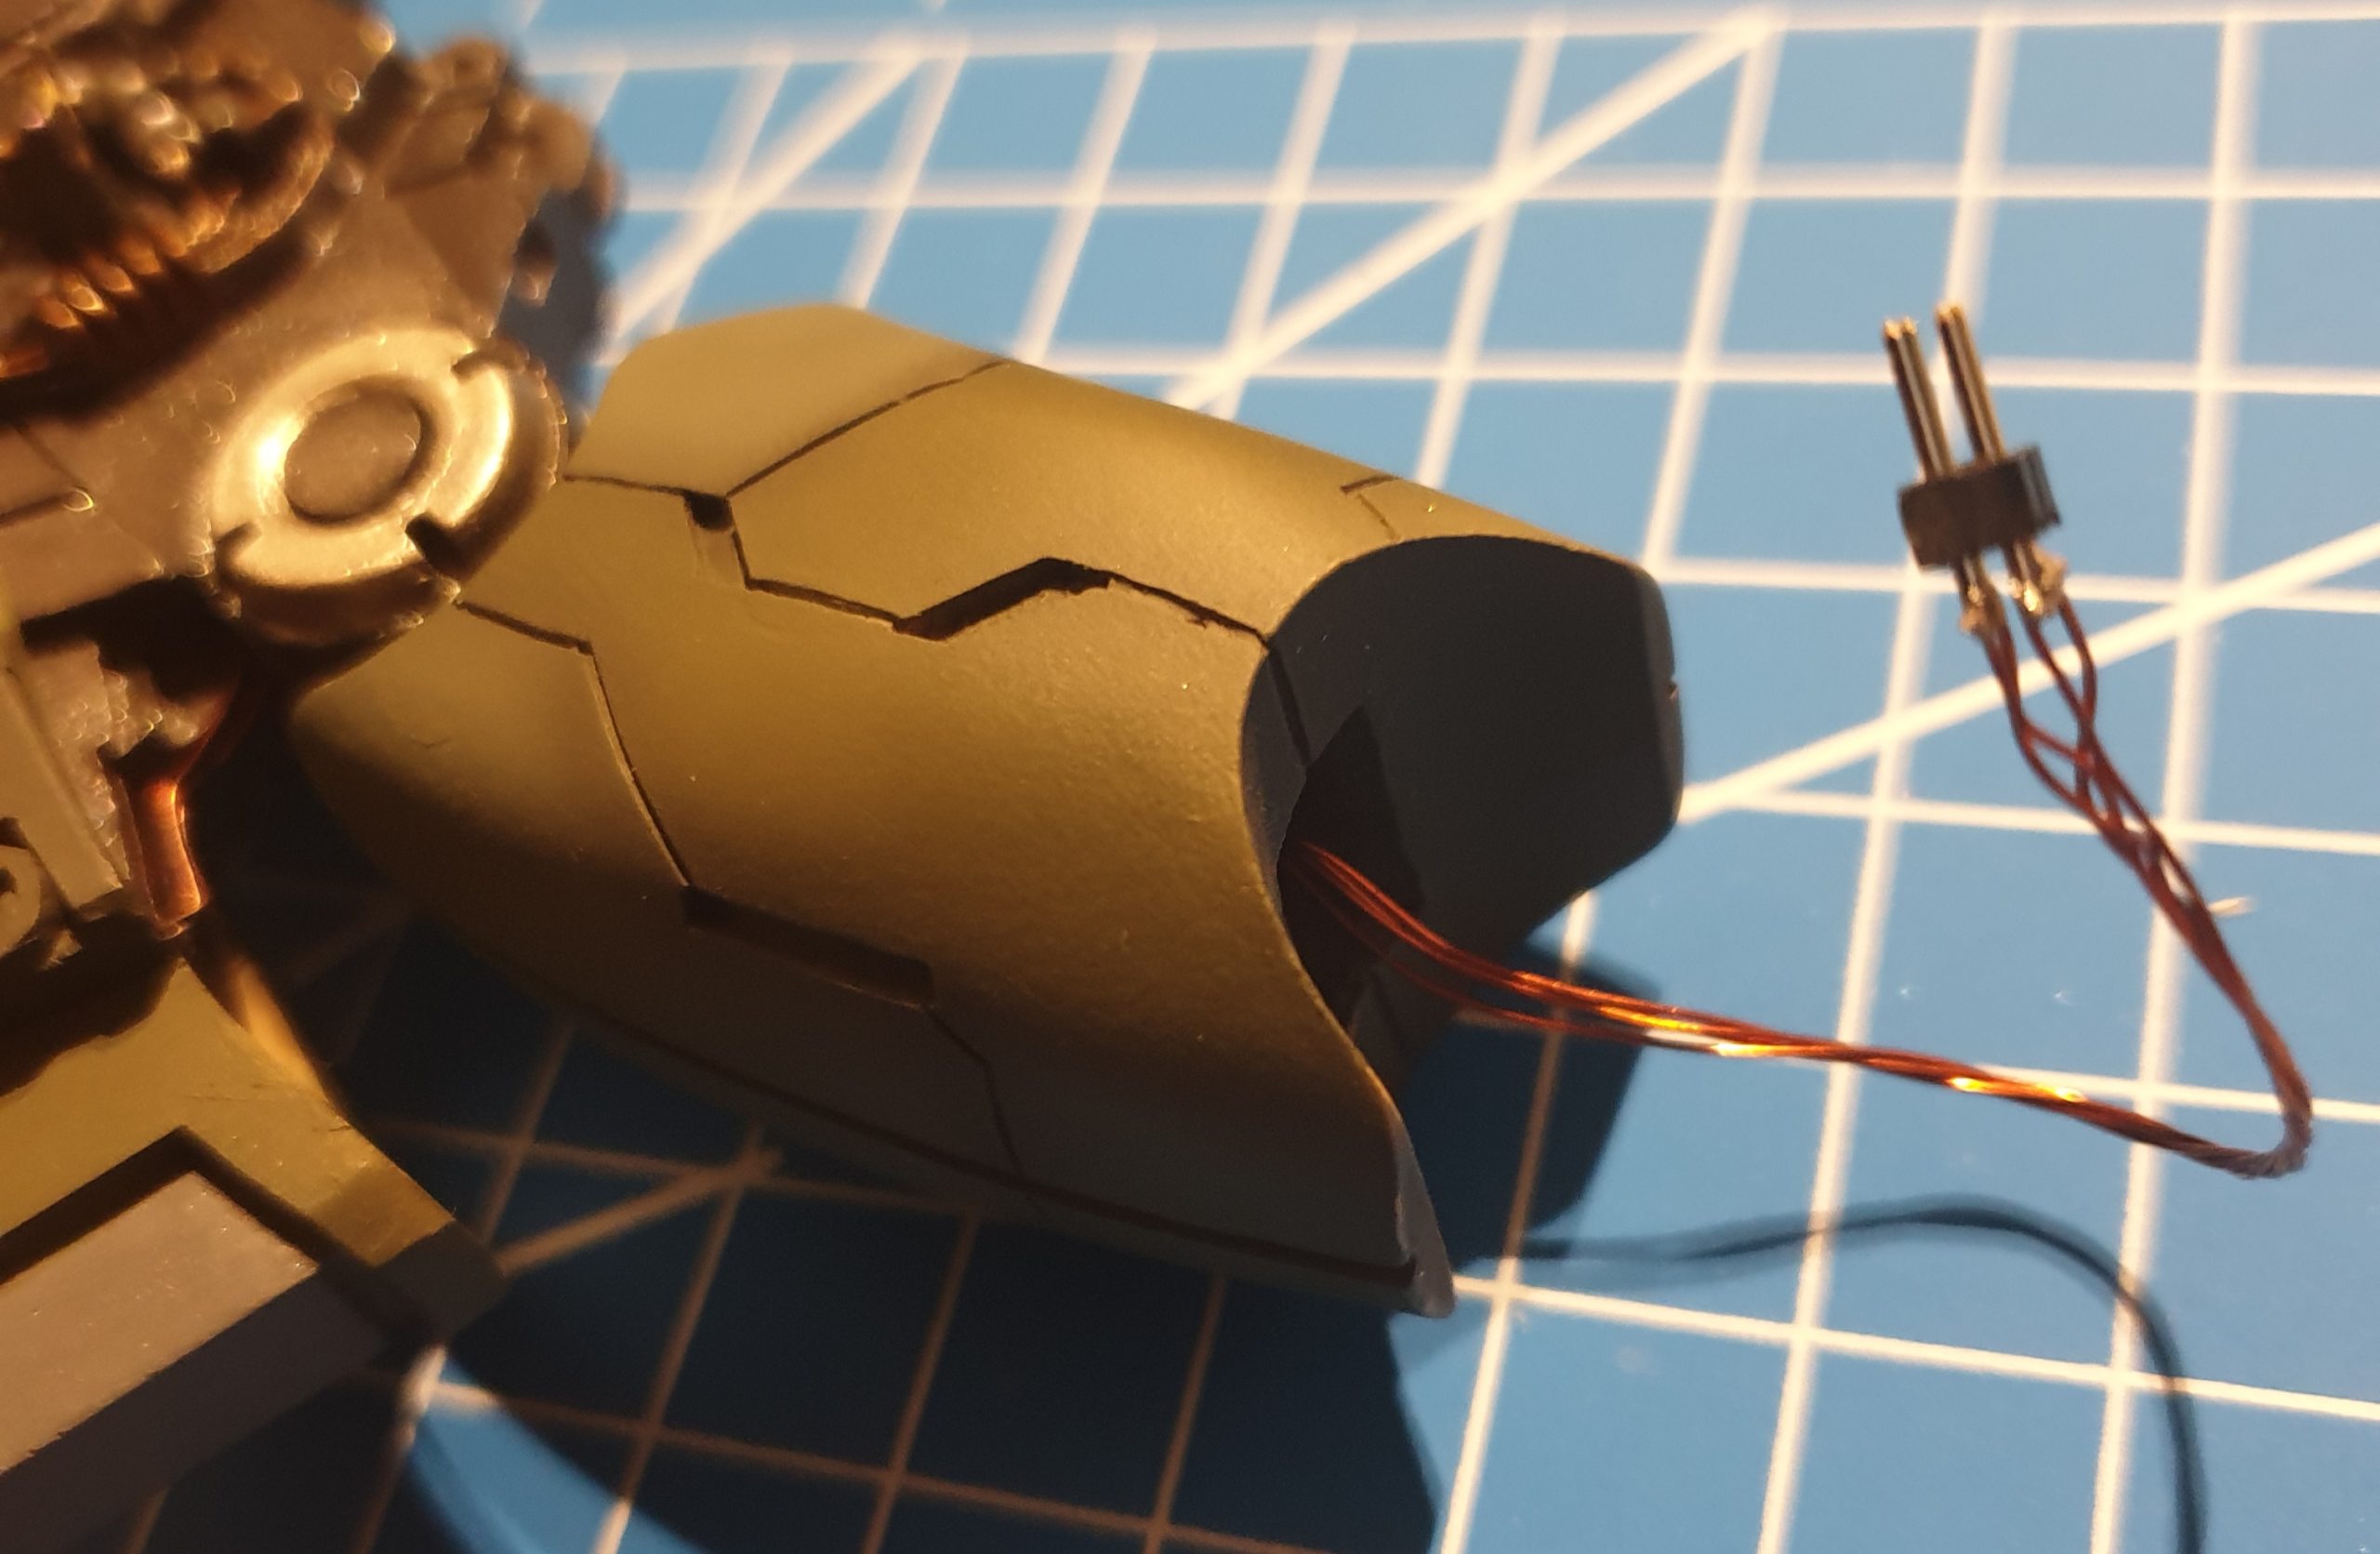
As I was planning to make side leg armor removable, I figured out how to connect leg thrusters and made solid connection that will handle disconnecting and connecting. I used small electronic connectors that I glued in place. Inside cables are going directly to Blue, blinking (candle effect) CRLEDs. Leds installed and operational! Three more…

Read more

Paint it green

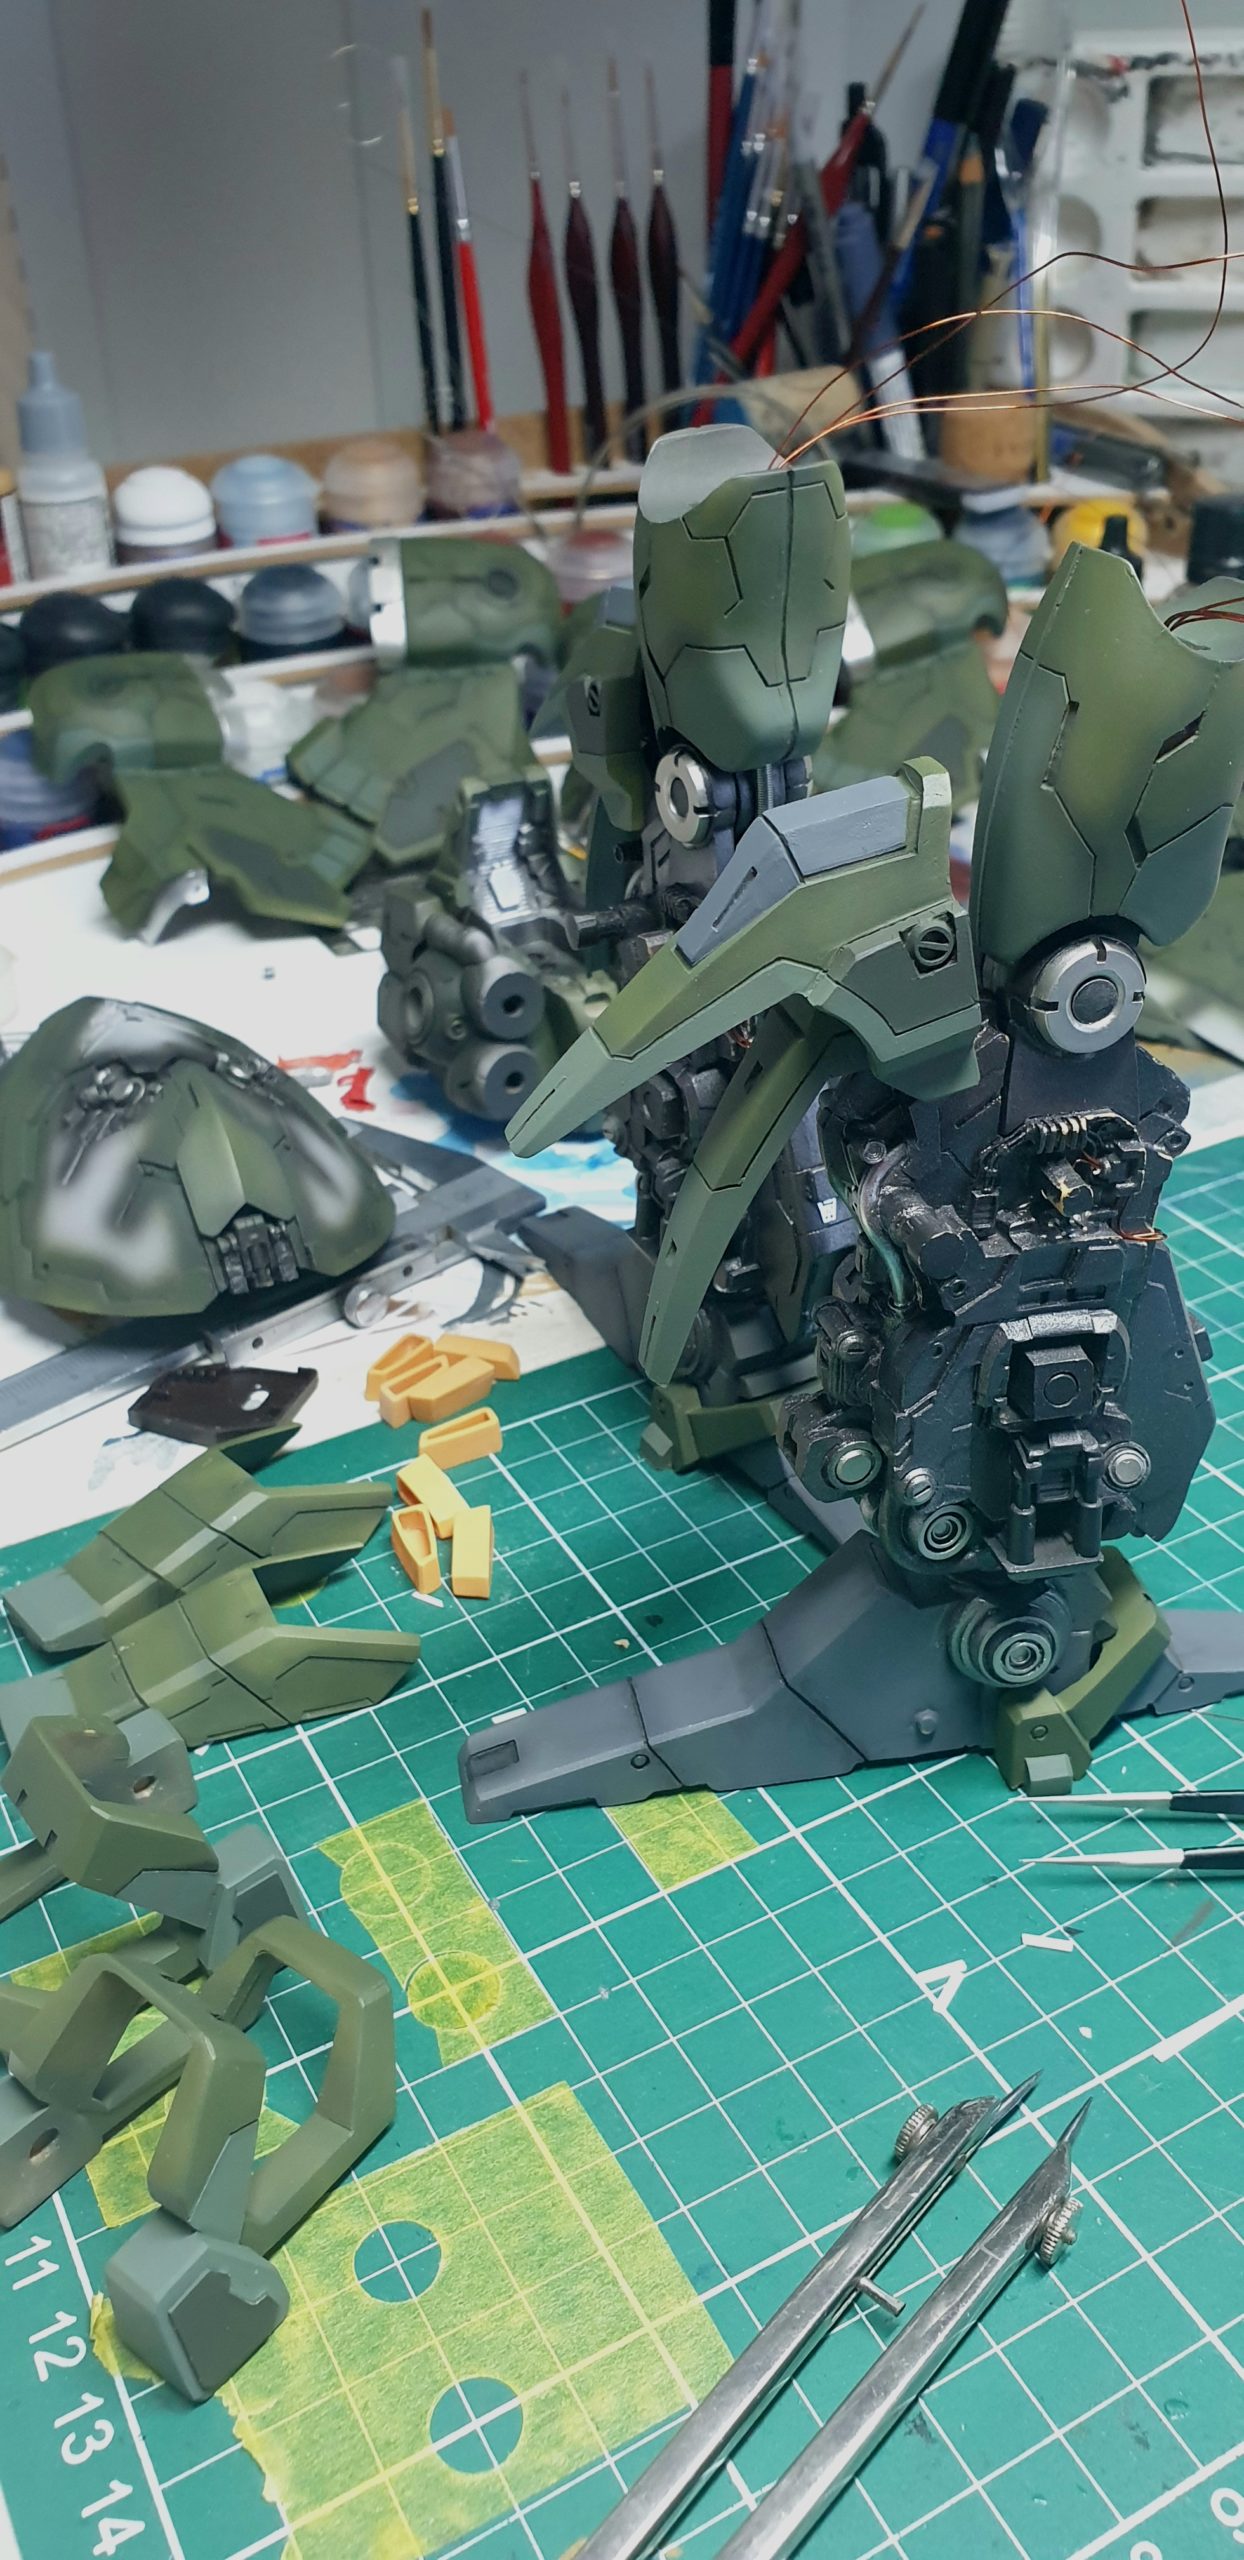
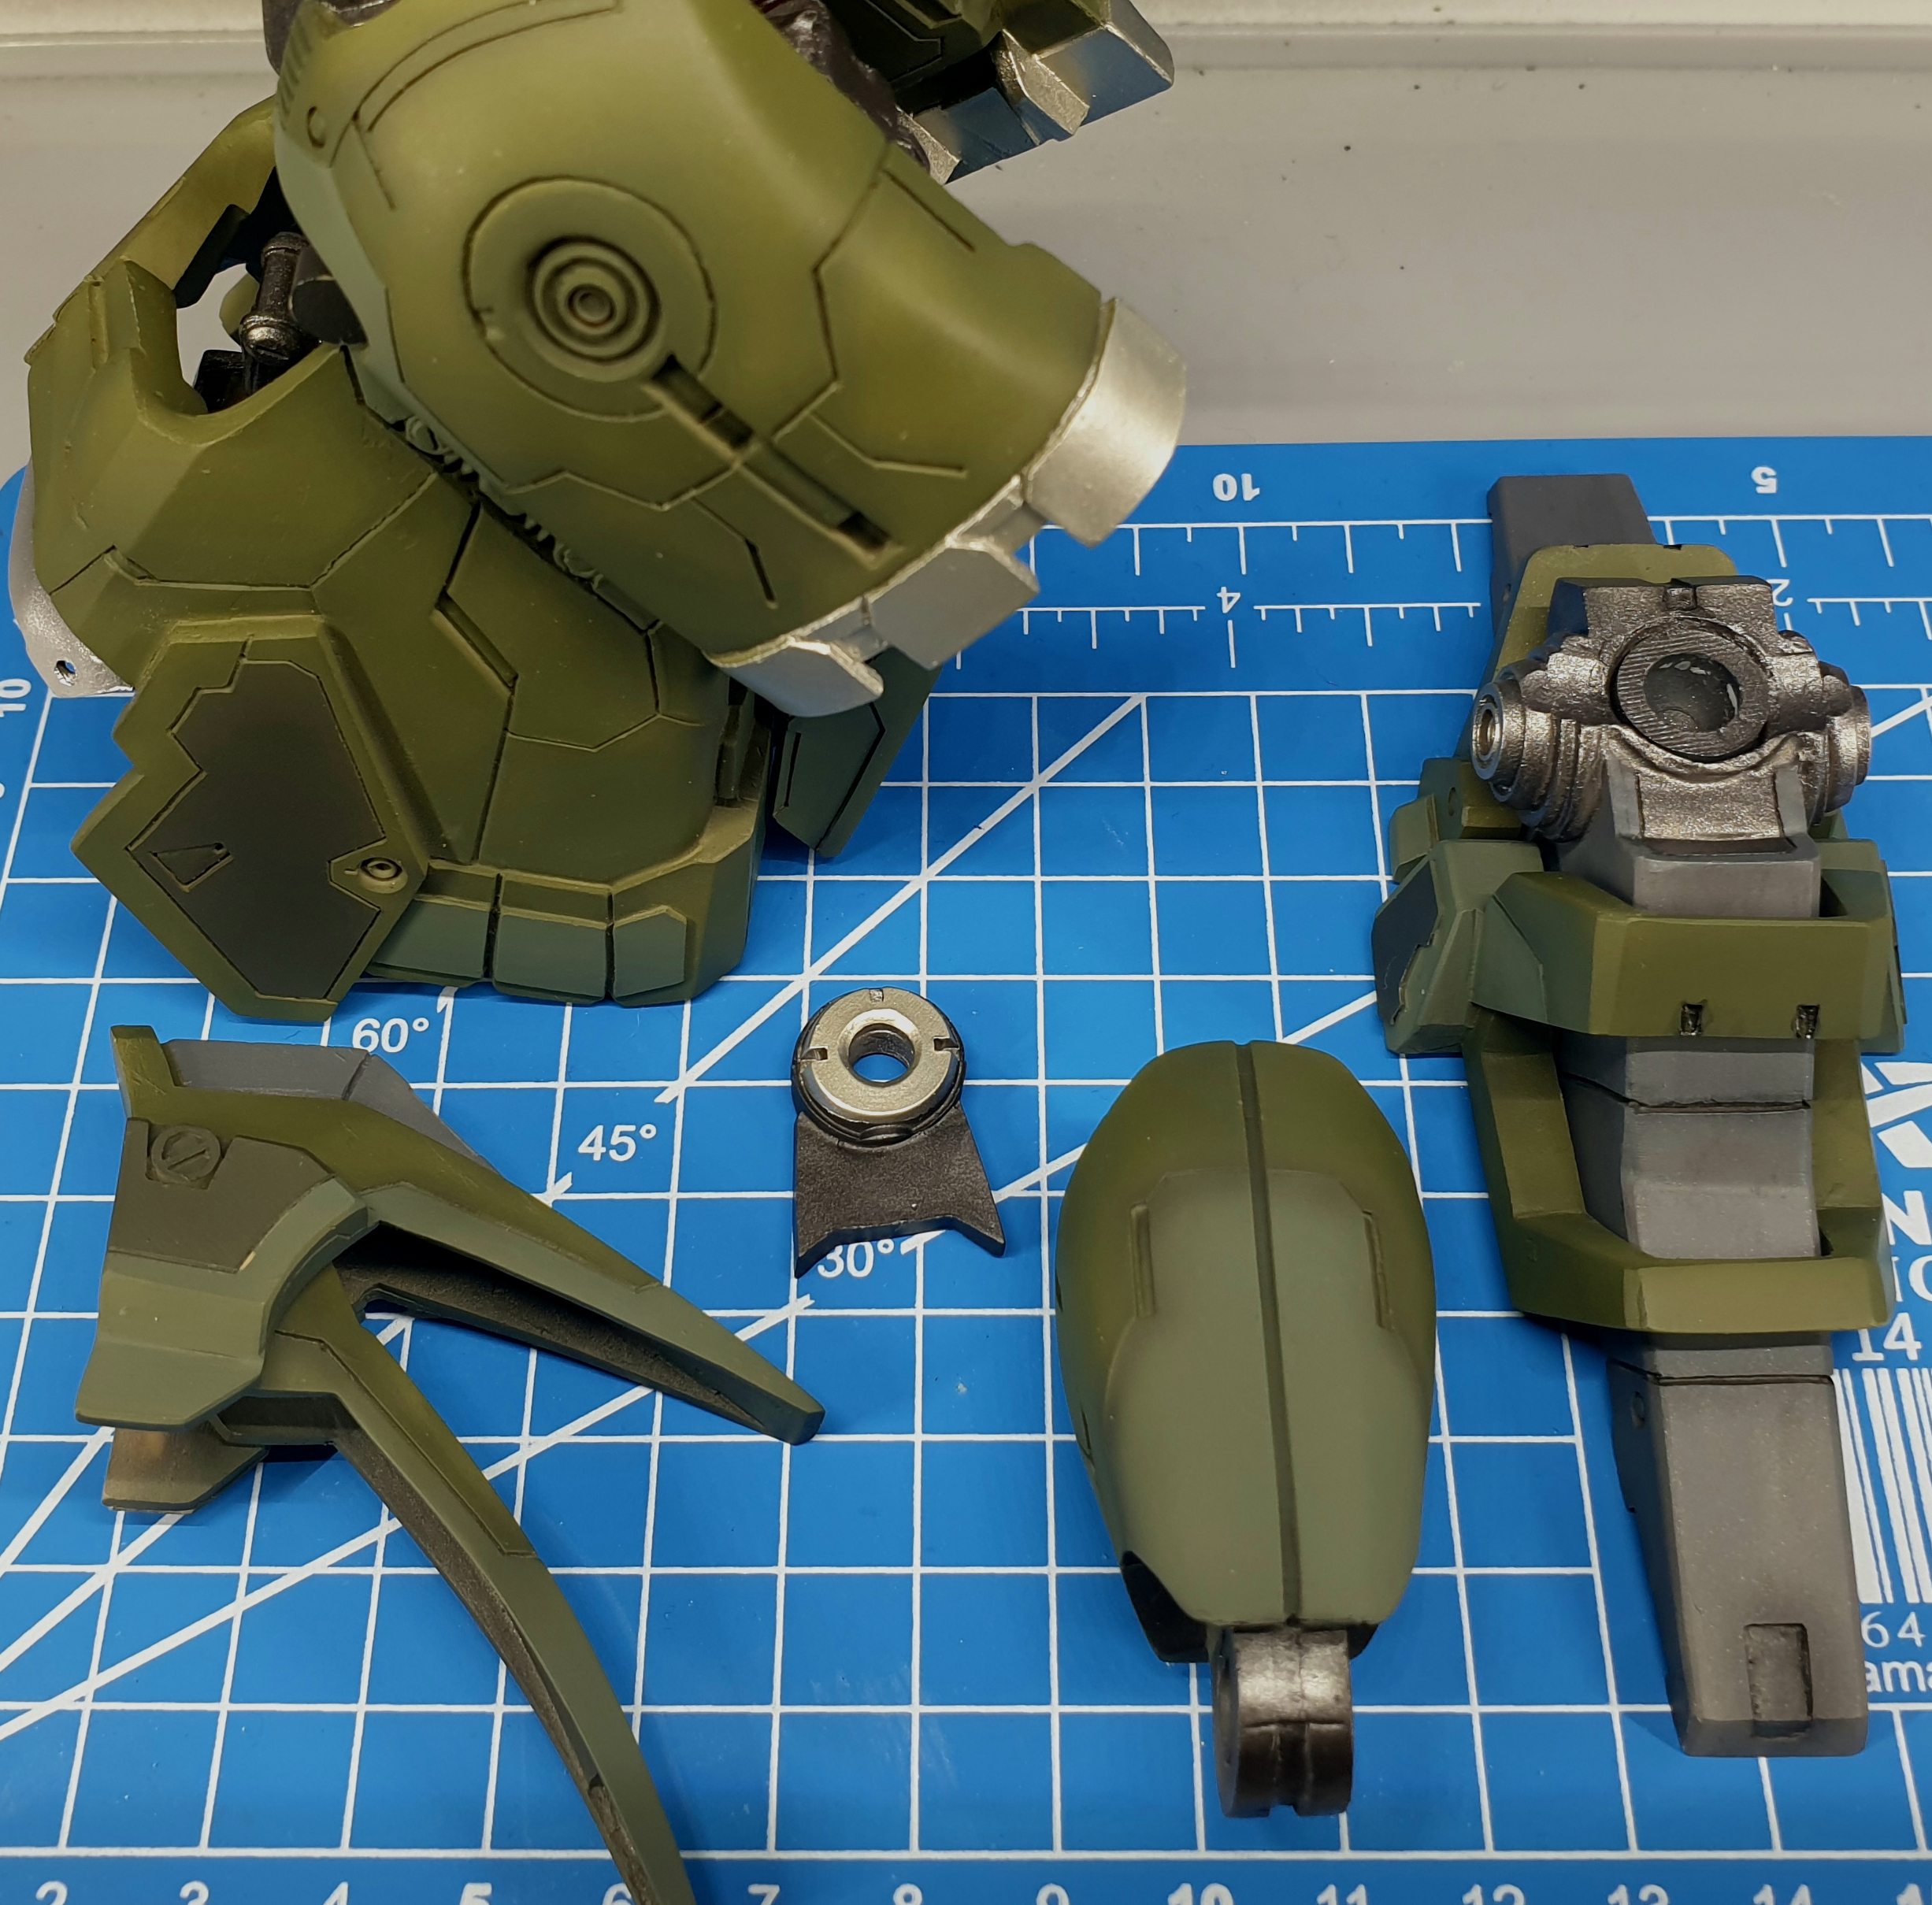
First shade of green applied – its from Tamiya LP range – I mixed some green colors to get base for my Kshatriya.In my opinion it looks fine! Preshade did the job – it subtle but visible enough. Additional decal set arrived – this one looks way better than original one…

Read more

Preshading

As my Kshatriya will be painted in many shades of military green, I did quite heavy preshade this time with Tamiya LP Black. Inner parts were covered by Tamiya LP Dark Iron – I love this color – picture will not show it – but it looks generally like old iron part 🙂

Read more

LEDs in resin kit? Why not!

The project is getting more and more complicated… I was thinking over night about adding some light to the model…I tried with one 5mm LED and drilled in one of the thrusters – damn… now I need to drill all 12…. Don’t have any idea how to and where I will hide cabling and etc.…

Read more

What’s cooking doc?

Allright – the time has come to deal with the biggest challange so far. Hot and really (almost boiling) hot water was used to heat up big resin parts of the binders and then I was able to gently adjust all bends and misalignments. Then I did same for smaller armor parts – now I’m…

Read more

Foot pegs…

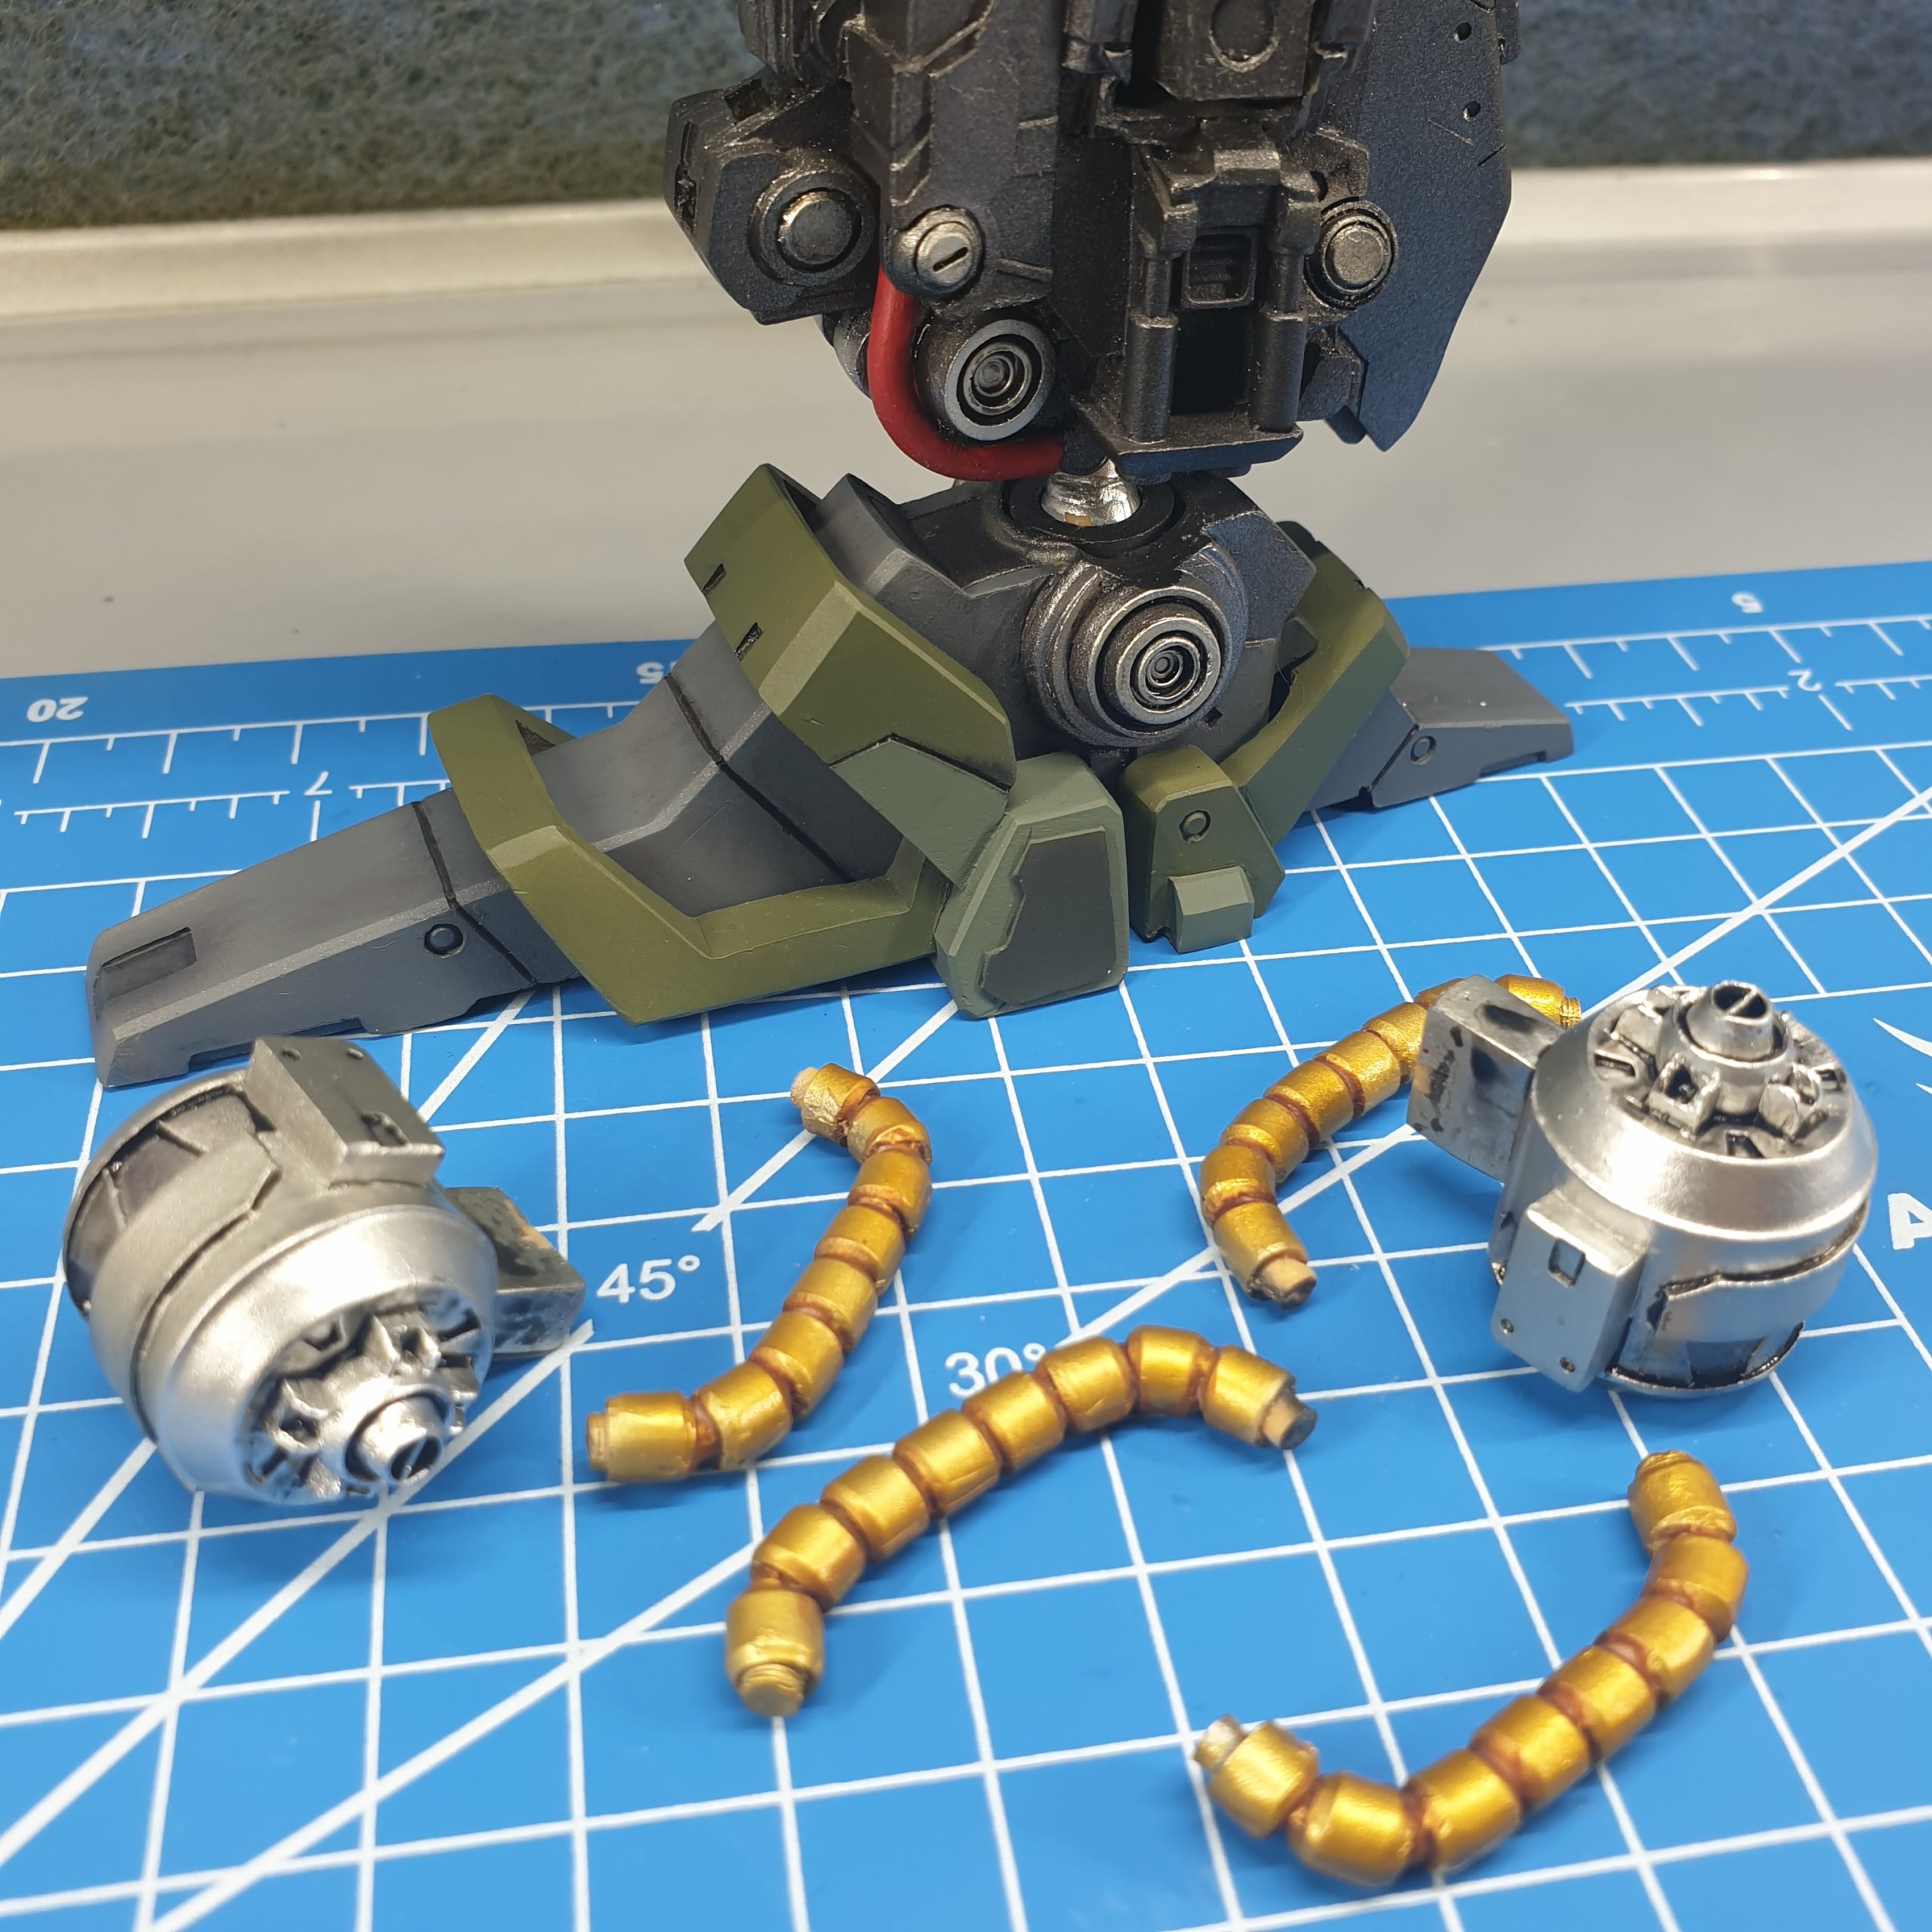
The model is designed with really long peg joints that secures each foot – I was always wondering when looking at finished models about ankles – looks quite awkward and hmmm empty… so I decided to shorten the pegs and limit free space around ankles. After some test fit I found proper lenght. To make…

Read more

Legs and magnets

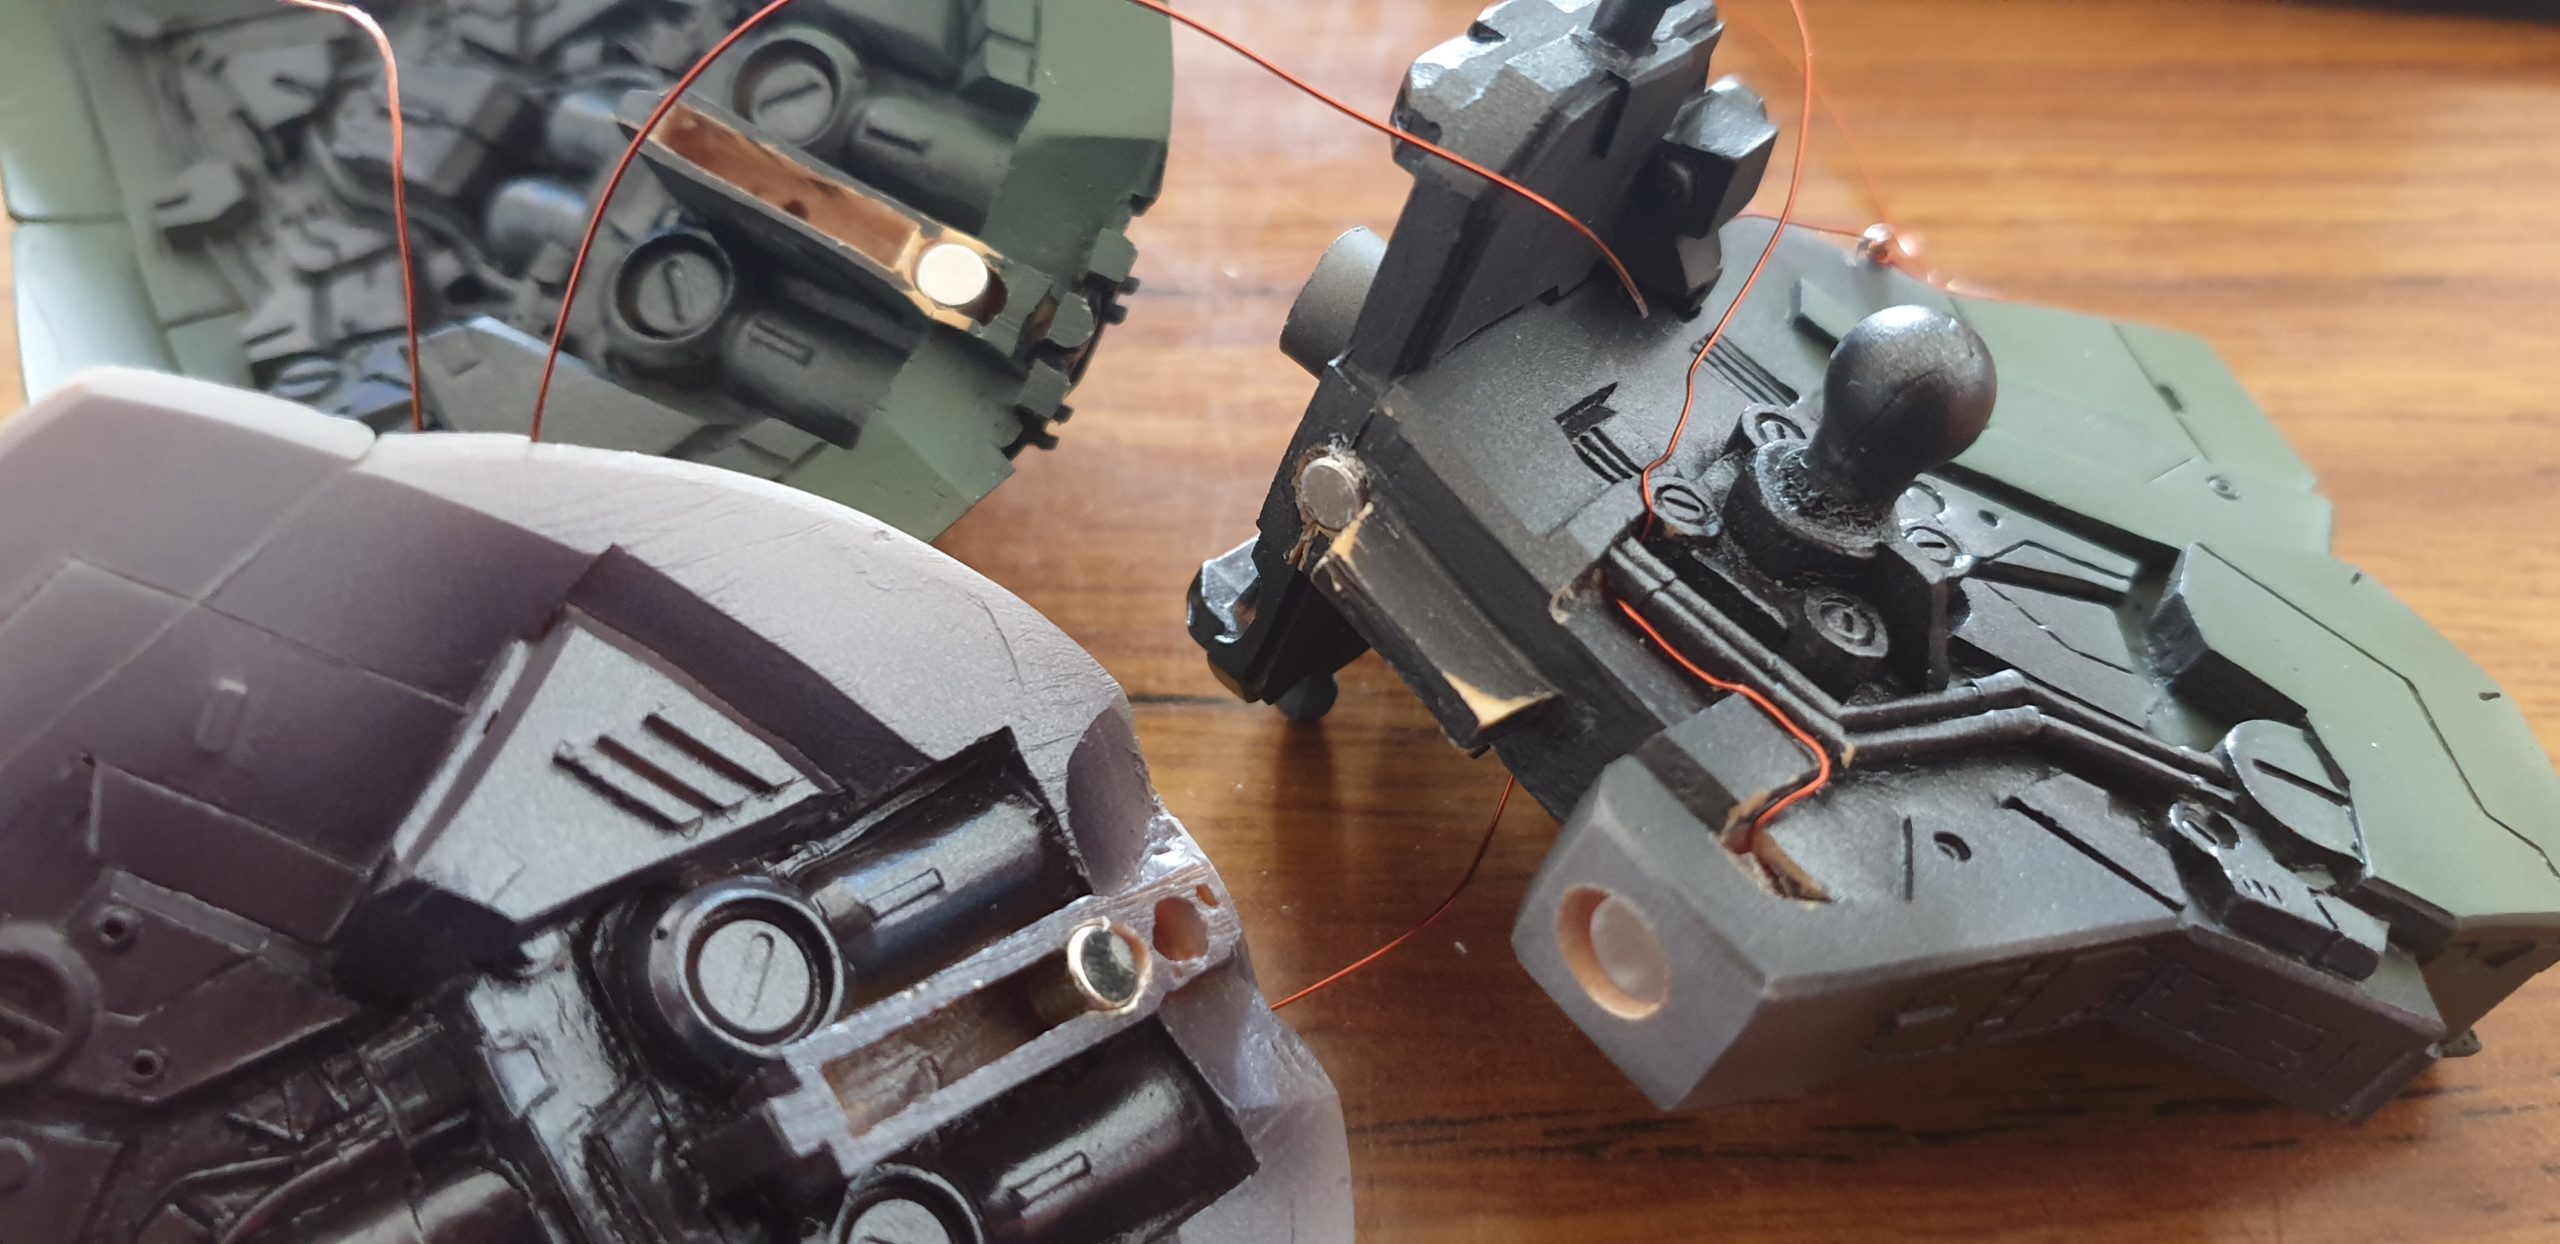
The details within legs internal structure are just bagging for show. I started to think how to fix leg armor and make it removable… I decided to go with some magnets that will keep armor in place. This is it! Additionally, I added hard plastic rods for legs hinges – in fact I believe that…

Read more