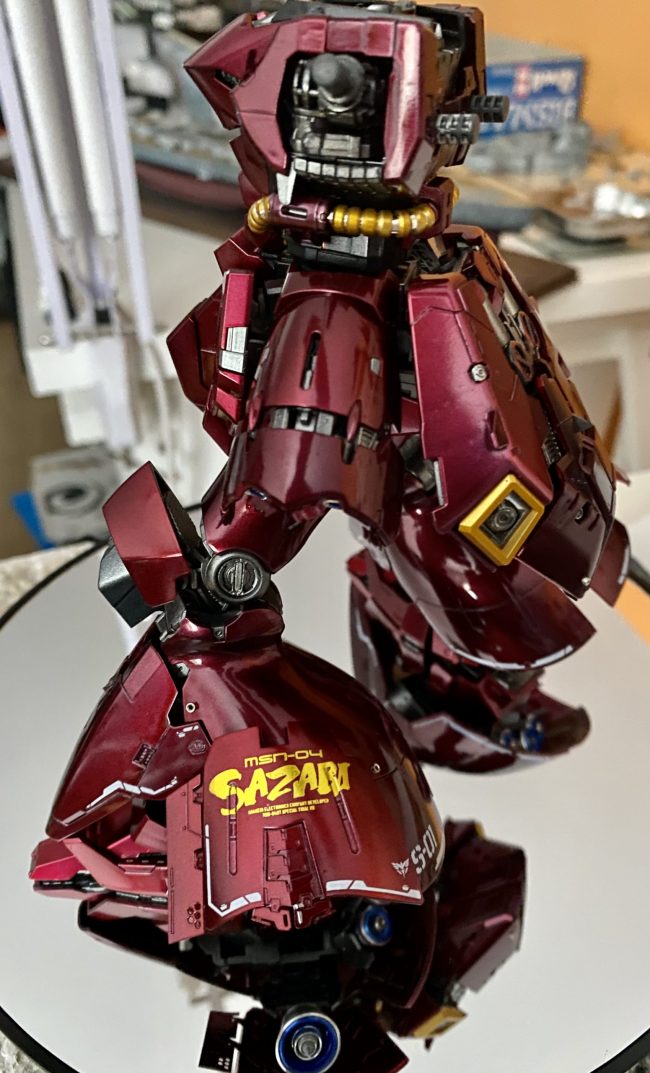
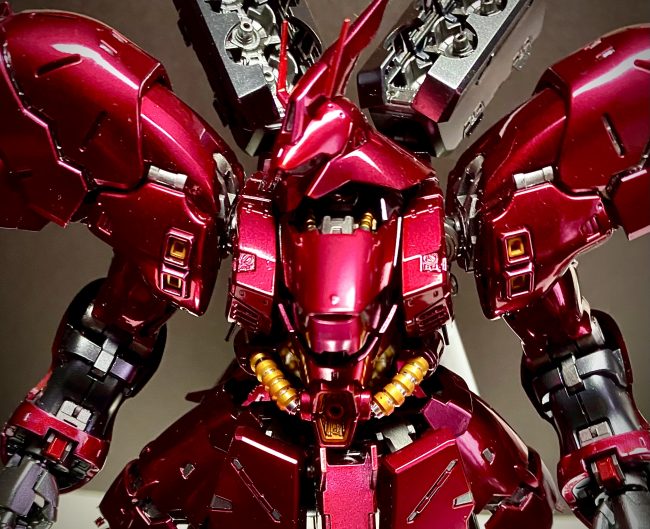
The Base continues

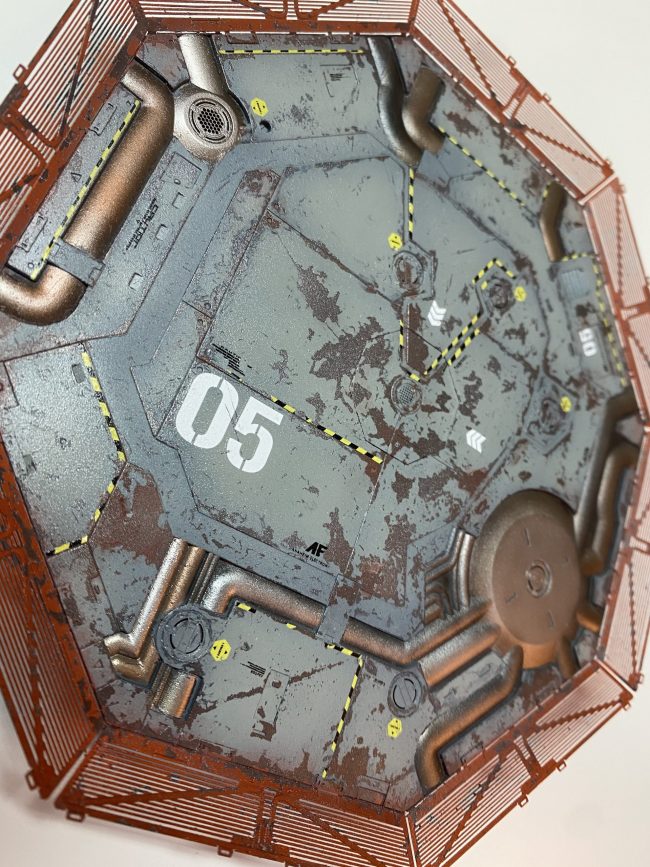
After initial weathering, I applied UX100 from MrHobby and added some decals. Platform no 05 – why not? Then decals were sealed with same gloss varnish andAK XtremeMetal was used to paint pipes etc. Next step – washes and additional weathering!

Funnels!

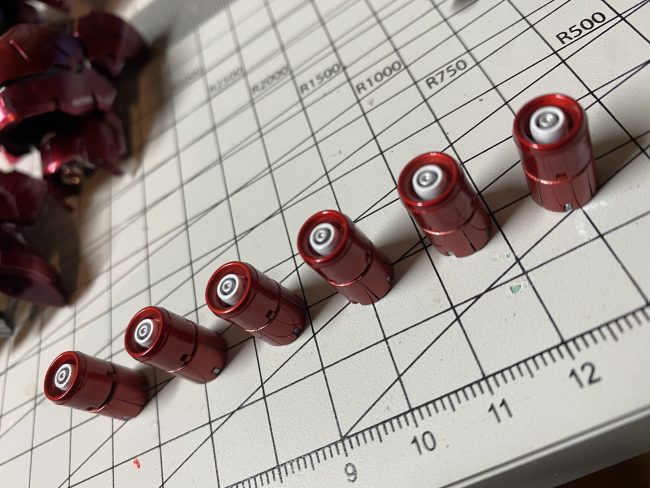
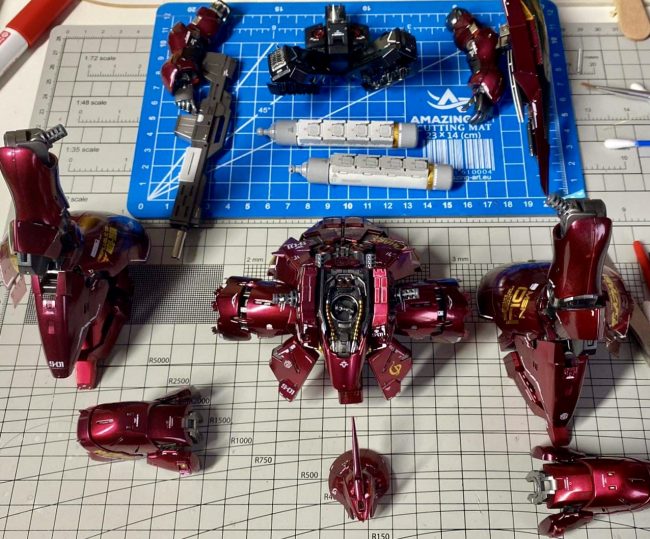
For funnels I went with different shade of Glossy/Candy Red, to add additional eyecatchers 🙂 I see a lot of Sazabis with same color everywhere – time to break the rules 🙂 This time I went with Tamiya laquers only. Silver as basecoat was applied then Clear Red from LP range. Then decals were applied.…

Sazabi’s base painting started

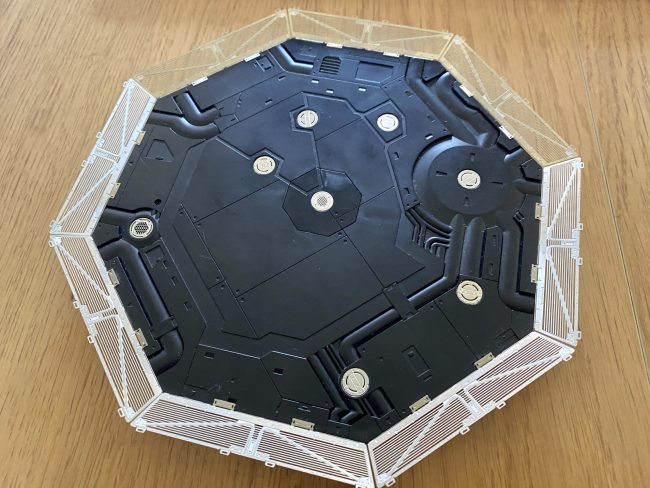
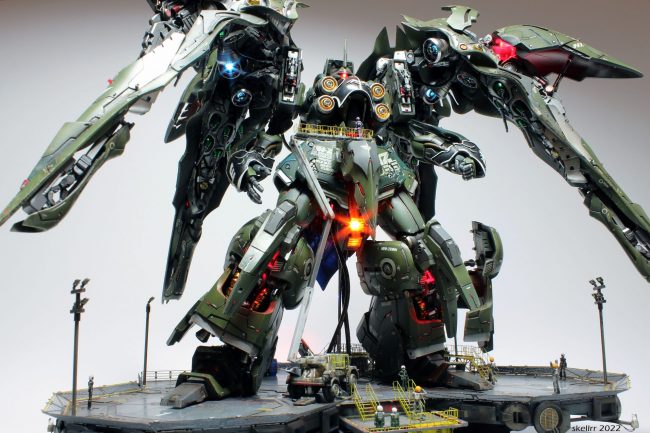
I’m planning to put little Saz on an old platform – for a contrast between glossy mech and used/worn deck of landing pad.I will use ActionBase1 and some dedicated photetched parts from MadWorks. Base after Tamiya Surface Primer applied – its soo cool to look at primed parts – looking like 3D rendering… After primer…

Decals frenzy

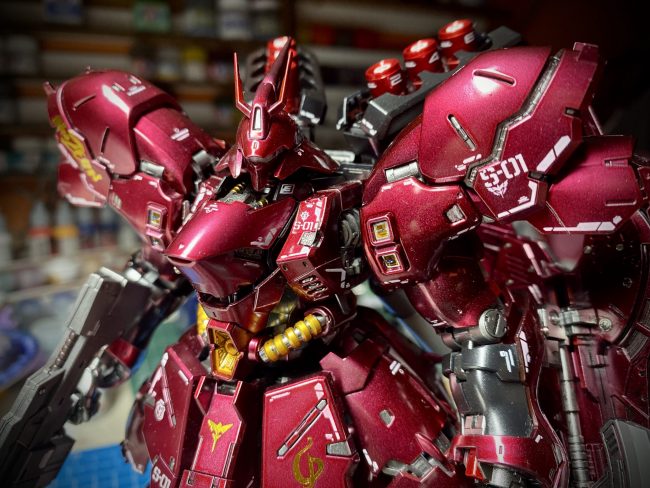
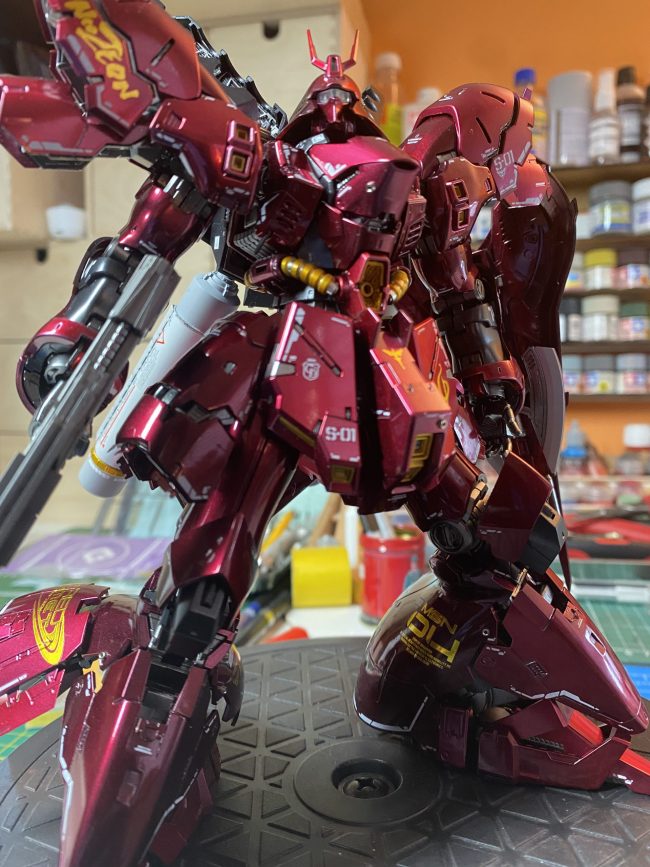
After few water-decals sessions I finished ”by the book” markings. With those tiny symbols Sazabi started to look like a real thing! Anyhow I wasnt fully satisfied… I NEED MORE!!! :), started with fuel containers detailing… unfortunately one of gold fragile decals was damaged… I removed it with moistered tootpick, very gently to not damage…

Decal work started

I chose “realgrade” version for decals with some additonal custom golden logos etc. Started with shield by the book. DL Model decals are marked same as original RealGrade – so instruction is very helpful. Decals are easy to apply and they’re reacting well to MicroSol that I’m using. Other thing is gold emblems from Infinity…