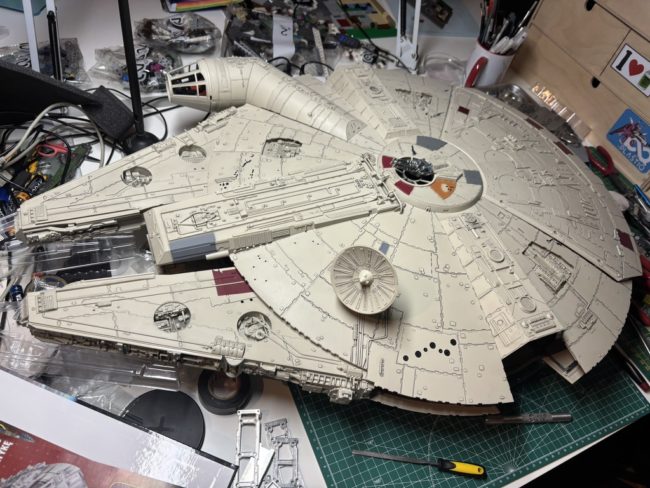
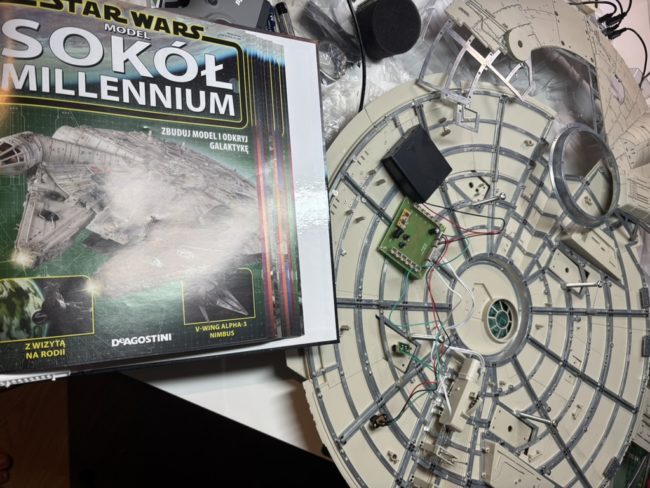
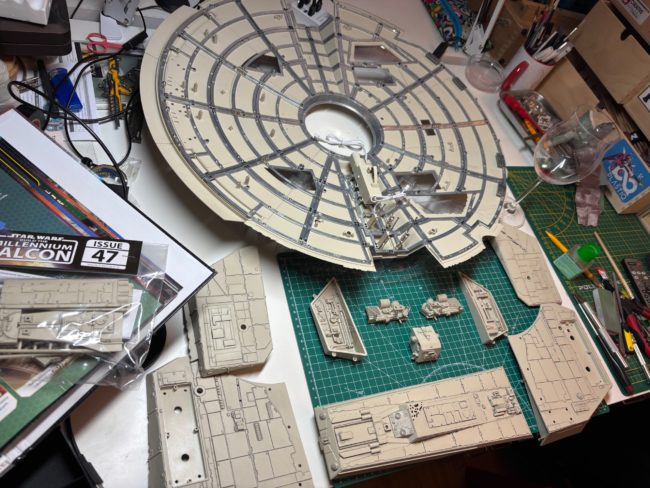
Three to go!!!

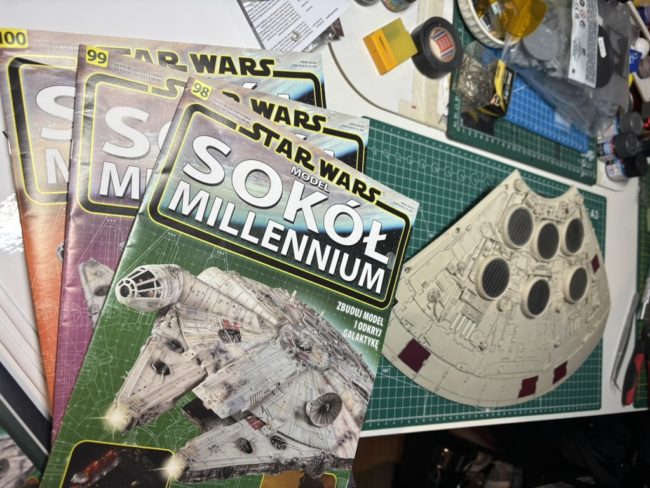
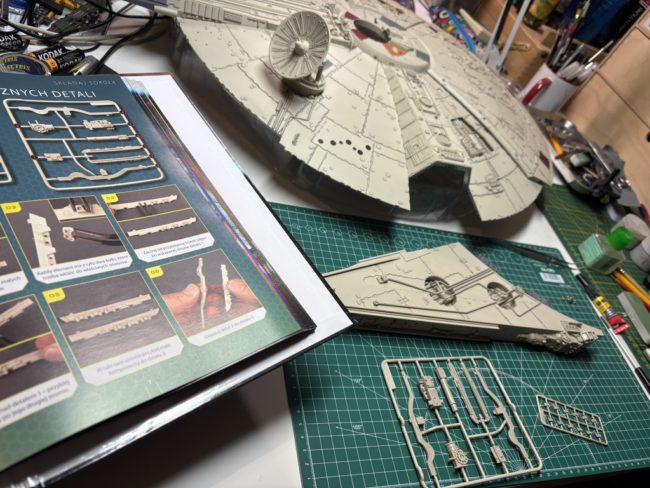
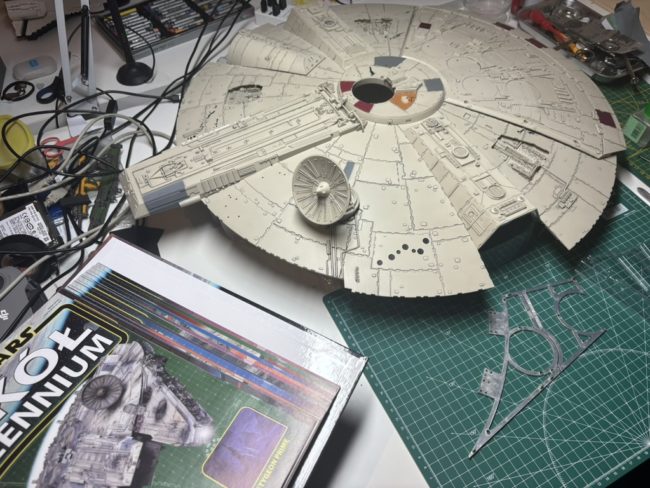
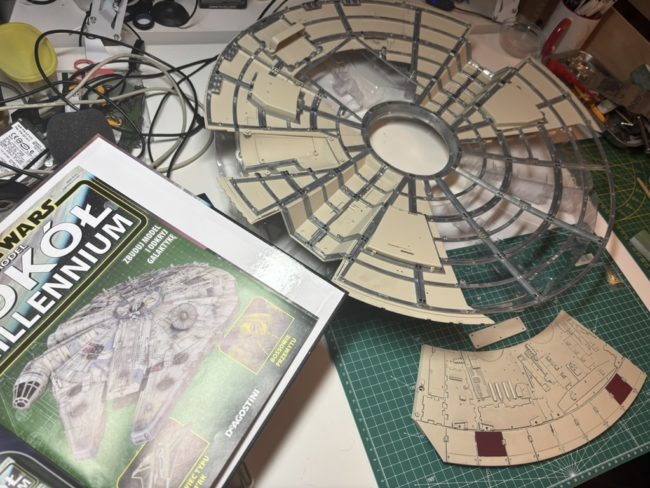
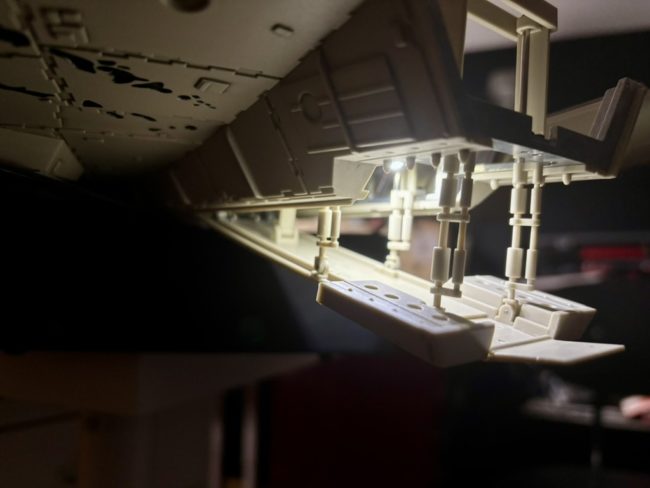
Issues 96-97 focuses on engine cover details. Many small “greeblies”, some are easily recognizable as some tank parts, suspension and wheels or even German stick granades ๐Ÿ™‚ The build went straight-forward – something around 100 pieces glued to the surface of the rear engine panels. Small hint – radiators and grills will be replaced /of…
93-95 done, only 5 TO GO!

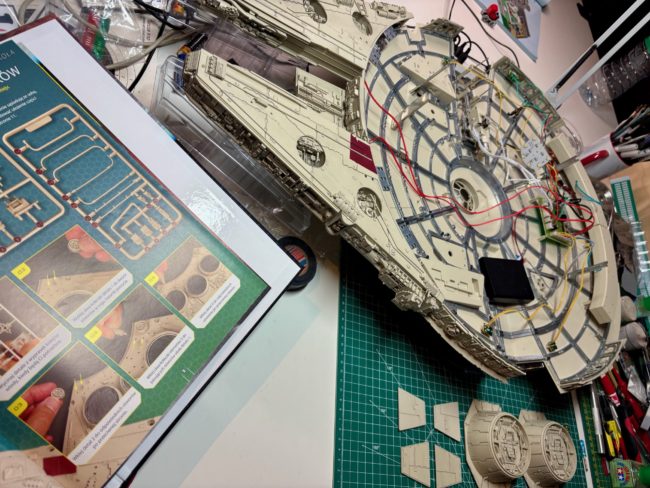
Short update, some 2h session, 3 bags with parts added to the model.Docking bays completed. Construction was focused on side walls of the Millennium Falcon. Besides walls, there are a lot small greeblies on each part of side-walls. I did small improvement but I found it necessary for the whole project ๐Ÿ™‚ I magnetized all…

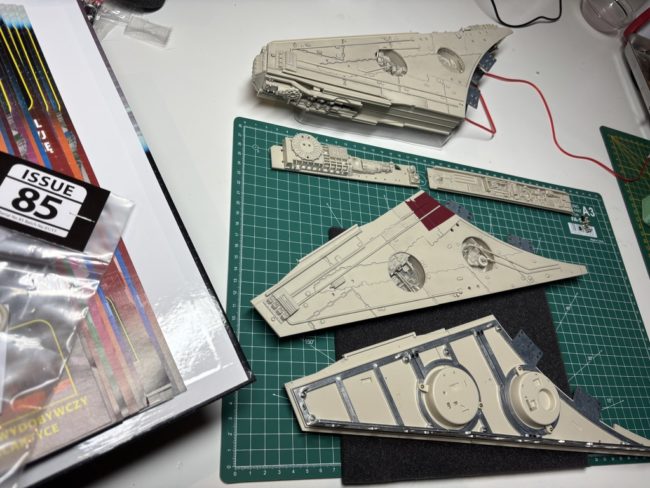
Issues 85-92

The construction continue towards fixing of the internal compartments and attachment of completed mandibles. Then I performed lighning test. I will utilize some of the oob lights – for sure engines, landing lights and other need some improvement ๐Ÿ™‚ Engine for instance is way too dimmed…. and the general appearance is not according to my…

80 – 84 done, 15 TO GO!

Construction continues around mandibles. Left mandible frame maintenance bays and external details. Bottom and top mandible sides. I must say that even out of the kit it looks ok. Side frame construction started. Thats all for today short session. I’m starting the last manuals folder ๐Ÿ™‚ – only 15 issues in front of me –…

Issues 74-79 – right mandible

Falcon construction continues to another iconic parts of the space-ship – front mandibles!The inner frame build went straight forward – I didn’t took any picture of it – trust me – it was straight forward ๐Ÿ™‚ Maintenance bays were fitted into dedicated slots – there are some extra details placed here and there in round…

Millennium Falcon issues 68-73

Construction continues around engines cover – it is still separated from the model, will be fixed later. Then, following the instruction I focused on the front section of the top saucer. Those pieces will be removable in the finished model as it will cover internal compartments builded before. Main parts combined together and magnets are…

Steps 58-67 completed

If you’re Millennium Falcon fan then you know how StarWars movie models were created. Many detail parts on a surface comes from various plastic model kit sets like tanks, cars etc. During the build I can recognized those – DeAgostini did a great job to add those “greeblies” (how it was called by ILM team)…

DeAgostini Falcon – The Ramp

Finally, I was able to test out Millennium Falcon motorized boarding ramp. Surprisingly it went fine without any adjustments!I was playing for like half an hour like a child ๐Ÿ™‚ COOL!!! Of course I will paint it, weather etc later on. Today Arduino set arrived with prototyping board + RGB LEDs and Fiber Optics (1,0…

Stages 47-57 completed

I sit for a moment to the model just to have a look on it…. and somehow 4h passed in a snap ๐Ÿ™‚I like how the construction is planned and how it is mixed with variety of areas from details and frame construction and some electrical components – I’m superimpressed with DeAgostini kit! Greeblies!!! Many…

DeAgo Falcon issues 41-46 completed

Now time has come for some detailing work. Detail parts comes as plastic sprues that we used to in “ordinary” scale model kits. Below parts for one of the turrets gun well. I need to say that even out of the kit parts gun well departments looks very good – I’m not putting decals atm…