


Punch it Chewie!
Kit’s parts are organized in 100 construction steps (that means – a hundred of different sizes plastic bags full of parts and a hundred of paper magazines that include instructions manuals and additional StarWars & MFalcon related informations).
First 4 steps were nicely prepared, then the rest of the model is just packed in plastic bags. The order or completion and parts delivery seems really odd and if you’re going step-by-step, then you’ll build different and separated components of the model, eg first step contains quadruple cannon parts and some cockpit pieces… After a while I found this approach quite interesting that modeler is always hyped with other areas of the project – if thats planned – nice job deagostini.

The Frame – first wow of the model.
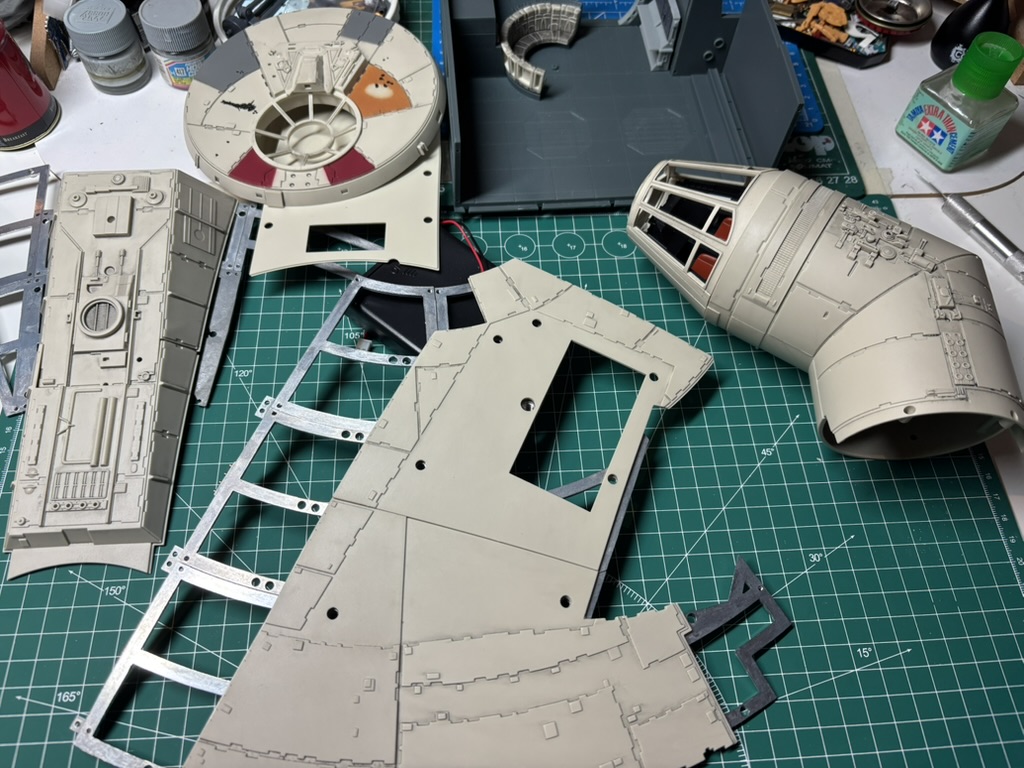
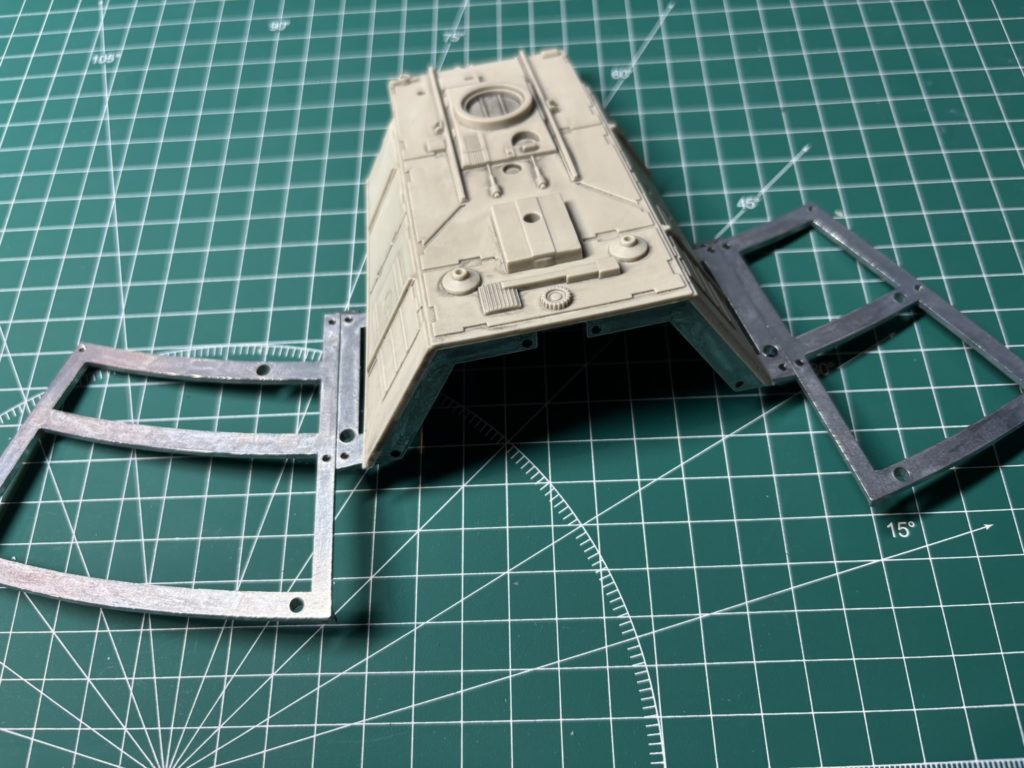
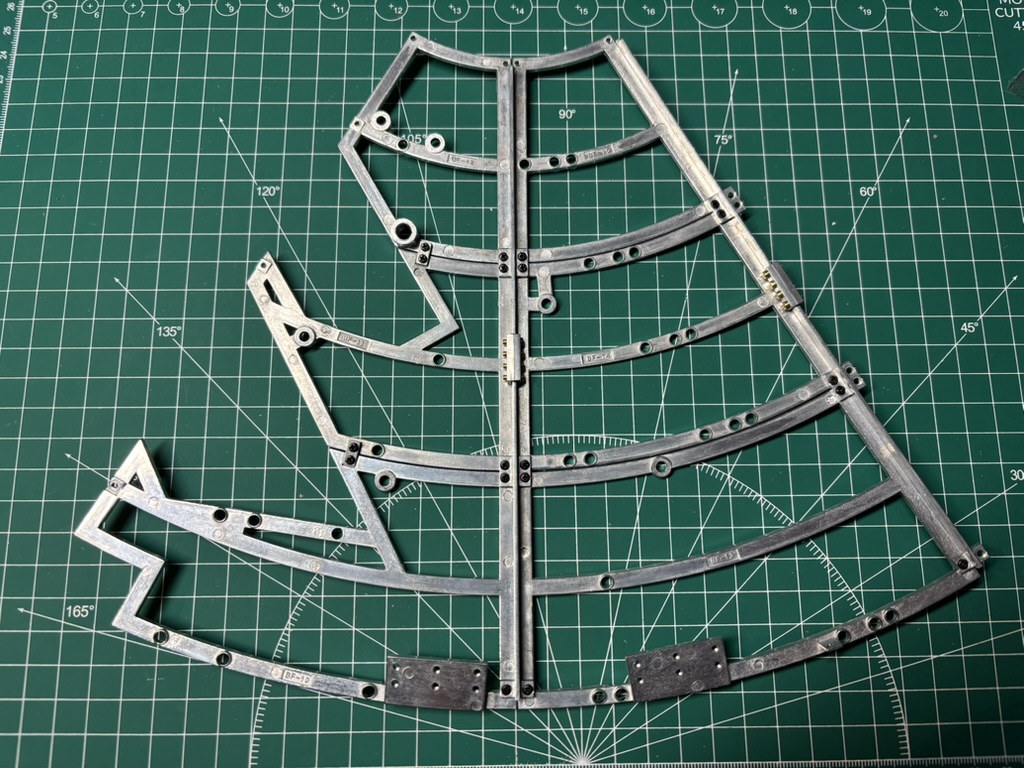
Millenium Falcon internal construction is basically metal frame-like construction that you need to combine together with some dedicated screws – I was amazed and really pleased with the quality and alignment of first frame parts. Pure joy to build! Additionally I combined (without glue) cockpit parts. Im not going into details at the moment – will focus on that later on. The parts of the external armor is molded in color plastic, that I need to admit that even looks ok on first glance when it comes to colors and ” a bit of weathering”.
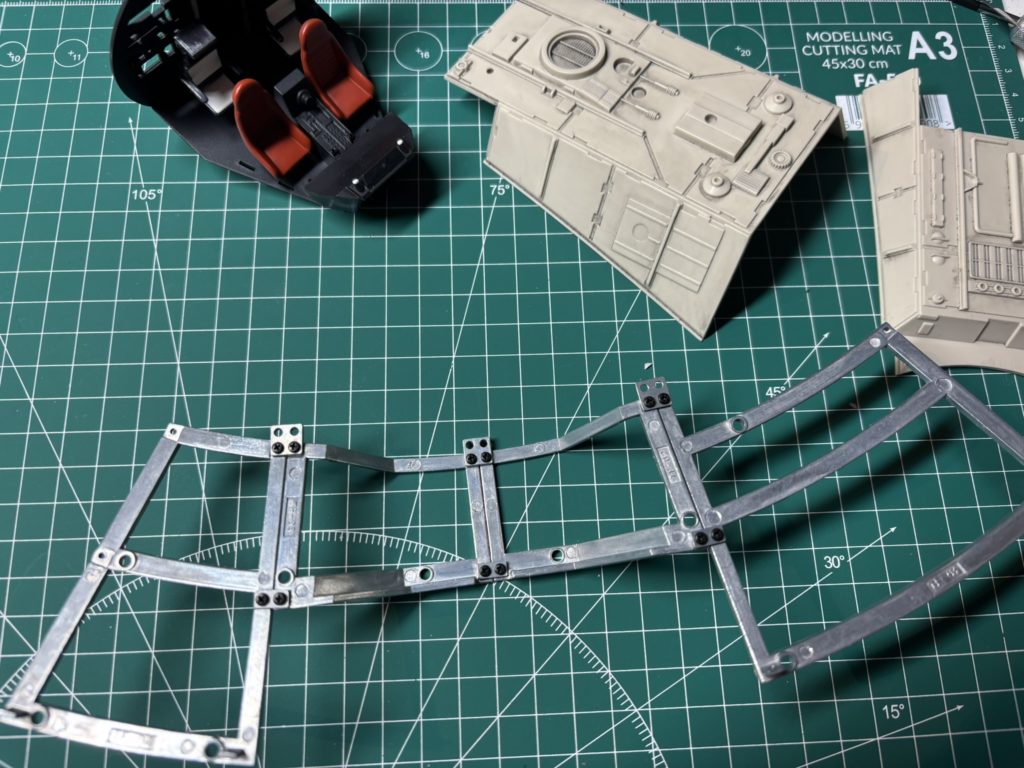
First frame parts with sheeting attached (few types of screws are used here) – cool!
I moved towards iconic Cockpit Tube of the Falcon. Plastic parts are nicely comming together and are properly aligned – to be honest I was not expecting this 🙂 – another positive suprise!
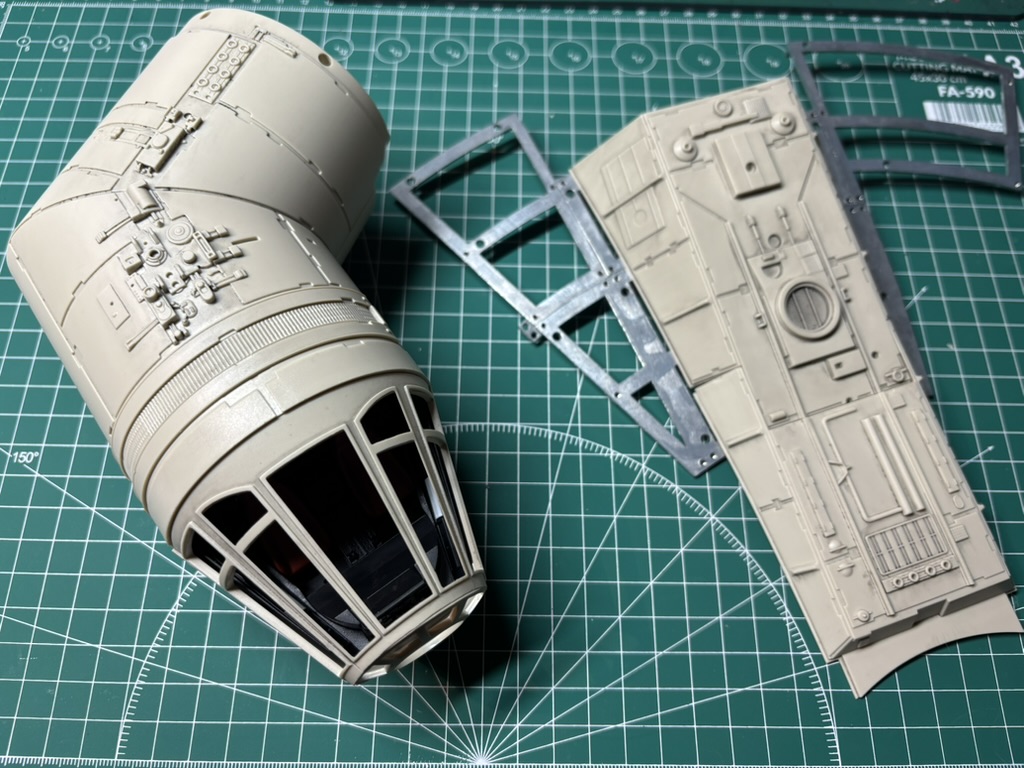
The kit parts provides additional external details of Cockpit Tube – I will add those at later stages. Anyhow – the thing is really BIG 🙂
I have already photoetched cockpit set from Paragrafix, that includes coolshade photoetched vent – it will be a project within a project.
All parts are combined together without glue.
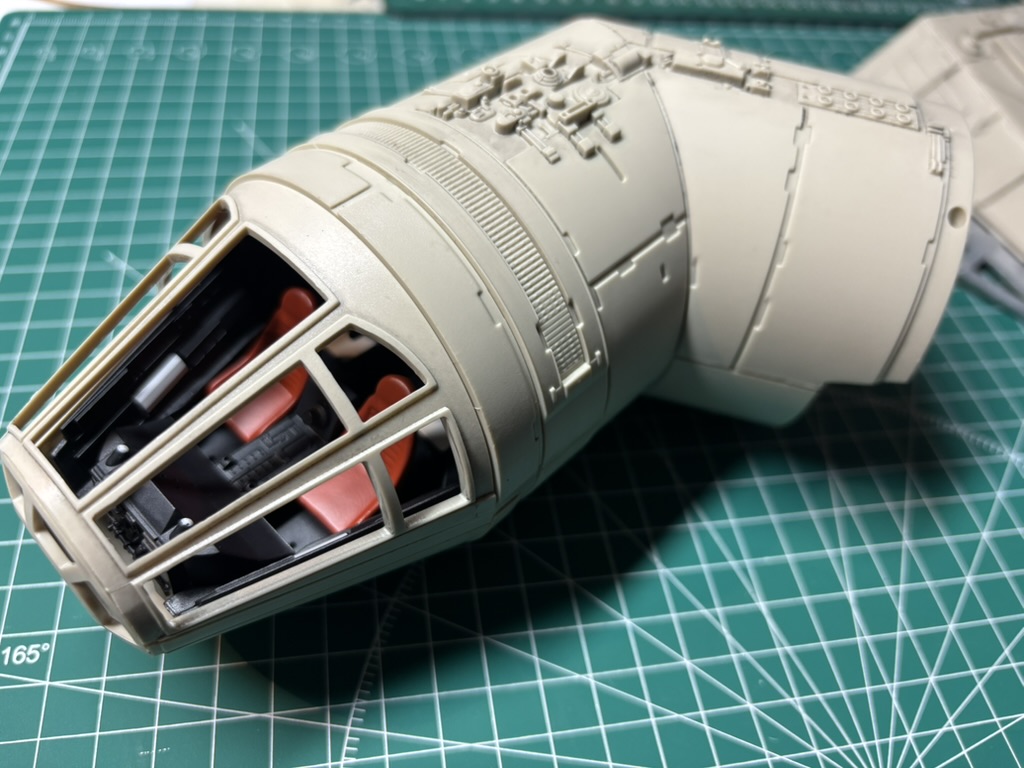
I went through internal department construction – out of the kit parts – will not focus on that more as I’m planning (at the moment) to not build proper internals of Millenium Falcon. Lower frame parts went nicely together – I need to say – that this type of construction is something completely new and its satisfying to see how those metal parts are coming together.
I added armor to lower part of the frame and that concludes first session with 1/43 Millenium Falcon.
So far so good!