NZ-666 Kshatriya Resin build
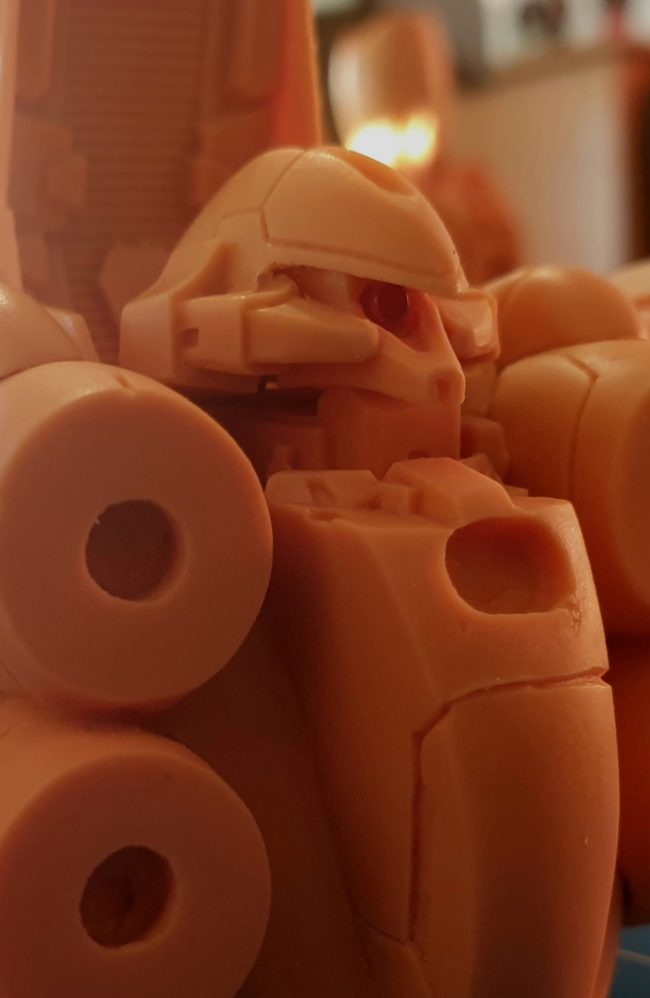
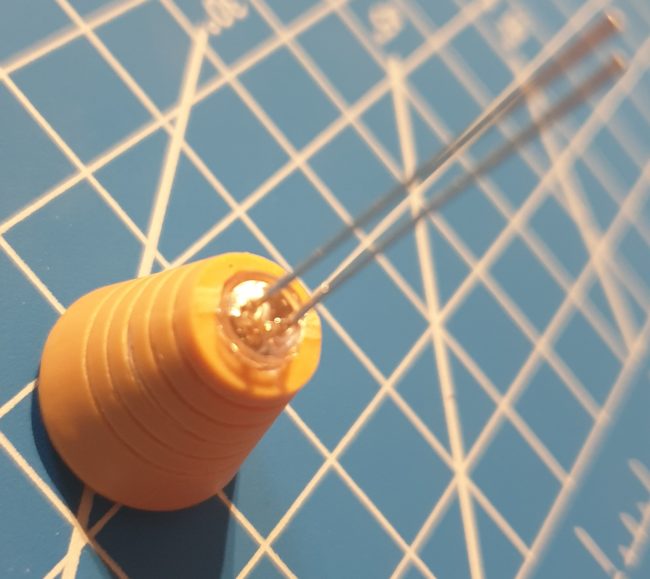
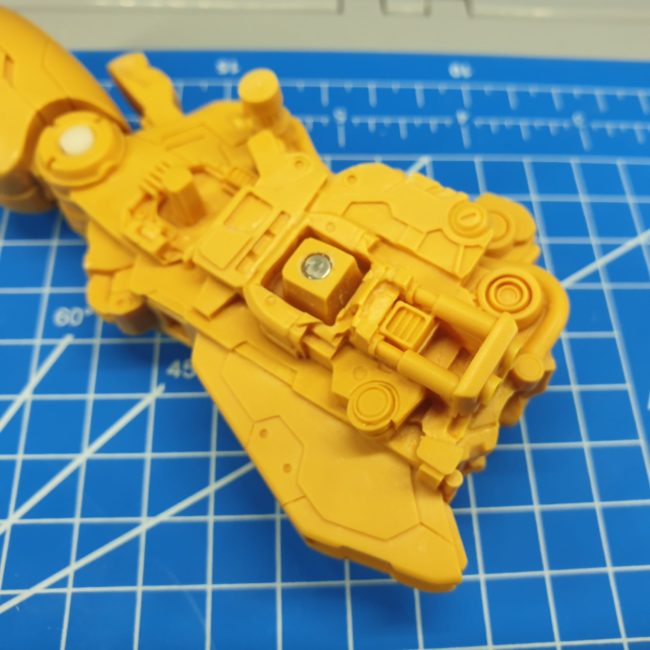
As I was planning to make side leg armor removable, I figured out how to connect leg thrusters and made solid connection that will handle disconnecting and connecting. I used small electronic connectors that I glued in place. Inside cables are going directly to Blue, blinking (candle effect) CRLEDs. Leds installed and operational! Three more…
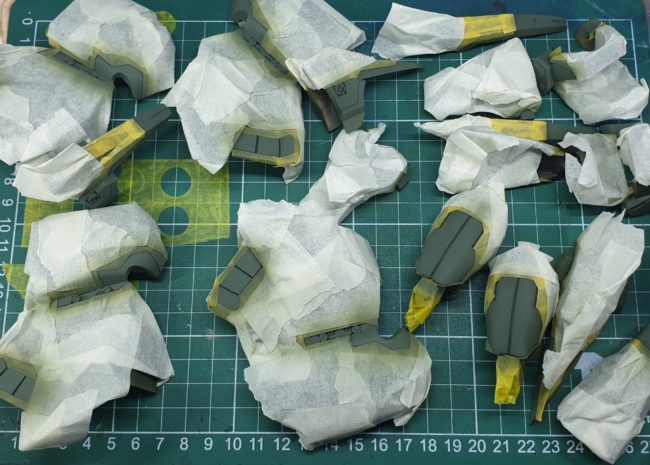
1h of masking and 15 minutes of painting… A bit lighter shade of green applied together with some gray for armor parts Parts combined together – it starting to look just right!!!
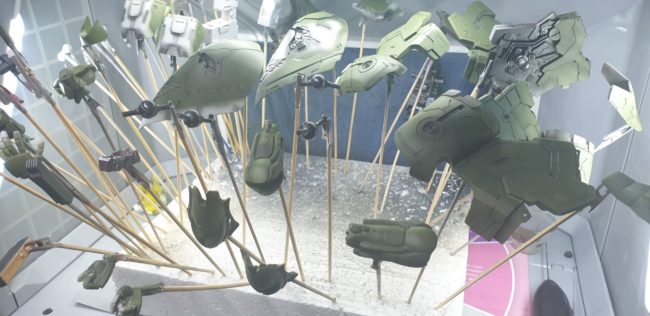
First shade of green applied – its from Tamiya LP range – I mixed some green colors to get base for my Kshatriya.In my opinion it looks fine! Preshade did the job – it subtle but visible enough. Additional decal set arrived – this one looks way better than original one…
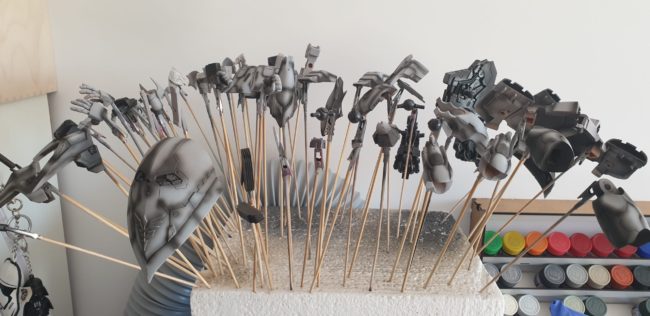
As my Kshatriya will be painted in many shades of military green, I did quite heavy preshade this time with Tamiya LP Black. Inner parts were covered by Tamiya LP Dark Iron – I love this color – picture will not show it – but it looks generally like old iron part 🙂
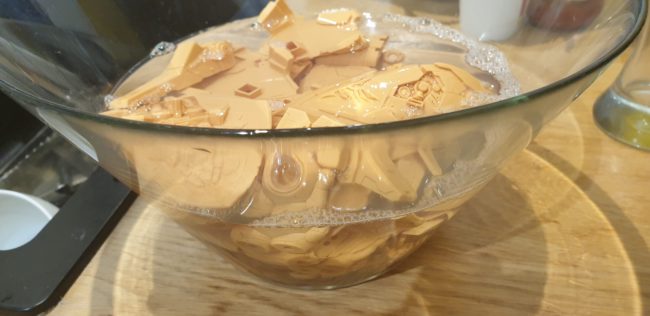
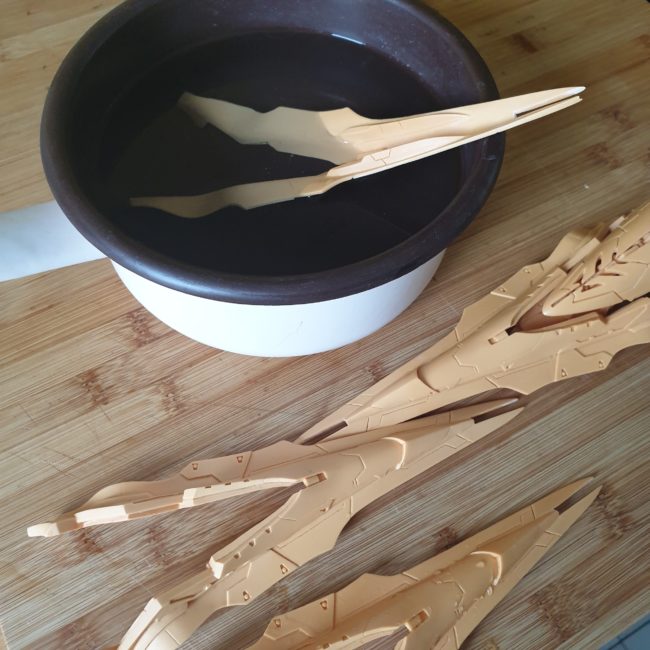
All parts were cleared with warm water mixed with dishwasher, then I left it for overnight drying. As you can see – there are no binders/wings parts. I decided to split project in half and start with painting mobile suit without wings first. Sooo many clamps! Ready for primer. Gray MR Surfacer 15000 applied –…
MonoEye, mega particle cannons was quite easy to drill in.Other parts requires more attention and a lot of patience to cut through fragile resin… I did my best – it went how it went…I removed a lot of resin from inside to fit the cabling – general idea is to connect everything within hollow body…
The project is getting more and more complicated… I was thinking over night about adding some light to the model…I tried with one 5mm LED and drilled in one of the thrusters – damn… now I need to drill all 12…. Don’t have any idea how to and where I will hide cabling and etc.…
Allright – the time has come to deal with the biggest challange so far. Hot and really (almost boiling) hot water was used to heat up big resin parts of the binders and then I was able to gently adjust all bends and misalignments. Then I did same for smaller armor parts – now I’m…
The model is designed with really long peg joints that secures each foot – I was always wondering when looking at finished models about ankles – looks quite awkward and hmmm empty… so I decided to shorten the pegs and limit free space around ankles. After some test fit I found proper lenght. To make…
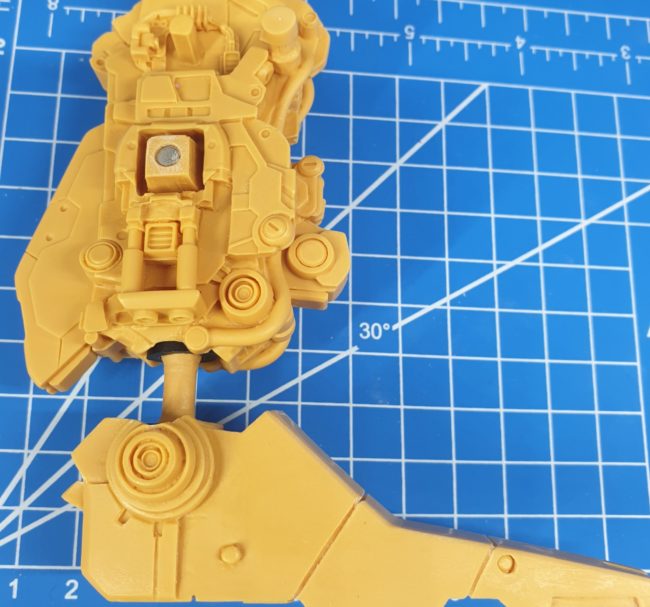
The details within legs internal structure are just bagging for show. I started to think how to fix leg armor and make it removable… I decided to go with some magnets that will keep armor in place. This is it! Additionally, I added hard plastic rods for legs hinges – in fact I believe that…
