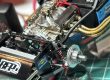


As on a picture – it looks like a bit of challenge and ambitious play with LEDs and cables here and there…
Did I mentioned that I would like to keep model articulation and get most connection cables hidden… 🙂 It seems like a plan, let’s see how far I will go.
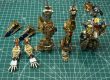
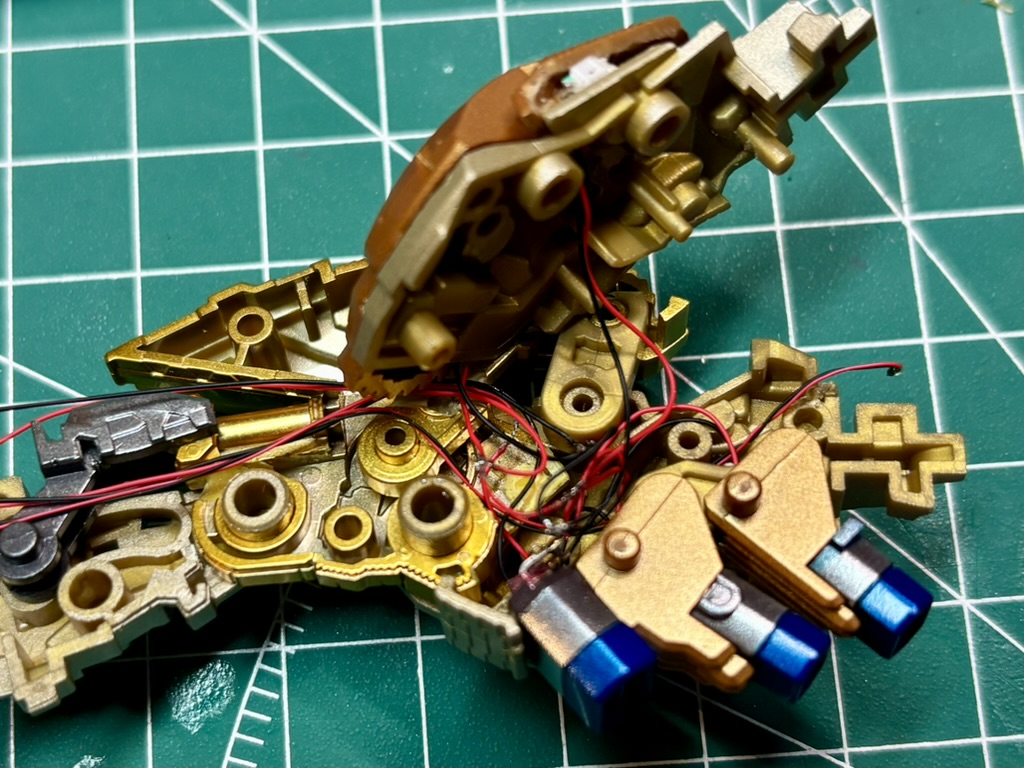
Ok, lets disassemble the legs and work on the thrusters!
Each leg has three thrusters combined in one unit – I will use again 5mm flickering diode and 2 blue 1206SMD. Some drilling and all diodes are in place.
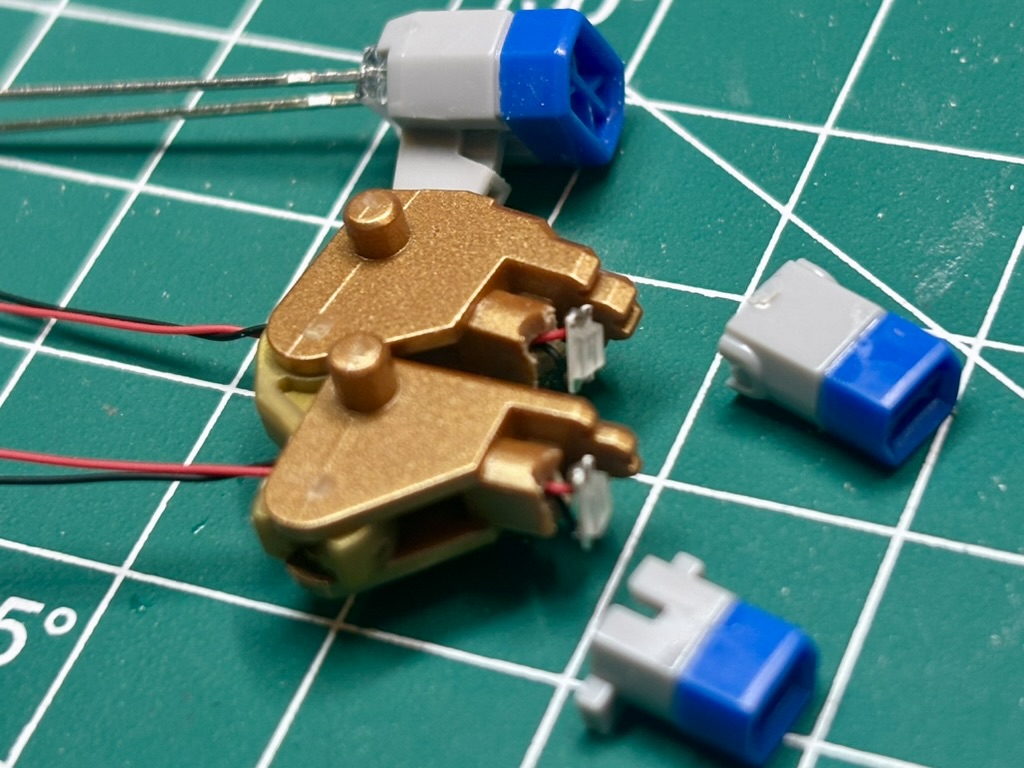
A bit of precise soldering… as there is not much space in the leg, I need to use wiring and connections wisely…
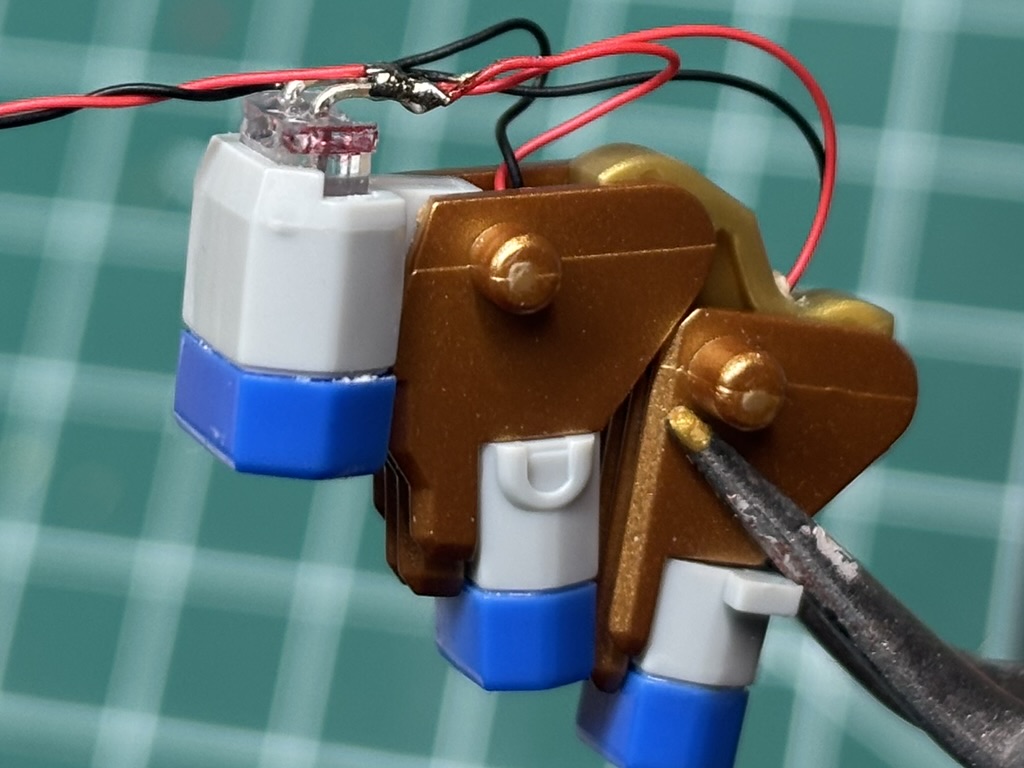
Two sets completed!
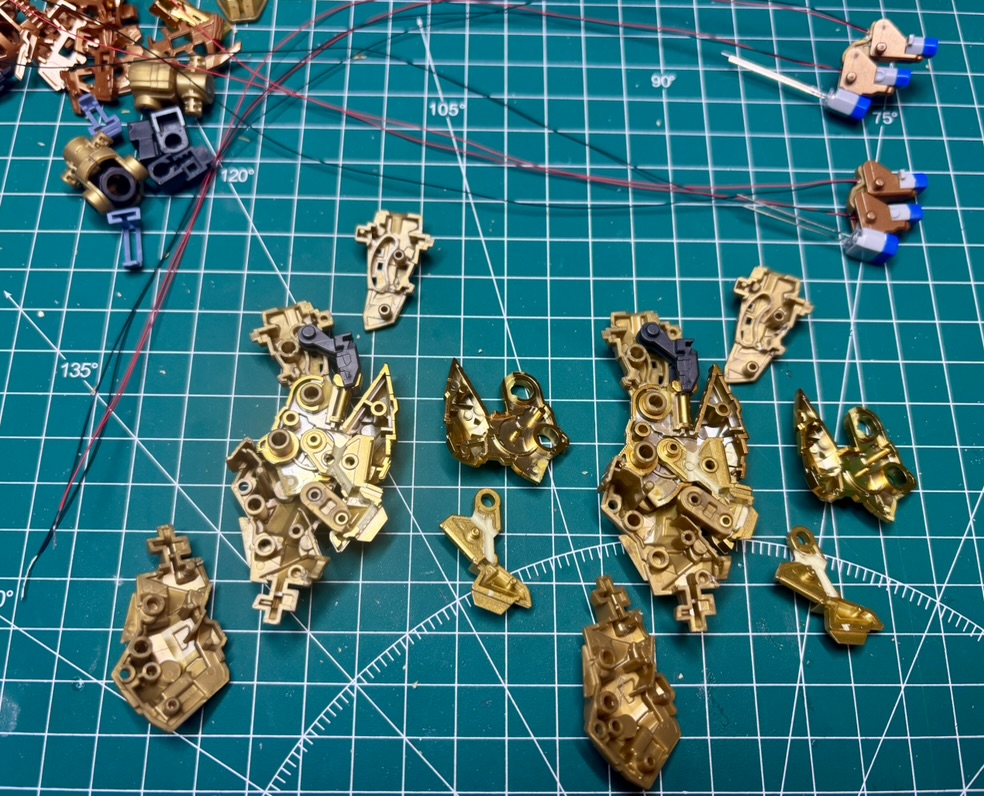
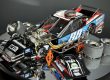
Before putting the parts together, I decided to repain “mustard” gold to something more convenient 😉 – I picked Titanium Gold from Tamiya LP range. Additionally I will paint other mechanical parts of innerframe, gunmetal and some mica blue accents for the thrusters.
Let’s paint!
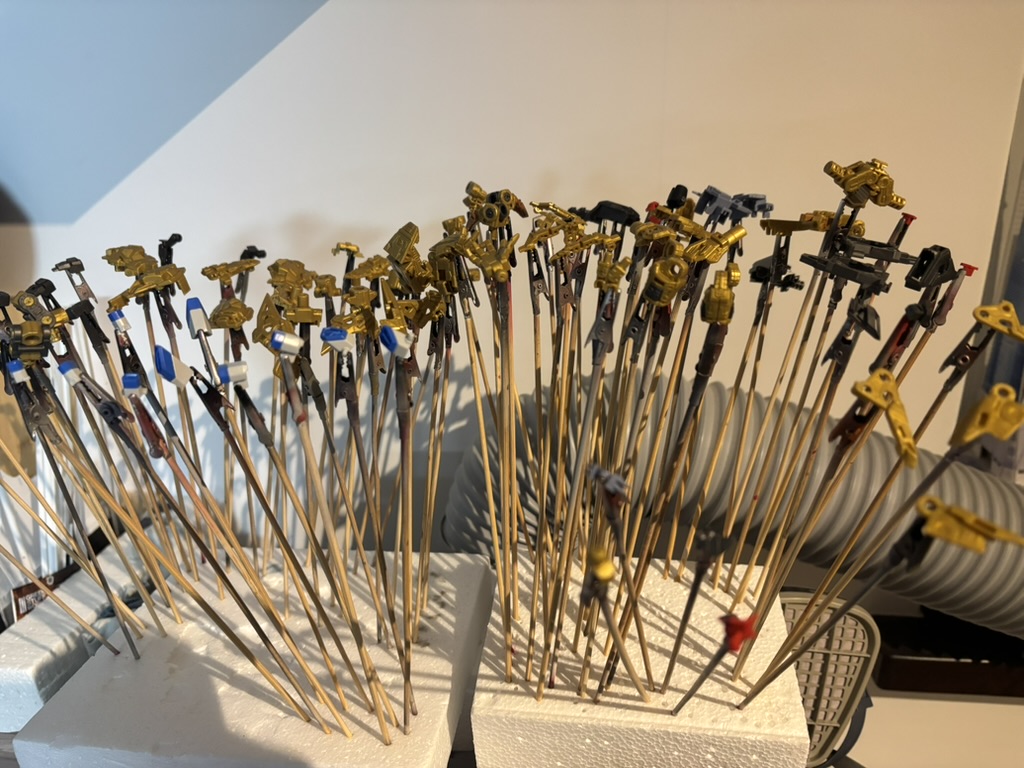
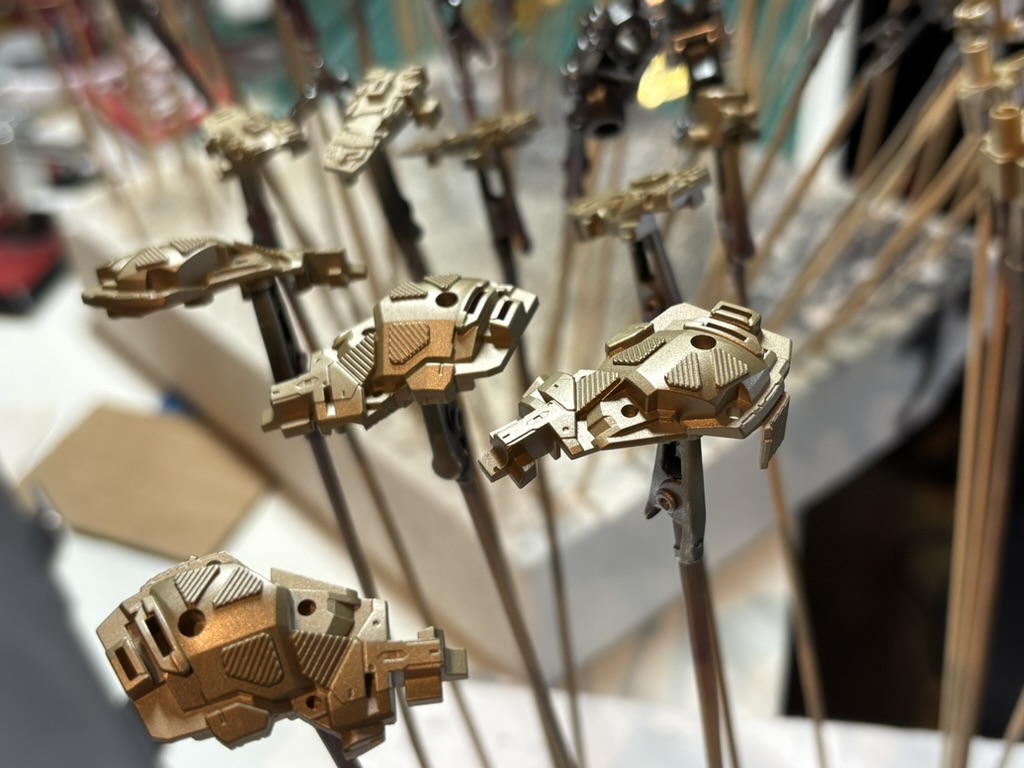
Looks waaaay better then original Bandai plastic. I decided to not paint plated and dark brown parts – they look very good oob.
So many parts – frame only.
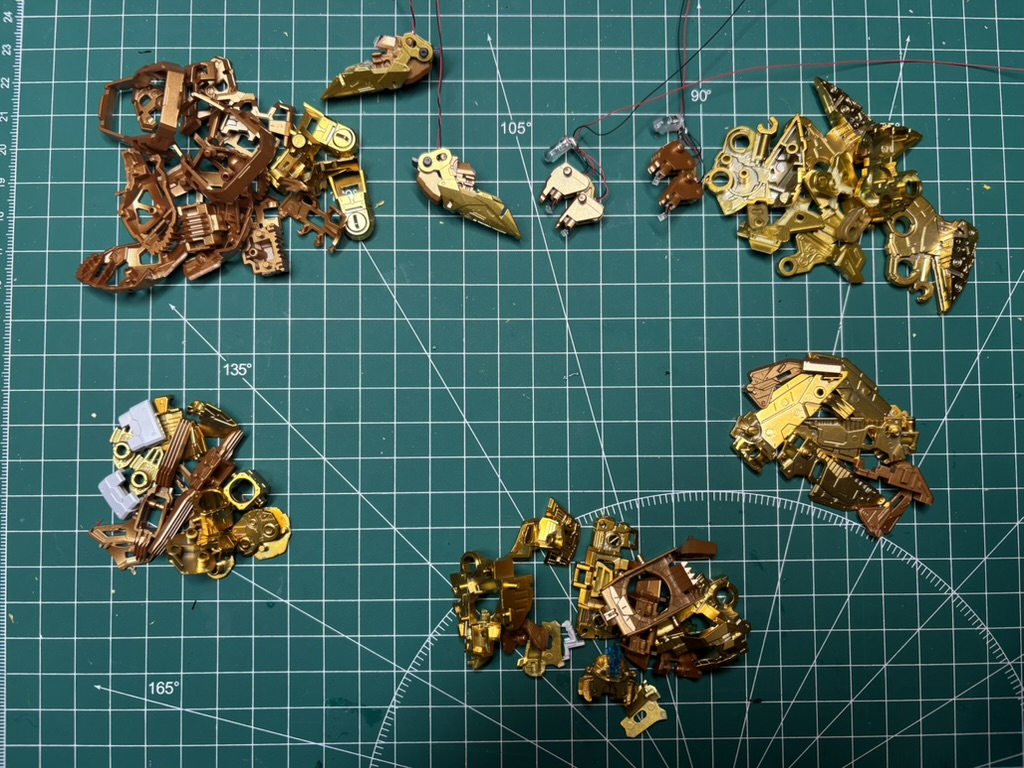
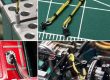
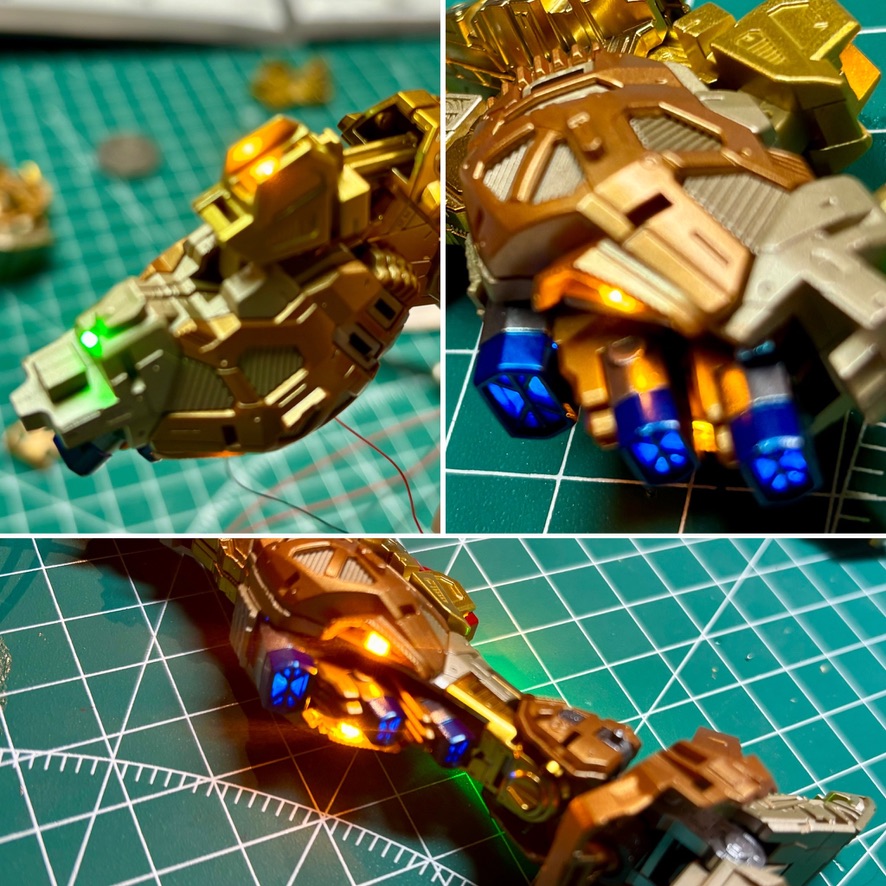
The time has come to put all wires in the legs. Except thrusters there are additional 3 Orange (1260) and 1 small Green LED (0402).
So many cables, so little space… I cut construction pegs here and there to enable free movement of the cables inside leg and keep joints operational. It went pretty ok I must say. Combining all parts together it was a challange to not brake any cable and to not destroy any soldering…
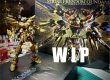
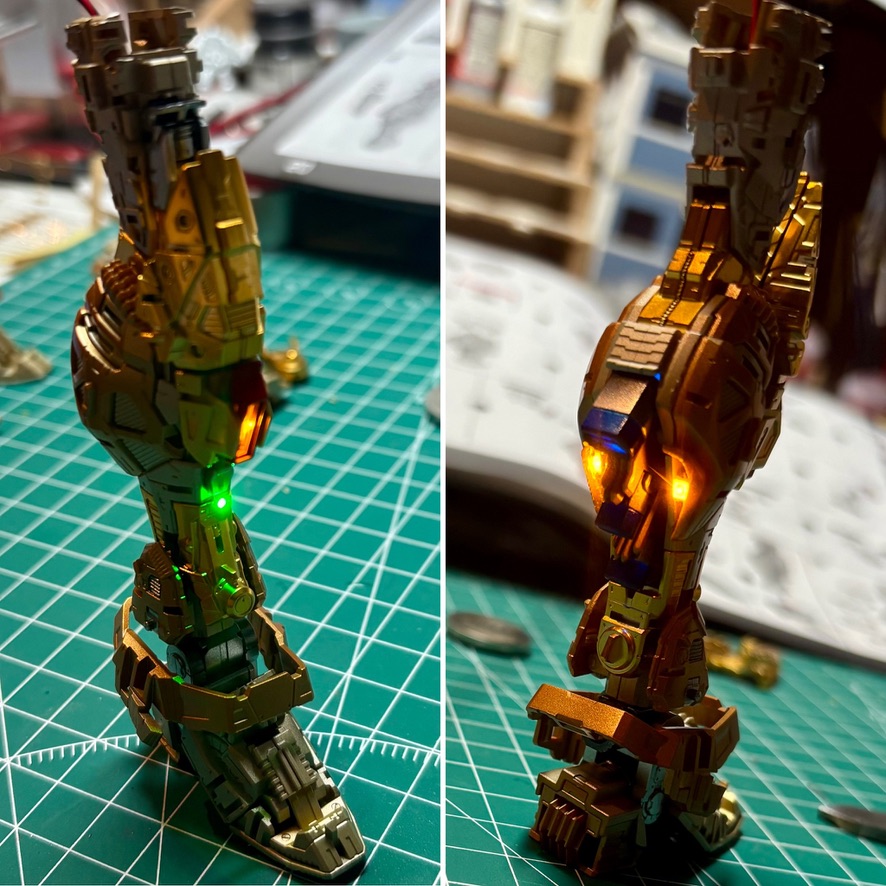
1,2,3 lights test…
Legs inneframe with LEDs looks so cool!
… now move on to the other leg…. I hate repetitive tasks….
Stay tuned!