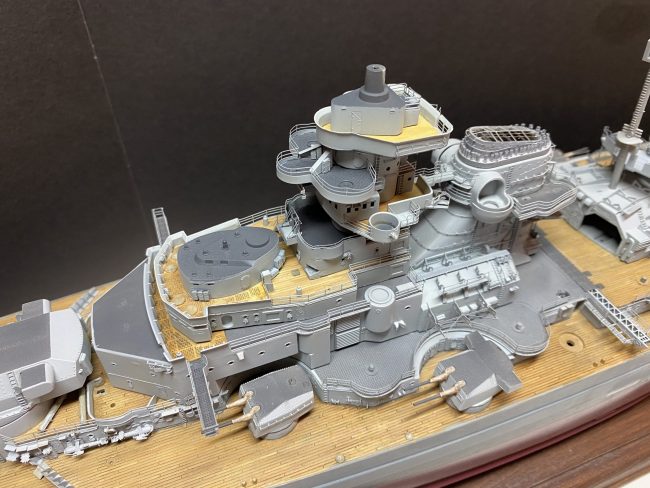
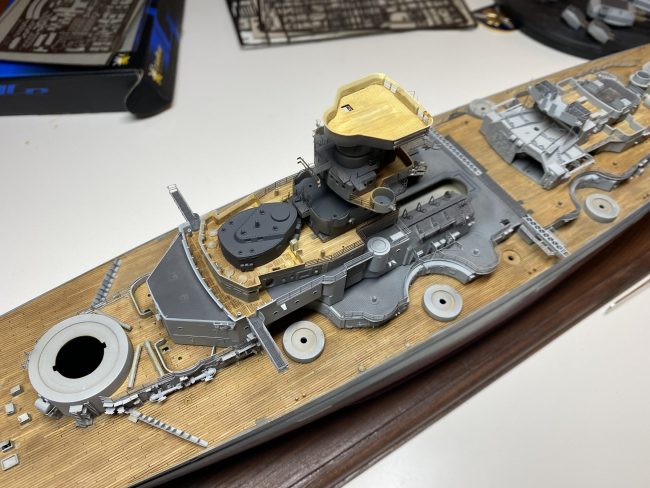
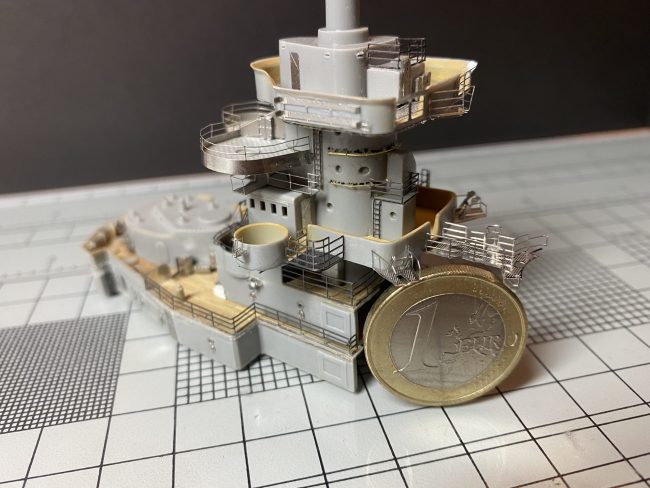
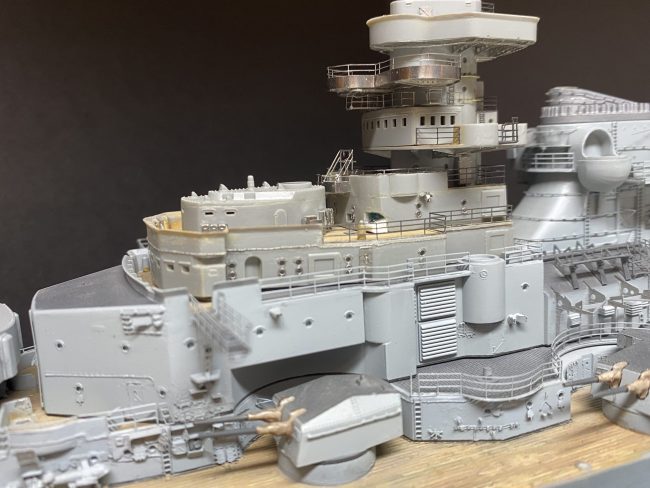
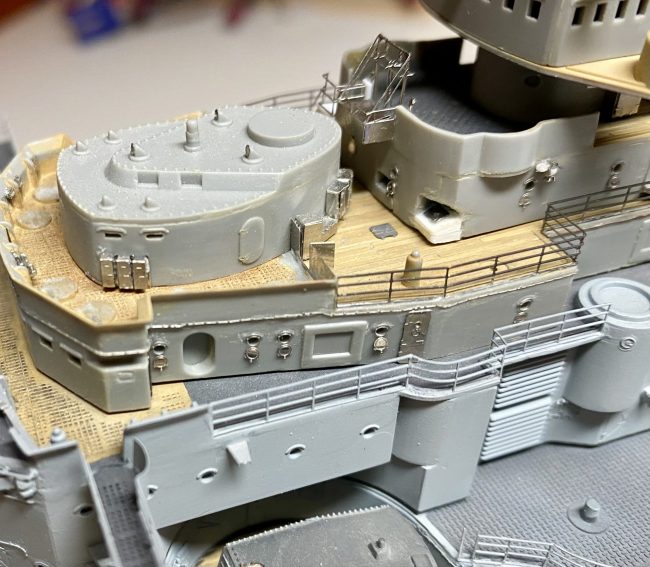
Admiral bridge completed
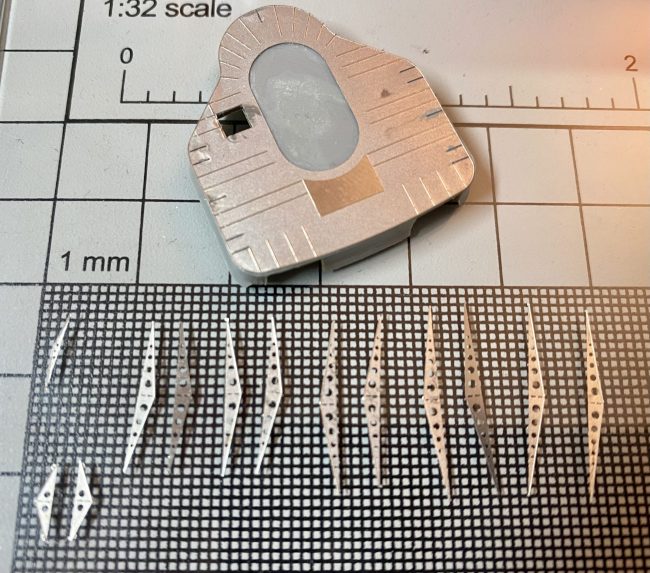
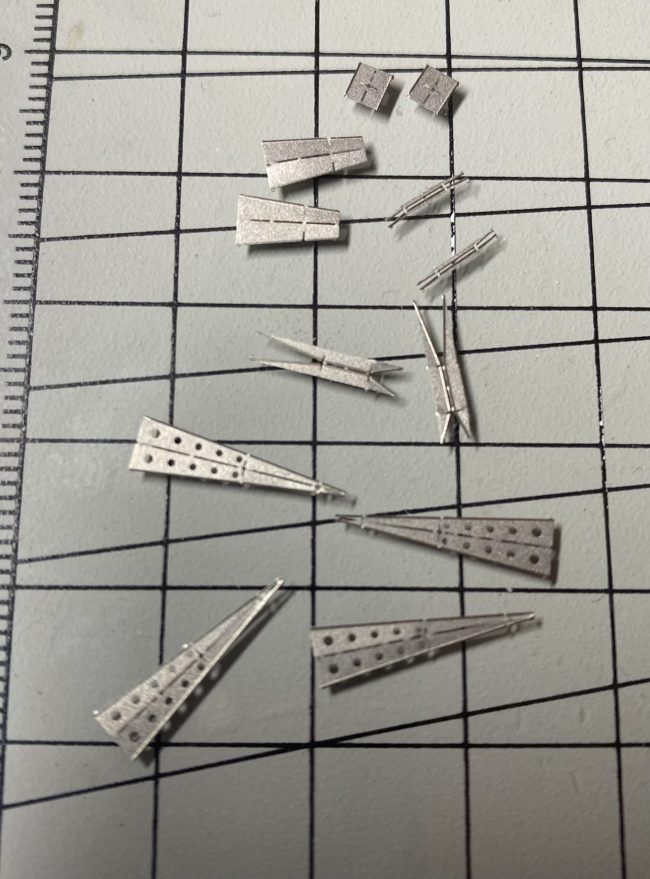
Photoetched parts applied – small corrections is required after painting, specially for extraflimsy railings. Generally I like the way how it looks – cant wait to add all equipment in place. Next step – masking/painting.
Work in progress posts
Photoetched parts applied – small corrections is required after painting, specially for extraflimsy railings. Generally I like the way how it looks – cant wait to add all equipment in place. Next step – masking/painting.
Work with superstructure is progressing. My thinking about maritime models was always as a bit of self-punishment type – building all those details, tiny pieces and ”watchmaker-like” work…I got into it today with ammunition lift/elevator part, from LionRoar kit. Manual was straightforward… those few parts took me around 2h to build tiny elevator 🙂 Im…
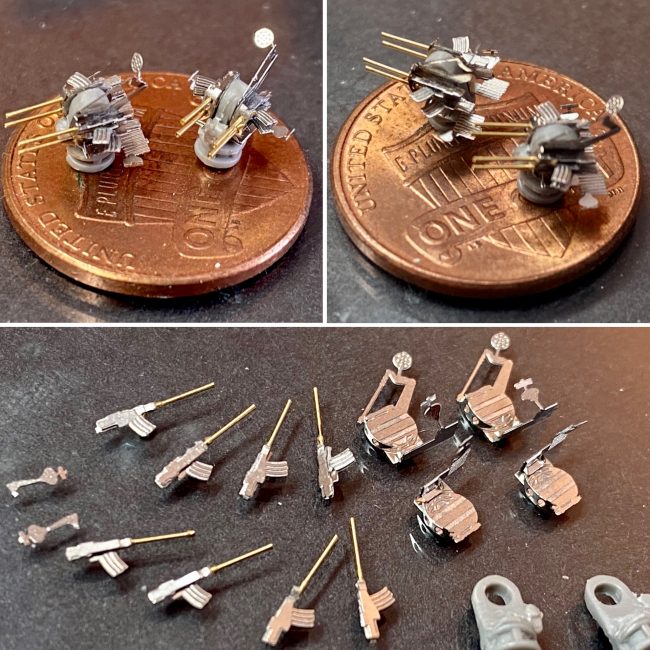
This is so called – crazy detailed build. A lot of photoetched parts still left – LionRoar set that I’m using has full box of blisters dense with parts. I’m still impressed with level of details and accuracy of those pe parts. After 2 hours – top platform underside is completed. Damn – it looks…
My last models were Gunplas – I enjoyed this kind of model builds a lot – total freedom. Now I switched back to extreme detailed project – this type of model building is a bit simillar to some masochistic practices…. Your doing crazy painful things almost against your will. Those ”things”, that will be close…
Inventory and restore state – where and how to continue project paused for 9 long years…After long study of materials/manuals and scetches – I’m starting simple repairs of broken or just ”unglued” photoetching parts. Now its time to say hello again to Bismarck’s superstructure! To be continued…
Revell 1/350 DKM Bismarck – I started this build in 2009, 10 years out of workshop, now its time to back to this build and hopefully finish it! My ambition was (and still) is to recreate Bismarck battleship as it was just before or during Denmark Straight batttle in May 1941, as accurate and detailed…
In fact there will be 12 LED electric circuits. The plan is to put Arduino as a controller and add a bit of life through LEDs lightwork 🙂 After two evenings with Arduino programming – I have initial idea for lights “animation” All electrical circuits need to be somehow combined together within a body of…
Wiring went fine together with all legs parts combined. A quick way to document circuits 😉 Test power-on! ….sooo many wires!!! Looks super-cool!
I know that there should be pink eye, but I went with red LED – looks better in my opinion.I added small photoetched parts on head and around monoeye of Kshatriya – LOVE details! LEDs!!! MOOOOREEEE LEEEDDDSSS!!!!The body is taking shape. Photoetched meshes instalation continues…Other, rectangual ones are easy to prepare and fit. Leg thrusters…